
Free download: Top 10 Natural & Easy Remedies for Joint Pain from Home. Learn these helpful remedies.
Estimated Reading Time: 6 minutes read
As we get older, our wrists might feel weaker. This can make daily tasks harder. Our wrists are important because they help our hands do many things like cooking, reading, or even waving hello. That’s why taking care of our wrists is good.
With some easy exercises, our wrists can feel better. These exercises help make the wrists strong and flexible. So, let’s learn how to keep our wrists in good shape.

Table of Contents
Why Strengthen The Wrist?
So, why do wrist exercises? It’s simple. Our wrists help our hands do a lot of work every day. Think about lifting, writing, or just picking up a cup. All these actions need strong wrists.
For older people, strong wrists are even more important. As we age, we might slip or trip more often. If our wrists are strong, we can catch ourselves and maybe not fall. Also, everyday jobs are easier with strong wrists.
Simple First Steps: Isometric Wrist Workouts
Isometric exercises are great to start with. Why? Because they’re simple and you don’t need to move your wrist too much. It’s about pushing or pulling without actual motion. These workouts help to keep the wrist stable and build basic strength.
For seniors, this can be the first step to stronger wrists. These exercises are easy to do and don’t require any special tools. Plus, they’re gentle on the joints, making them ideal for older folks.

1. Isometric Wrist Strengthening
- Make a first with your injured hand.
- Then, place your uninjured hand against your fist.
- Gently push the injured fist into the uninjured hand. Muscles should activate, but the injured wrist should not move.
- Adjust where you press your fist to activate the different muscles that support your wrist.
- You’ll press your wrist four ways: up, down, and then on each side.
- Hold the press for 5 seconds, 10 repetitions, and 2 sets in each of the four directions.
a. Wrist Flexion

Push your wrist upwards against resistance without changing the angle of your wrist.
b. Wrist Extension
Push your wrist upwards against resistance without changing the angle of your wrist.
c. Ulnar Deviation

Push your wrist upwards against resistance without changing the angle of your wrist.
d. Radial Deviation
Push your wrist downwards against resistance without changing the angle of your wrist.
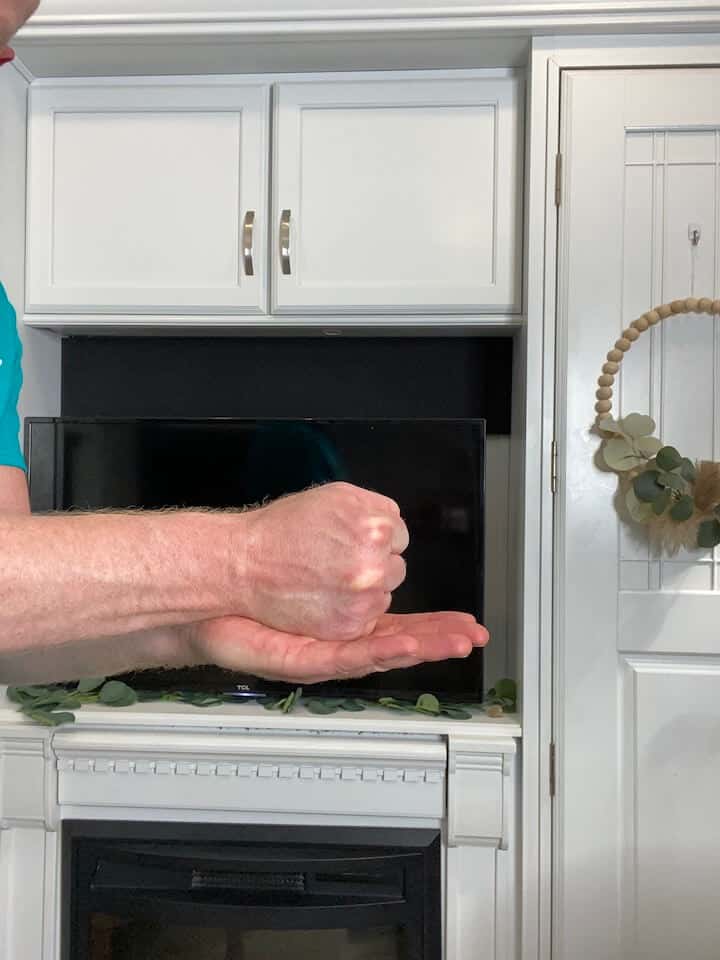
2. Grip Strength


- Begin with the injured wrist supported in whatever position feels most comfortable (e.g. on a table, pillow, or resting on your legs).
- Position the arm neutral so that the thumb is pointed towards the ceiling.
- Gently squeeze the object and hold for 5 seconds, then relax.
- Repeat 10 repetitions for 2 sets.
Enhancing Flexibility: Essential Wrist Stretches
Stretches are always good. They help our muscles relax and stay flexible. For our wrists, stretches can ease any stiffness or pain. This is especially helpful if we’ve been using our hands often or if our wrists feel tight.
Remember, flexibility isn’t just about feeling good. It’s about keeping our wrists ready for all sorts of tasks. From writing to cooking, flexible wrists make things easier.
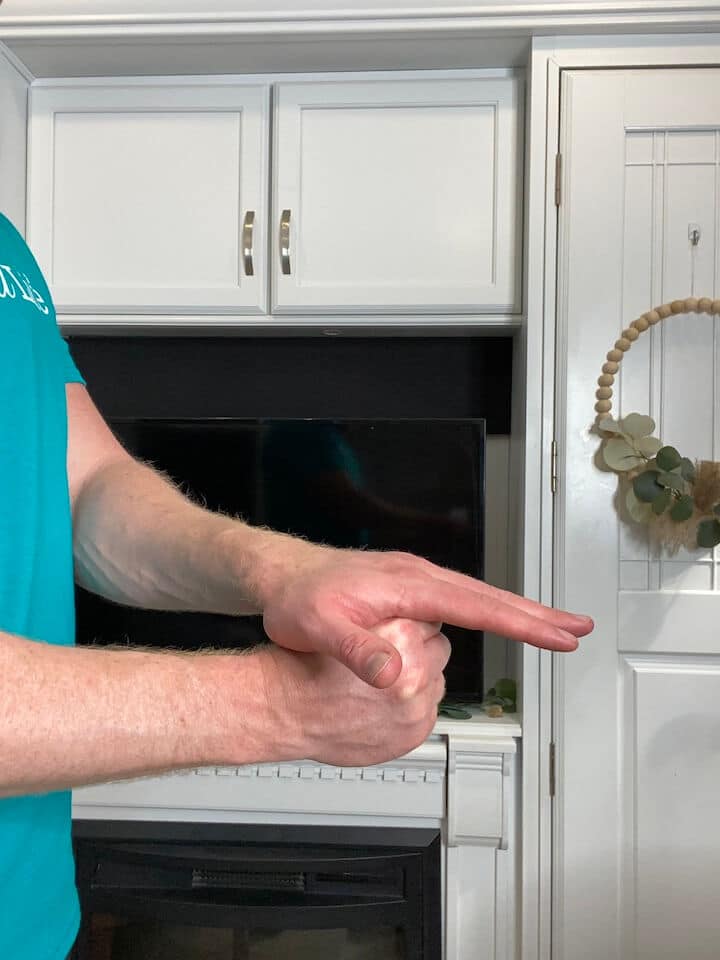
1. Wrist Flexion Stretch


- Straighten your arm and bend your wrist forward as if signaling someone to “come.”
- Use your opposite hand to gently apply pressure across the back of your hand and pull it towards you until you feel a stretch on the top of your forearm.
- Hold for 30 seconds.
- Repeat 5 times, then move to the other arm.
2. Wrist Extension Stretch

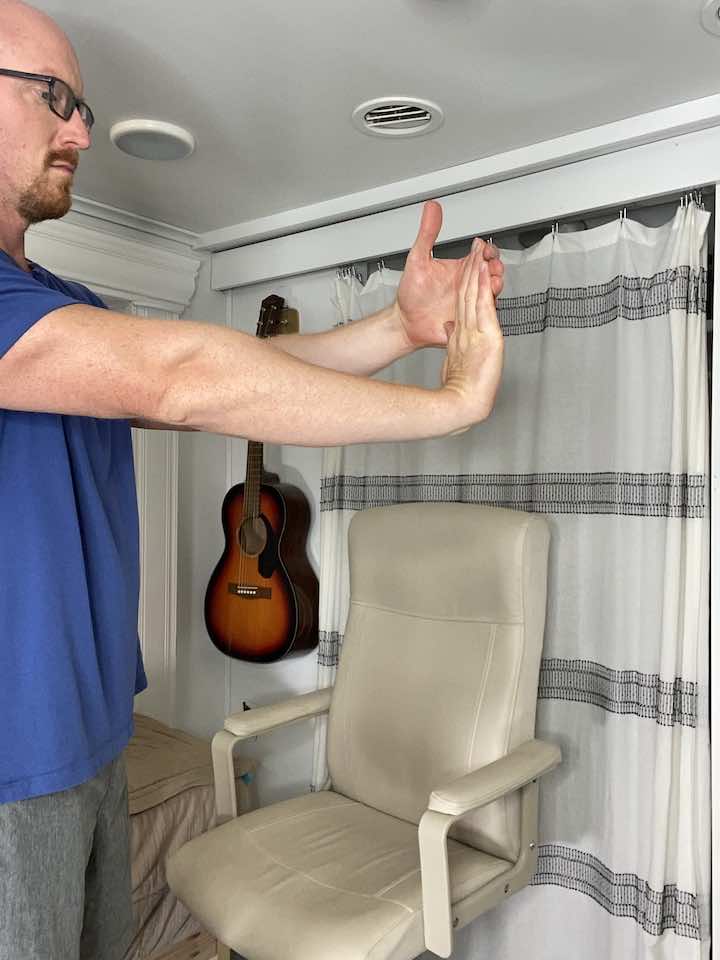
- Straighten your arm and bend your wrist as if signaling someone to “stop.”
- Use your opposite hand to gently apply pressure across the palm and pull it toward it until you feel a stretch inside your forearm.
- Hold for 30 seconds.
- Repeat 3 times, then move to the other arm.
Building Resilience: Resistance Band Workouts
Now, resistance band workouts are a step up. These exercises help build more strength in the wrists. Using a resistance band makes our muscles work a little harder, which is excellent for getting stronger wrists.
Don’t let the word “resistance” scare you. These bands come in various strengths, from light to heavy. So, seniors can choose what’s comfortable for them. With regular practice, our wrists can become strong and ready for anything. Plus, resistance bands are easy to store and use anywhere, from the living room to the park.
1. Wrist Flexion Stretch with Resistance Band
- Position yourself just like with wrist extension, only this time the palm should be facing up towards the ceiling, with the wrist straight.
- You can again use either a resistance band (light, medium or heavy) anchored under your foot or a light-free weight (2-3 lb).
- Slowly flex the wrist (moving the palm towards you), then return to neutral.
- Repeat 10-15 repetitions for 2-3 sets.
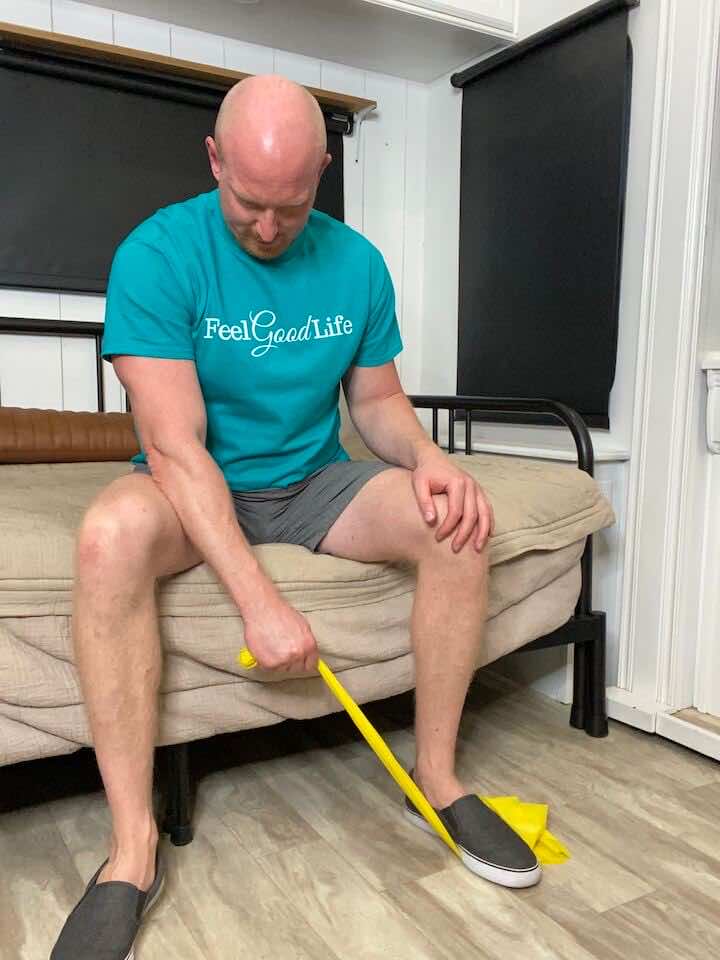
2. Wrist Extension Stretch with Resistance Band
- Position yourself seated with the working arm supported on a table, such as your coffee table. The wrist and hand should be hanging off the edge of the table.
- The palm should be facing down towards the floor, with the wrist straight.
- You can use either a resistance band (light, medium, or heavy) anchored under your foot or a light-free weight (2-3 lb).
- Slowly extend the wrist (moving the top of the hand back towards you), then return to neutral.
- Repeat 10 repetitions for 3 sets.
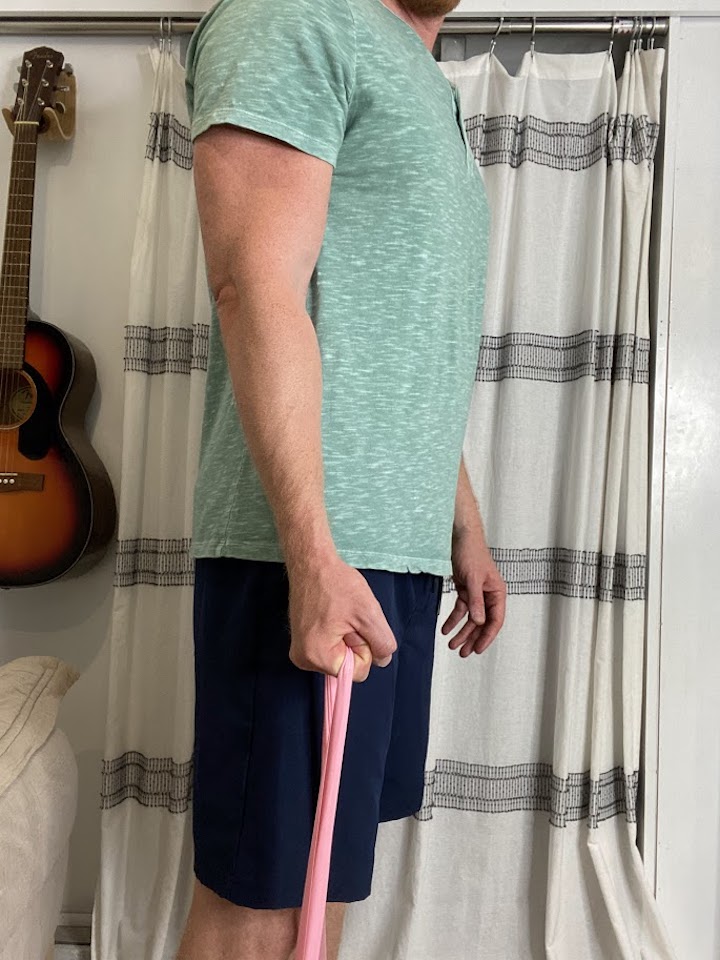
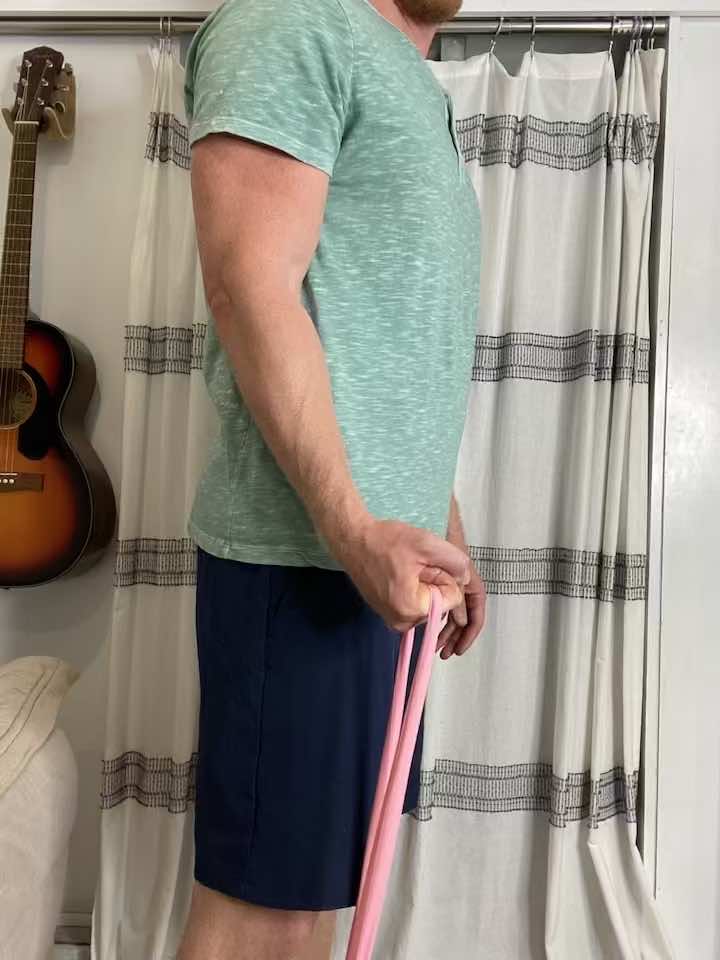
3. Wrist Ulnar Deviation with Resistance Band
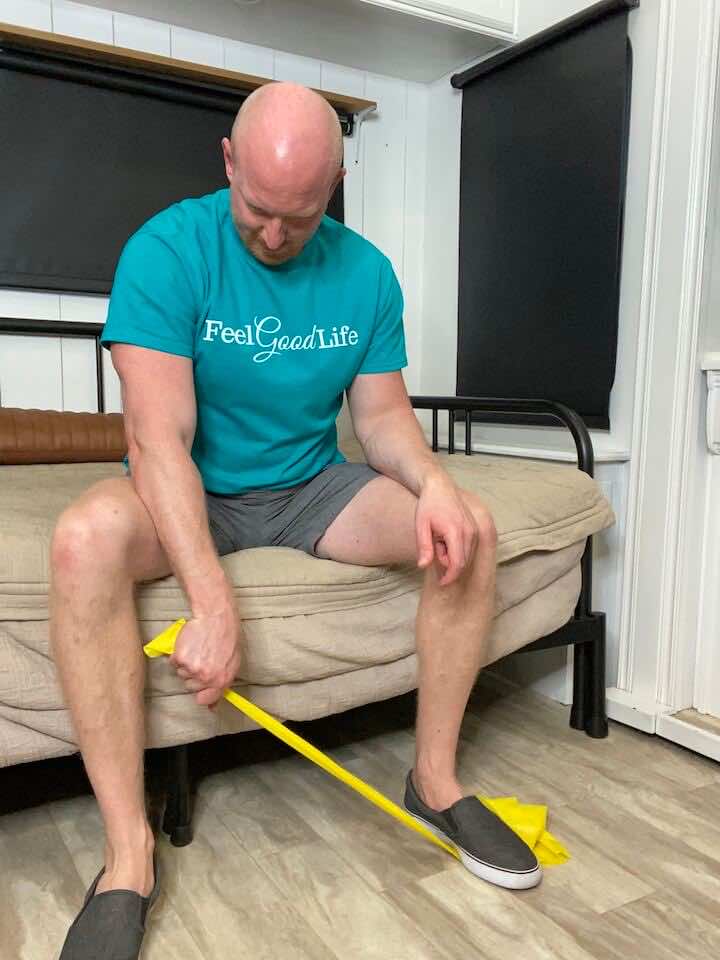
- Place a resistance band under your foot (opposite side of your injured wrist) and hold on to the band with the injured hand.
- Hold the band with your hand so that your palm is facing the floor and there is tension on the band.
- Keep your hand in a fist and move your wrist so that your pinky side it moving to the side. It’s not a big movement, so don’t try to force extra ROM if it’s painful!
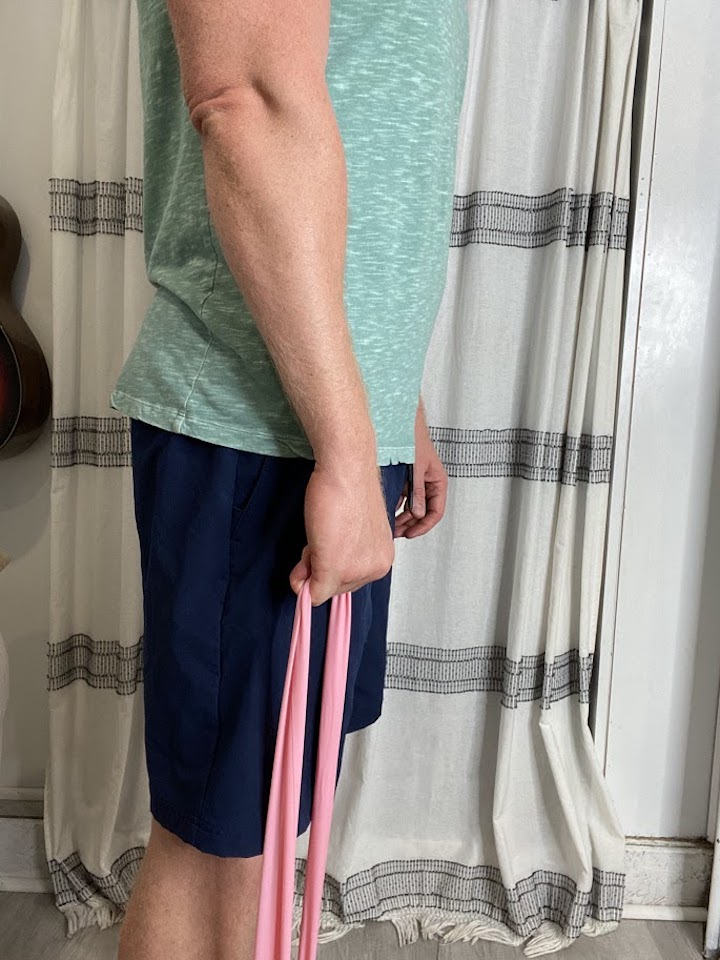
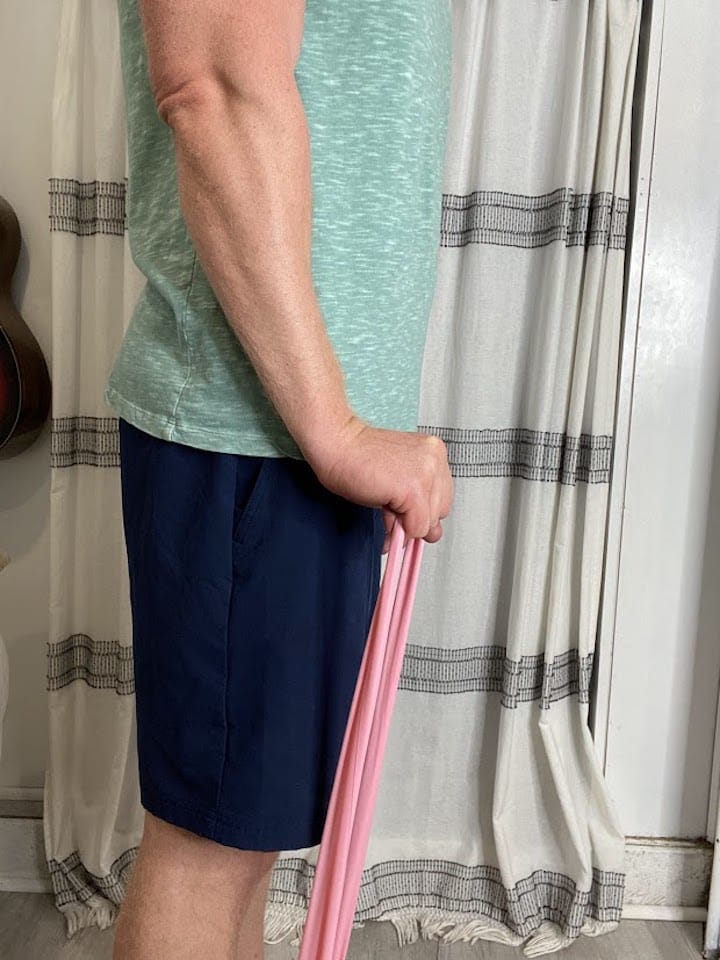
4. Wrist Radial Deviation with Resistance Band
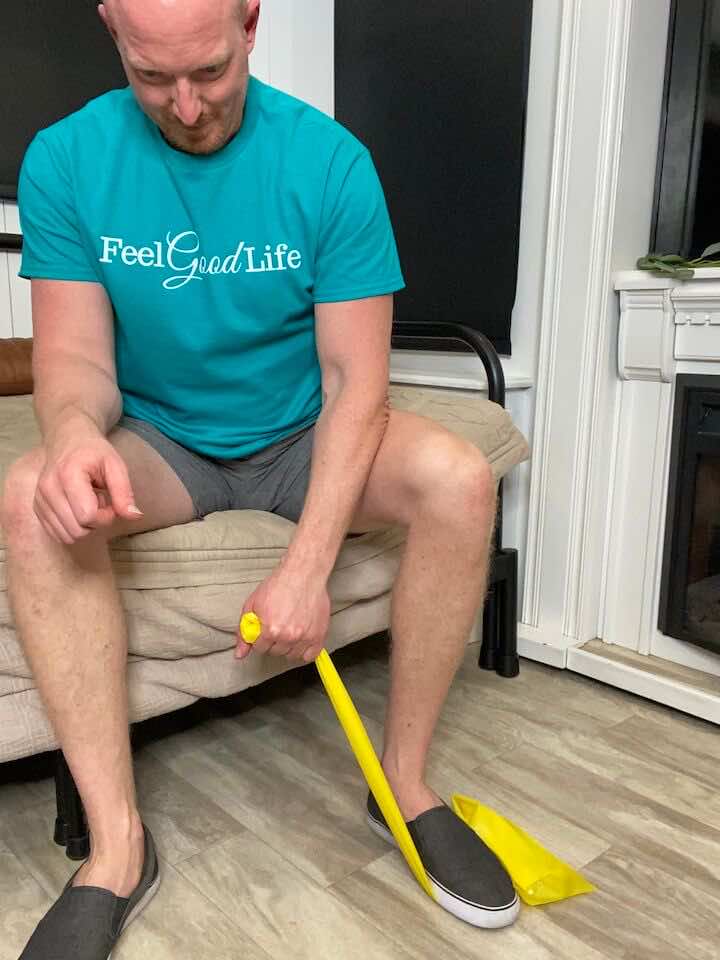

- Place a resistance band under your foot (same side of your injured wrist) and hold on to the band with the injured hand.
- Hold the band with your hand so that your thumb is facing the ceiling and there is tension on the band.
- keep your hand in a fist and move your wrist so that your fist moves up and down. It’s not a big movement from the wrist so don’t try to force extra ROM if it’s painful!
Conclusion
Keeping our wrists strong and nimble is key, especially for seniors. These exercises, though simple, can make a big difference. Like any exercise, consistency is crucial. Doing these regularly can help avoid pain and keep our hands and arms working smoothly.
And remember, if something hurts, stop and give your wrist a break. Always listen to your body, and here’s to strong and happy wrists!
Wondering What's Next?
Discover 11 Easy, At-Home “Stretch Exercises” for Stronger, Pain-Free Joints (click below)