
Free download: Top 10 Natural & Easy Remedies for Joint Pain from Home. Learn these helpful remedies.
Estimated Reading Time: 8 minutes read
Have you ever had back pain? Sometimes, the problem is not in your back but in your belly. There’s a muscle called the transverse abdominis, or TA for short, that’s very important for keeping your back healthy. When this muscle is strong and active, it can help reduce back pain. In this article, we’ll share nine easy exercises that can help improve your TA muscle and relieve your back.
Knowing Your Inner Belly Belt – The Transverse Abdominis
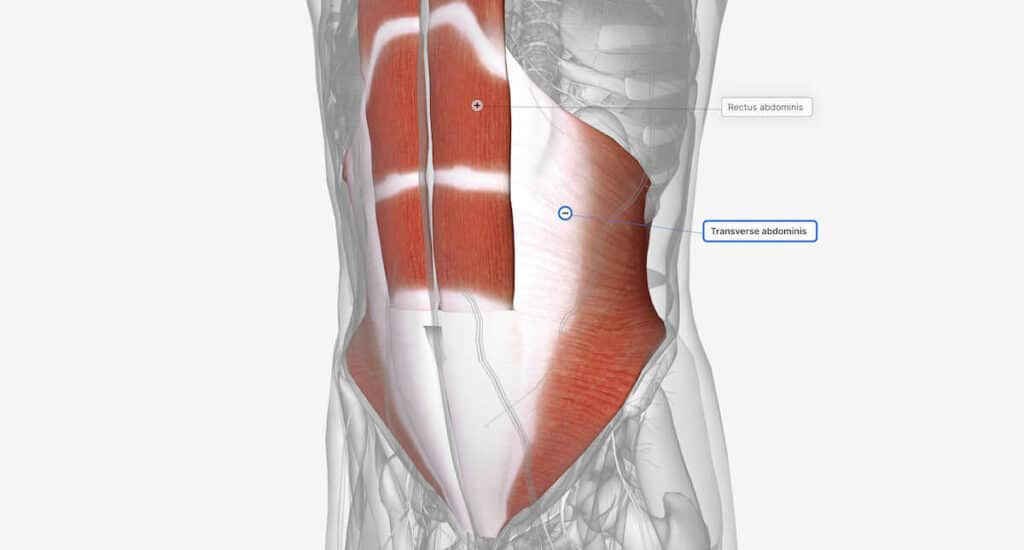
The transverse abdominis muscle, or TA for short, is an important part of your belly muscles. But it doesn’t get much attention. This muscle works like a natural belt around your waist. It helps keep your lower back and hips steady.

You can’t see the TA because it’s deep inside your body. It’s different from the muscles that you can see on your belly, like the ones that make a “six-pack”. But even though you can’t see it, the TA is still very important.
The Role of The Transverse Abdominis
The TA runs around your body from side to side, like a belt or a corset. It goes from your ribs down to your hips, across your front and back. When the TA muscle gets tight, it pulls everything in. It works like a corset that keeps everything inside nice and tight. This helps keep your body steady. It also helps take some pressure off your lower back.
Even though the TA is hard to feel when you’re doing exercises, it’s important to keep it strong. This is especially true if you want to keep your body steady, stand tall, and move around easily. If you’re having trouble with back pain, exercises that make the TA stronger can help.
Best Transverse Abdominis Activation Exercises
Here are the nine exercises explicitly designed for activating your transverse abdominis:
1. Diaphragmatic Breathing
- Lay on your back in a comfortable position, and your knees could be bent or straight. Bent knees will support your lower back better.
- Place one hand on your chest and one on your stomach, and close your eyes.
- Take a deep breath through your nose and feel which hand rises up more. When stressed, you often feel more movement on the hand on the chest, indicating chest breathing. The goal is for you to switch to feeling the hand on the belly rise and fall more, indicating diaphragmatic breathing. This can take some time to accomplish; try to imagine breathing in through your nose and filling up a balloon in your belly.
- After taking a deep breath through your nose, breathe out through your mouth with pursed lips like you’re blowing out a candle.
- Continue taking 15 deep breaths through your nose, filling up the balloon in your belly, then breathing out through your mouth and feeling the hand on your belly drop as you deflate the balloon.
2. Abdominal Bracing
- Begin on your back, and knees bent, and feet flat on the floor.
- Exhale and draw your belly button towards your spine (as if a string was pulling on the inside of your belly button from the ground).
- Hold for 5 seconds before relaxing. Repeat 10 times.
3. Bent Knee Fallouts
- Lie on your back with both knees bent and your hands on your hips.
- Engage your core by bracing your muscles like a trampoline surface. It’s a subtle movement and shouldn’t feel like you’re pushing your core up or sucking your core in. Just a gentle brace as though someone was about to place a weight on your belly.
- Keep your left knee frozen where it is, then let your right knee lower to the side 45 degrees and come back to the center. Keep your core engaged the whole time. You can monitor for control by using your hands on your hips. If your hip drops to the right side as the right leg moves, you’re not keeping your core engaged. The goal is for your hips to stay perfectly still while you perform this asymmetrical movement.
- Perform sets on the right side, then repeat on the left.
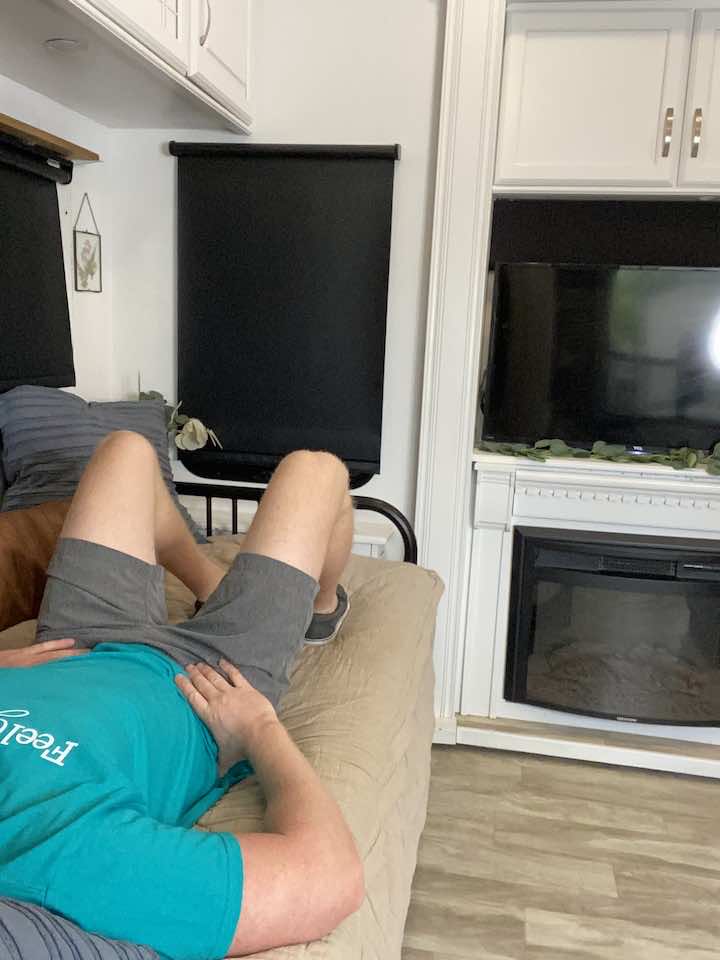
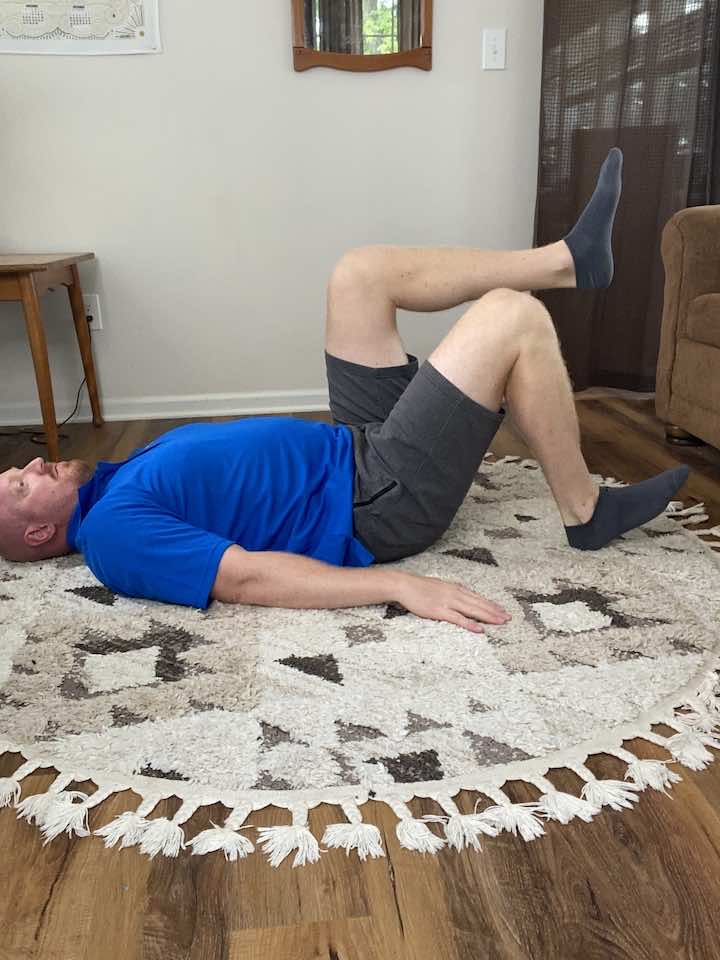
4. Marching Core

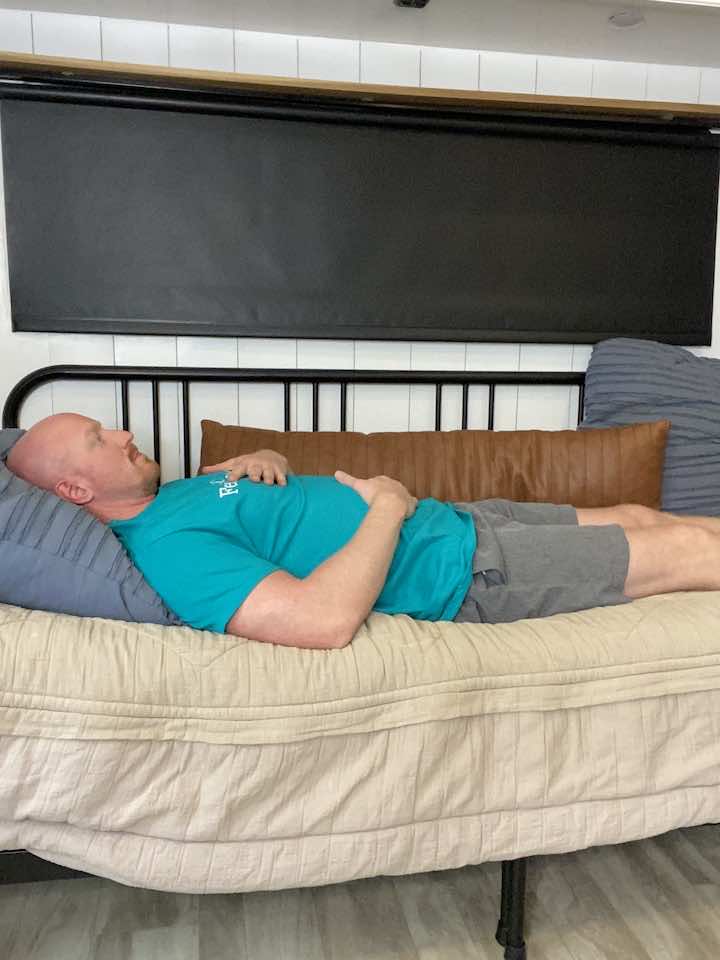
- Starting position: Laying flat on your back (on your bed, couch, or floor), with your knees bent and feet flat on the surface.
- To activate your transverse abdominis, try to pull the belly button down towards the surface, gently flattening the back simultaneously. This will help to brace the core.
- While keeping this braced core (don’t forget to breathe!), lift one knee towards your chest, like a march, then lower back down to the surface.
- Repeat 10 repetitions for 3 sets. Perform on the opposite leg.
- You can perform all repetitions on one side, switch to the other or perform alternatingly between the legs.
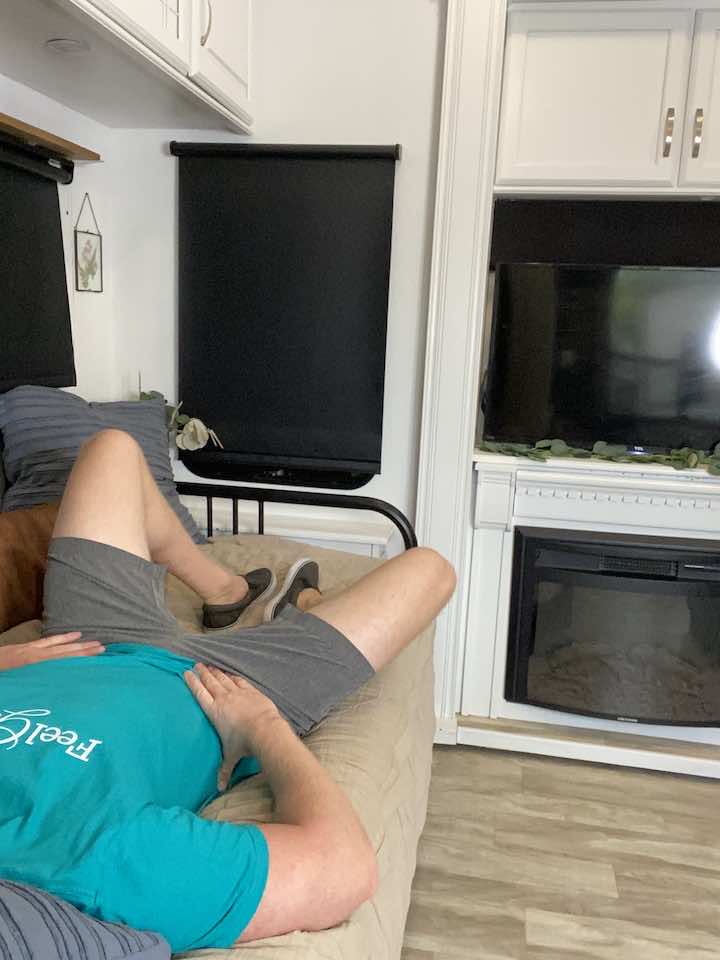
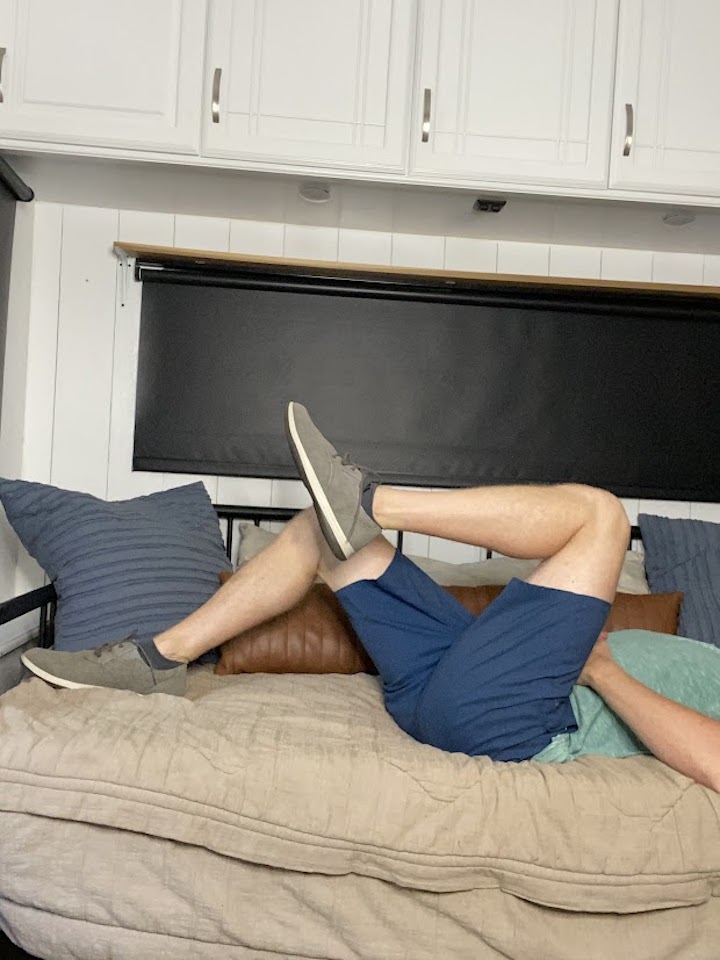
5. Marching Core – Level 2
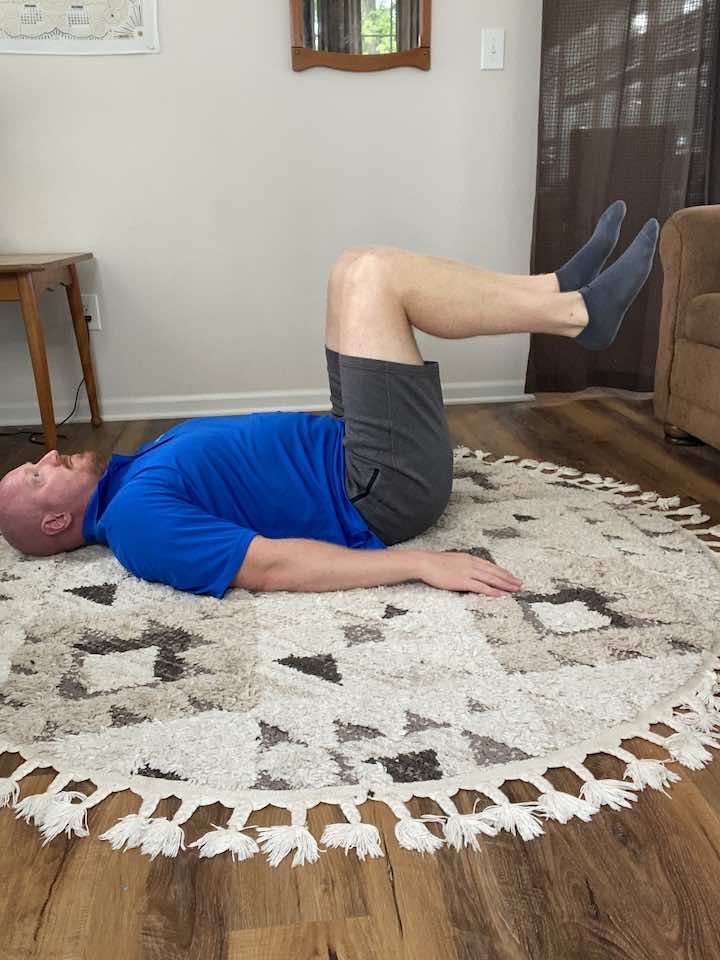
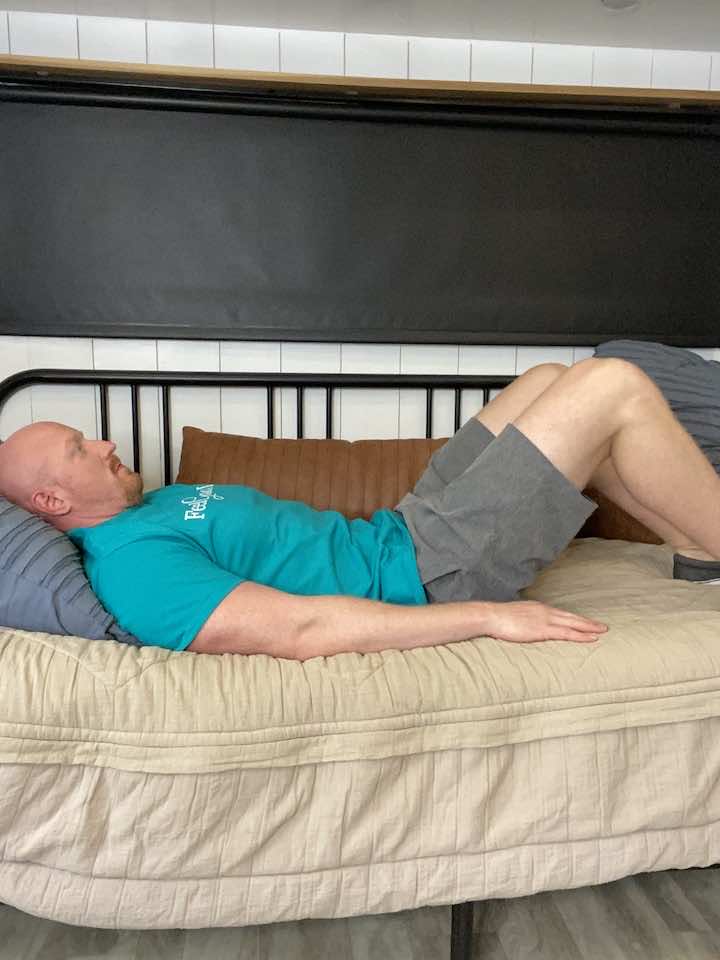
- Start by laying on your bed with your knees bent and your back in a neutral position (not flat or arching). Almost like you could fit a pencil under your back.
- Then, engage your core muscles to maintain that neutral position. You can do this by bracing your core muscles so that they feel like the tension of a trampoline surface. One way to think of this is to brace like you were about to be bopped on the belly, and you’re trying to protect your core.
- While in a neutral position, bring one leg up so that your hip is flexed 90 degrees and your knee is bent 90 degrees. This is your starting position for level 2!
- Bring your other leg up till your knees line up, and then lower that leg back down. Only one leg will move. Make sure to keep your core engaged and your back in a neutral position. It’s easy to have your back flatten out, then you bring your knee up, so keep that core engaged!
- Continue to march with just one leg moving until you have completed the set, then switch legs. If this level feels like it is too much, no worries, go back to level 1 and try level two again in a few weeks!
6. Bird Dog
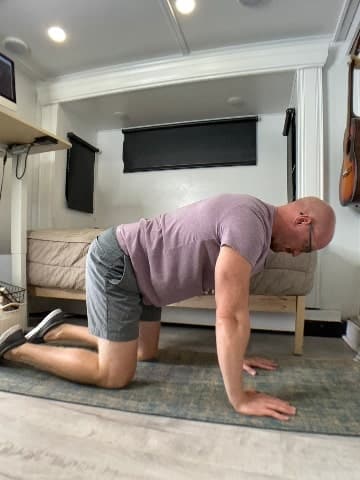
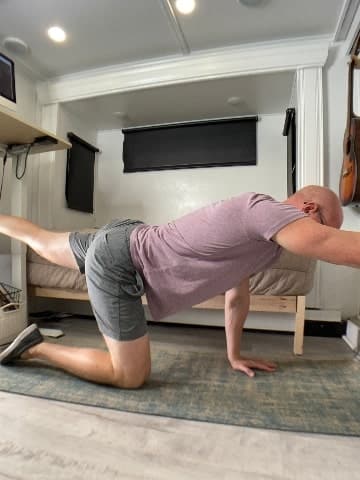
- Starting position: This exercise also begins on the hands and knees (can use the bed, couch, or floor).
- You’ll again be kicking one leg directly behind you to the level of your torso. The difference this time is you’ll also be raising the opposite arm forward and up at the exact same time. This will be a balance challenge!
- Hold this position for about 2 seconds, then return to your hands and knees.
- Repeat 10-15 repetitions for 2-3 sets. Perform with the opposite arm and leg combination.
- You can practice all repetitions on one side, then switch to the other, or can alternate.
7. Plank
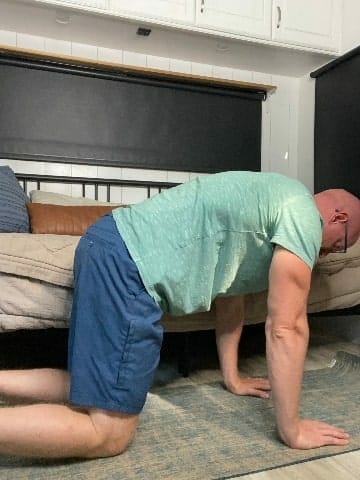
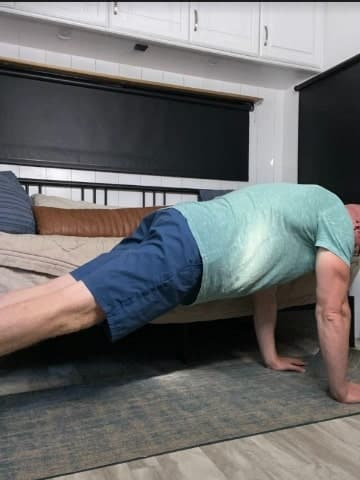
Planks are a common and well-known exercise to help strengthen the core, which as we now know will also help to strengthen the lower back and provide back pain relief.
Planks are a more advanced exercise and can be done in a variety of ways. Today, we’ll focus on a simple forward plank.
- Starting position: Begin on the hands and knees. While you can try this on your bed or couch, if not comfortable on the floor, it will be more challenging on softer surfaces.
- Stretch the legs back until you’re in a full plank position. Your body should be in a straight line.
- If you’re a beginner with planks, try to hold for at least 10 seconds. As you become stronger, try to gradually increase your time up to 30 seconds.
- Be sure to engage the core, so that the low back doesn’t sway or arch.
8. Side Plank
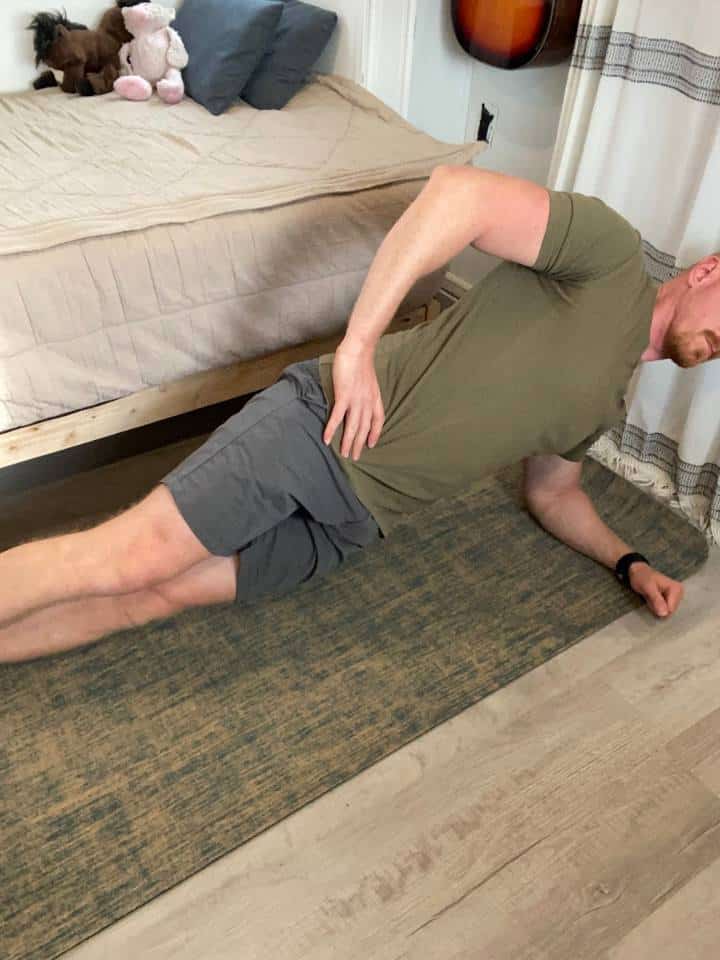
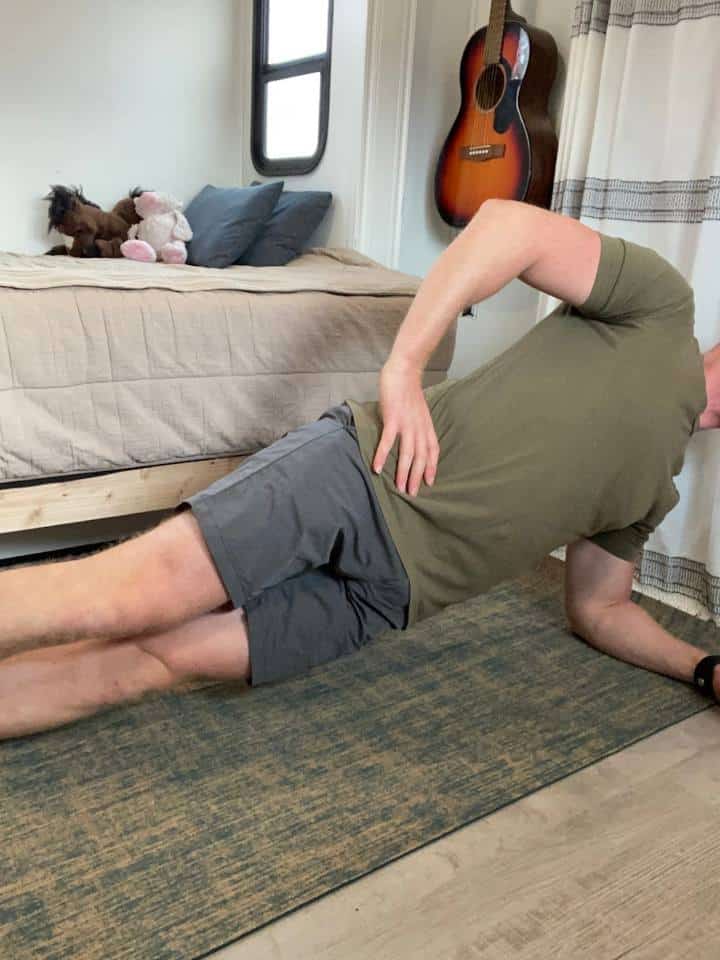
- Lie on one side propped on your elbow. This can be a little challenging to do on a softer surface like the bed, so the floor would be a better option.
- While propped on your elbow, stretch the legs out so that you’re in a straight line.
- While keeping that straight line, lift the hips directly up off the floor. Hold for 2 seconds, then return to your starting position.
- Repeat 10 repetitions for 2-3 sets.
Remember, while these exercises effectively activate the TA, they must be performed regularly and combined with a balanced diet and general physical activity for optimal results.
If you’re experiencing persistent back pain or other related issues. They can provide a comprehensive treatment plan tailored to your specific needs, which may include these TA activation exercises.
The Bottom Line
In conclusion, if you’re seeking quick relief for back pain, don’t overlook the importance of your transverse abdominis. This core muscle acts as a natural brace, supporting your spine, enhancing posture, and aiding in functional movements.
By incorporating these TA-activating exercises into your routine, you’re taking a step towards better back health. Consistency is key, and maintaining a balanced diet and overall physical fitness will amplify your results. Consult a healthcare professional to create a tailored plan for persistent back pain.
Wondering What's Next?
Discover 11 Easy, At-Home “Stretch Exercises” for Stronger, Pain-Free Joints (click below)