Free download: Top 10 Natural & Easy Remedies for Joint Pain from Home. Learn these helpful remedies.
Estimated Reading Time: 5 minutes read
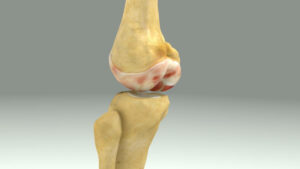
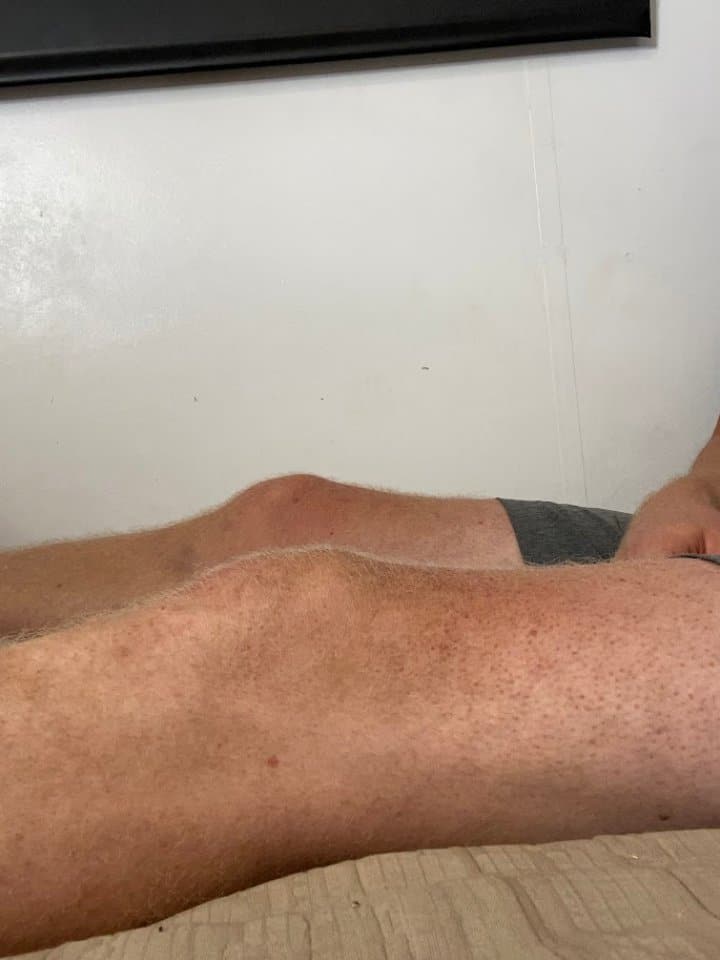
A tibial plateau fracture is a significant life event demanding attention and care. It’s not something anyone wants, but the reality is that fractures happen, and when they do, you need to know how to respond. Firstly, if you’ve suffered a fracture, you will likely be wearing a cast, and you must avoid any form of exercise until your doctor gives you the go-ahead.
The cast, though uncomfortable and limiting, serves a critical purpose. It provides a protective barrier that allows the fracture to heal properly. This is the time for rest, not activity. You might be keen to move and regain your strength, but your body needs time to heal.

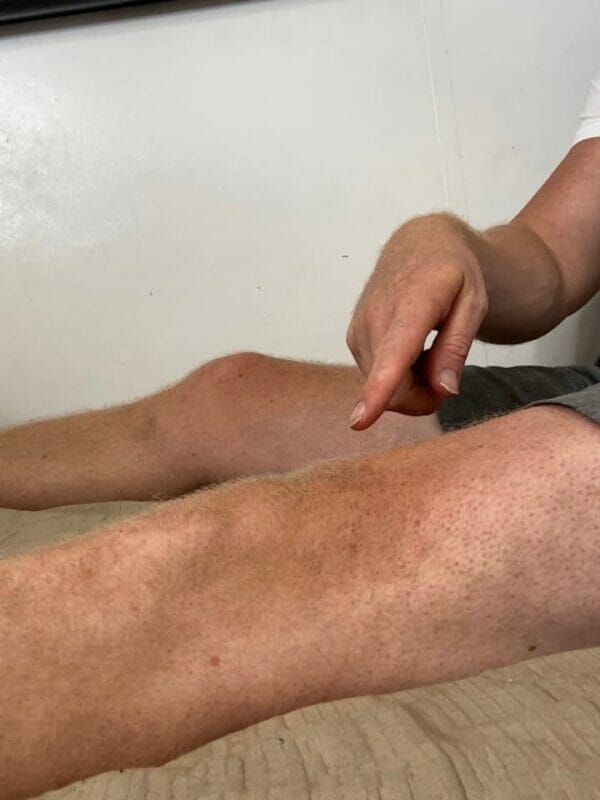
Once your doctor permits you to exercise, you must proceed with caution. It’s common to feel weak after having a cast removed. This is a critical stage in your recovery, and your next steps are very important.
Table of Contents
The Approach to Rehabilitation
As you start your rehabilitation, it’s vital to remember that your body has gone through a lot. The recovery process needs to be gradual, with attention being paid to any signs of pain. This isn’t a race, and you’re not in competition with anyone. Your only goal should be steady and consistent progress.
In the initial days and weeks after the removal of the cast or brace, it’s essential to be in tune with your body and not push too hard. Pain is your body’s way of telling you something isn’t right, so it’s wise to ease up if you’re hurting.
Rehabilitation is all about working with your body, not against it. Your exercise tolerance may be limited at first, but that’s normal. Don’t be disheartened. It’s not about how fast you recover but how well.
Introducing Rehabilitation Exercises
Once you’ve established a routine and your body has adjusted to being active again, it’s time to introduce specific exercises. These exercises won’t be intense but a gentle reintroduction to movement. Here’s what your doctor may recommend:
1. Heel Slides with Rope
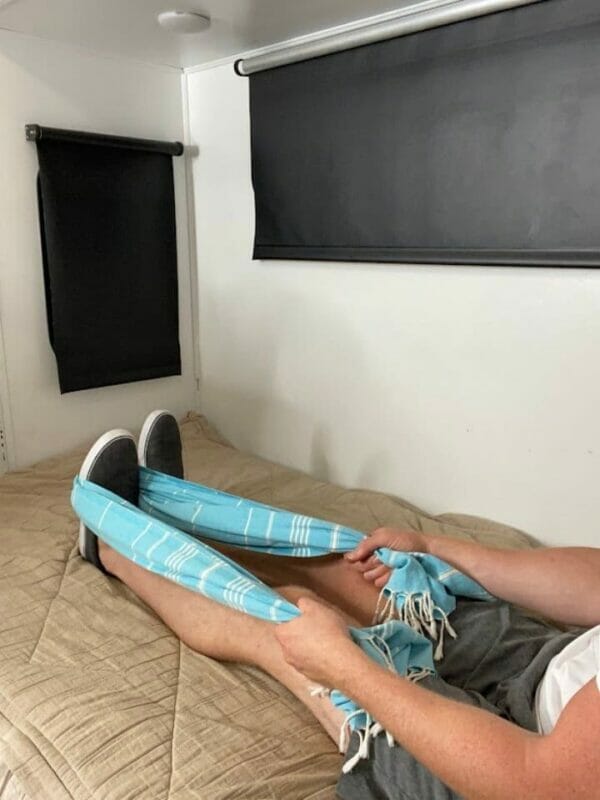
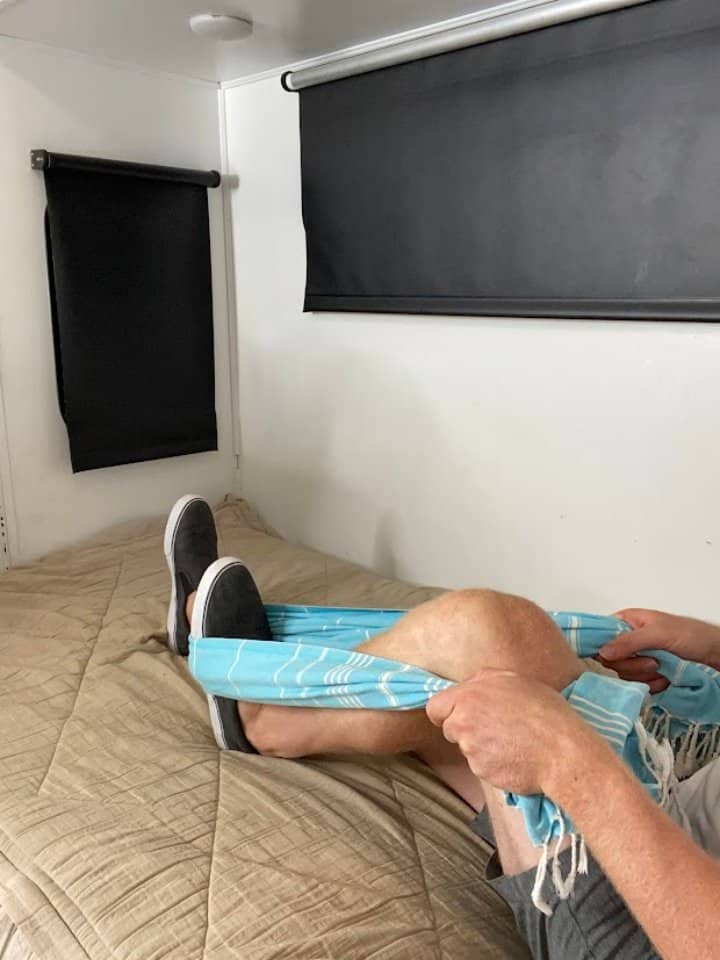
- Starting position: Sitting or laying down with the injured leg in front of you (can be on the floor, couch, or bed).
- Wrap a non-elastic strap around the foot.
- Pull on the strap with the arms to slide the heel towards the bottom while simultaneously bending the knee.
- Hold for 5 seconds, then return to your starting position.
- Repeat 10 repetitions for 3 sets.
2. Quad Sets
- Starting position: Seated with the injured leg stretched in front of you (can be on the floor, couch, or bed).
- Squeeze the quadriceps (the muscles on the top of the thigh) and try to press the back of the injured knee down toward the surface.
- Hold for 5 seconds, then relax.
- Repeat 10 repetitions for 3 sets.
3. Heel Prop
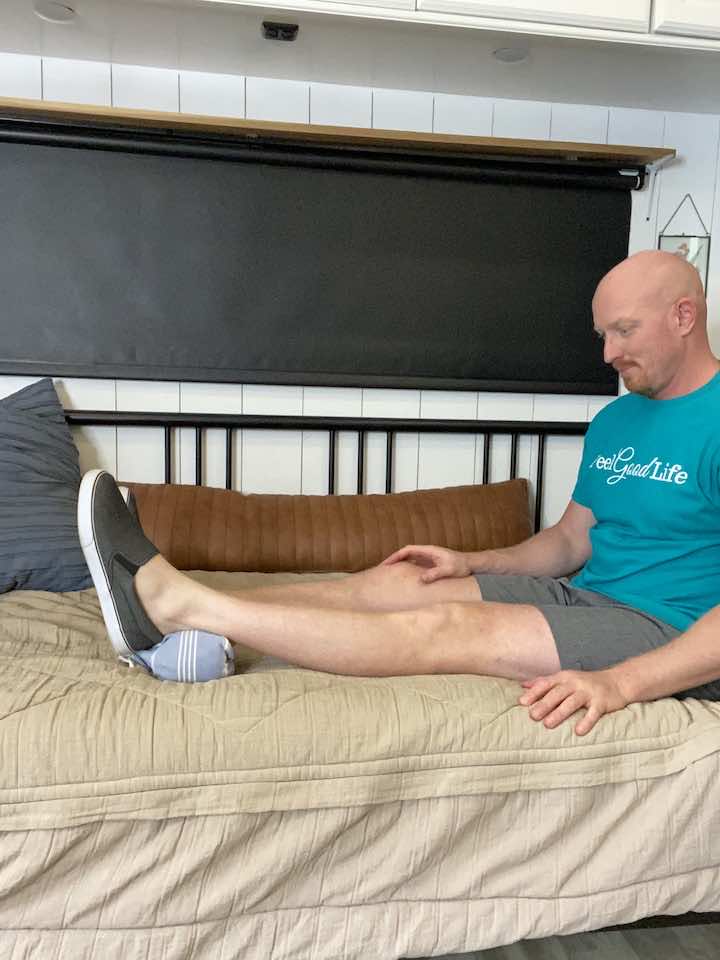
- Start by sitting on your bed with your back supported and your legs stretched out in front of you, or you can also perform this laying down on your bed or couch.
- Then, place a towel under your heel so it is propped up.
- The next step is to relax your leg in that position while your knee extends.
- Maintain this position for 30 seconds.
- Perform these steps for a total of 3 sets.
4. Clamshells
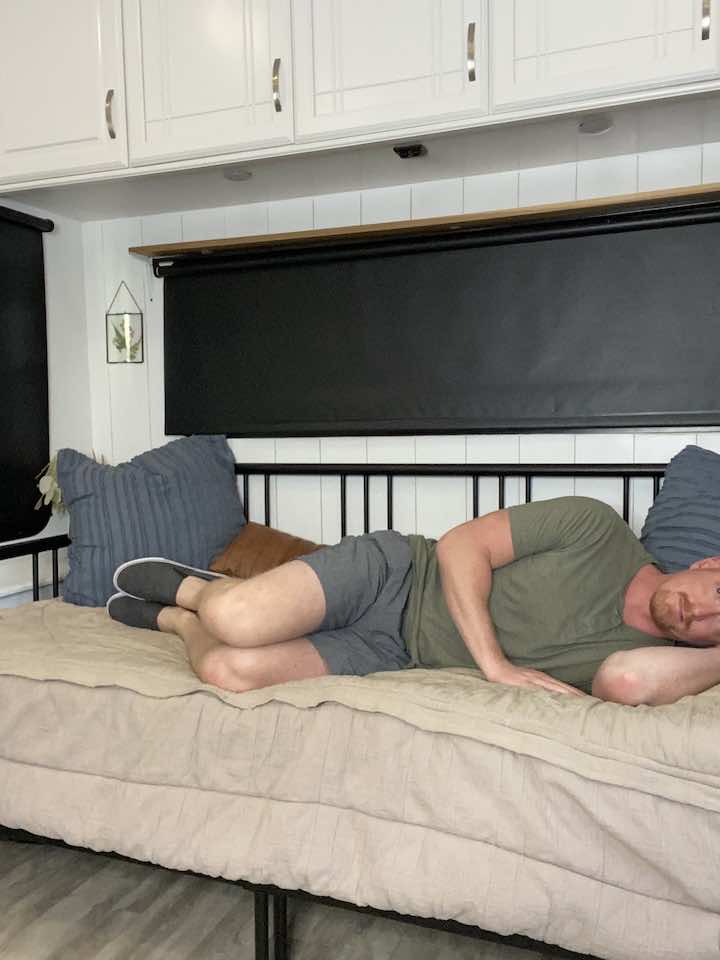
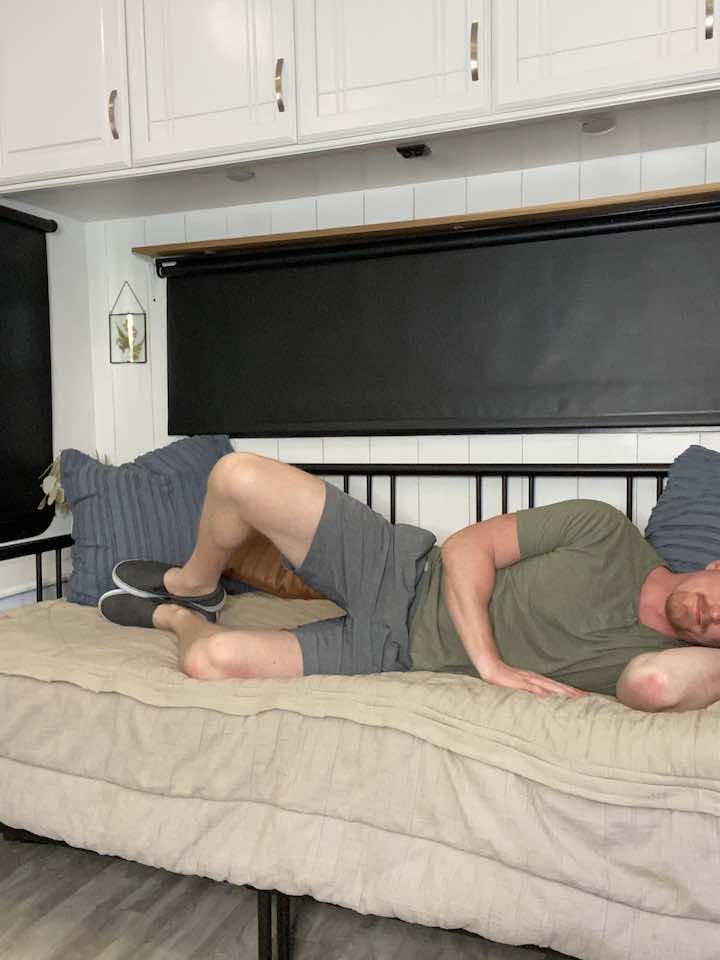
- Start by laying on your side with both knees bent.
- Keep your feet in contact with each other, and then rotate your top leg up. Ensure you keep your spine aligned and your hips don’t rock back! The rule of thumb is to do a smaller range of motion if you think your back is moving.
- Rotate your top leg back down to the starting position.
- Do this exercise 10 times in each set.
- Complete 3 sets of the exercise.
5. Standing Hip Lifts (only lifting an injured leg)
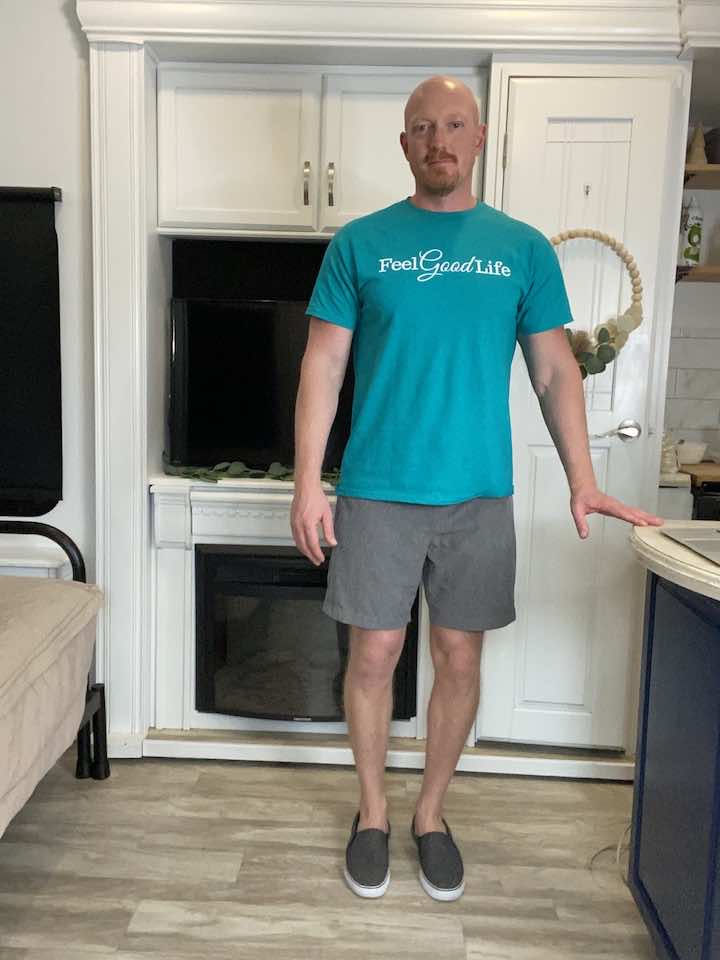
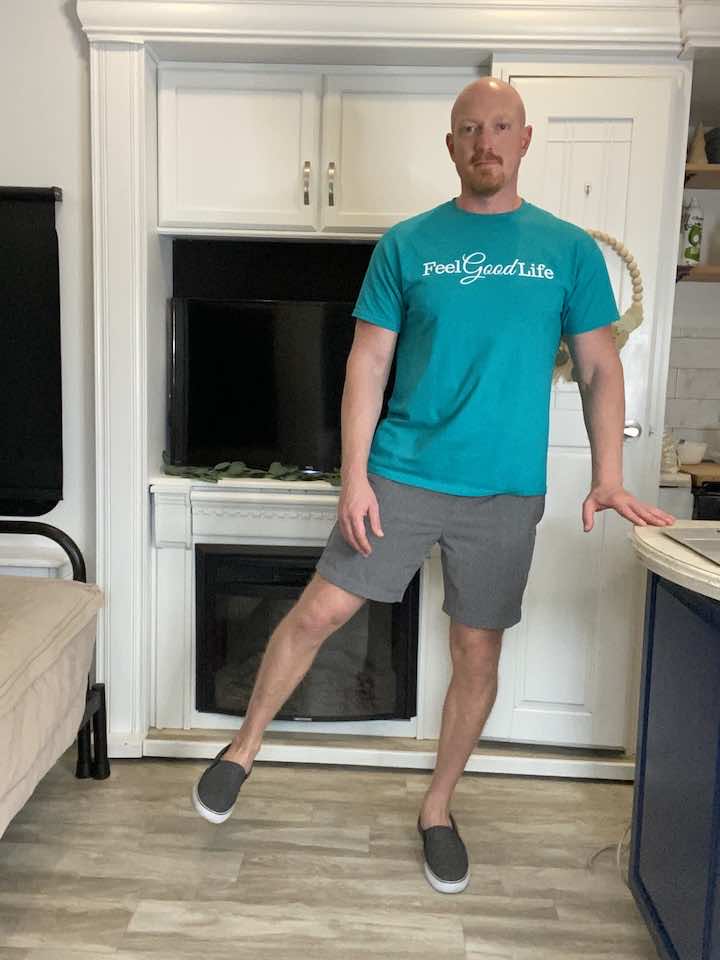
- Stand tall with one hand placed on a bed or chair for support.
- Balance on your left leg, keeping a slight bend in your knee to avoid locking it out.
- Lead with your heel and lift your right leg out to the side, keeping your foot flexed.
- Be sure not to lean to the left while lifting your leg.
- Lower your leg back down to the starting position.
- Repeat this movement 10 times only with the injured leg.
- Do a total of 3 sets of this exercise.
6. Standing Hip Extension (only lifting an injured leg)
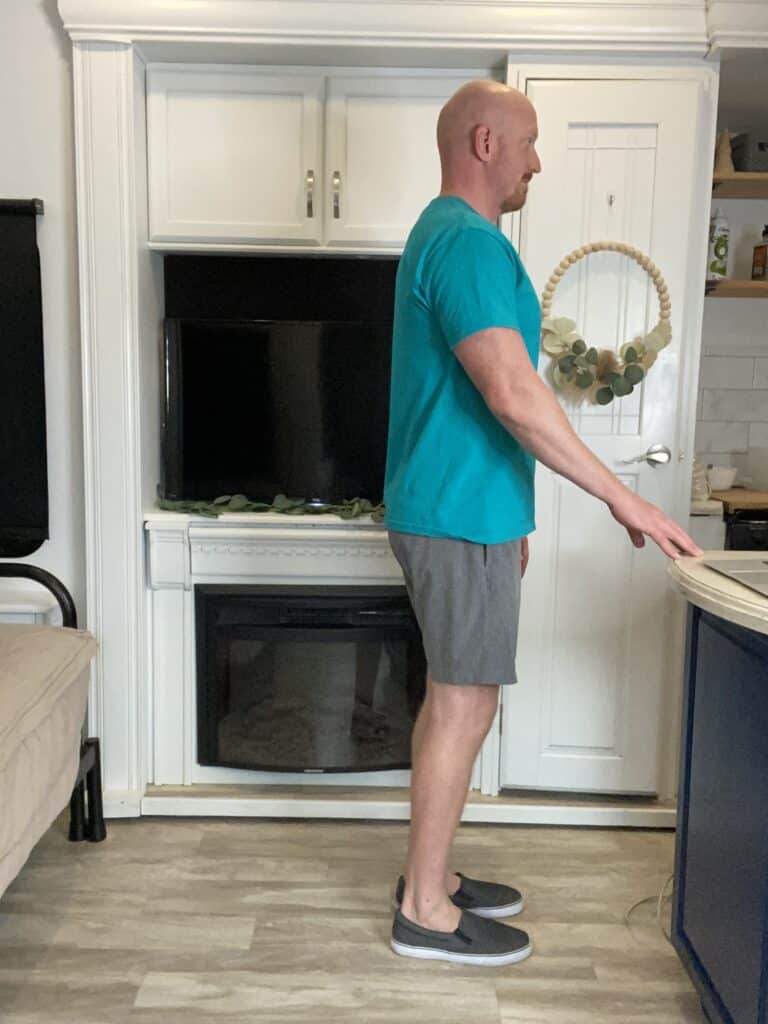
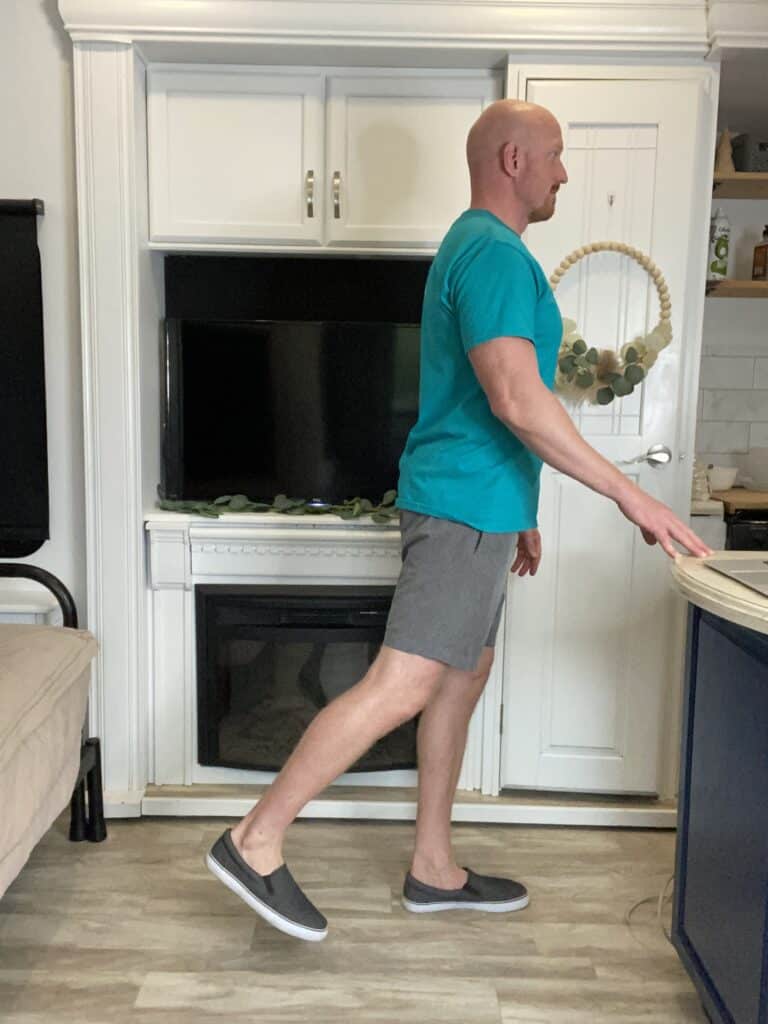
- Stand tall with your hands placed on a steady surface, such as a counter, sink, or chair (without wheels), to hold onto for balance.
- Shift your weight onto your left leg, keeping a slight bend in your left knee to avoid locking it out.
- Keeping your toes pointed forward and your right leg straight, lift your right leg back a few inches.
- Lower your leg back down to the starting position.
- Repeat this movement 10 times only with the injured leg.
- Do a total of 3 sets of this exercise.
These exercises are not intended to push you to your limits. They’re designed to help you transition from healing to becoming more active, assisting in regaining strength and mobility in your leg.
The Long-term Perspective on Recovery
Recovering from a tibial plateau fracture is a process that requires patience, understanding, and dedication. You might not notice significant improvements immediately, but with time and consistency, you’ll start seeing the results. It’s these minor improvements that, over time, lead to a successful recovery.
Remember, you are not just healing physically, but you are also building resilience and patience. This experience is a testament to your ability to overcome obstacles and bounce back stronger.
So, take it step by step, celebrate your small victories, and remember each day brings you closer to your goal of full recovery. You’ve got this!
Wondering What's Next?
Discover 11 Easy, At-Home “Stretch Exercises” for Stronger, Pain-Free Joints (click below)