Free download: Top 10 Natural & Easy Remedies for Joint Pain from Home. Learn these helpful remedies.
Estimated Reading Time: 11 minutes read
Latarjet procedure probably sounds like a made-up name… but it is a real orthopedic surgical procedure to treat shoulder instability after a severe dislocation!
This procedure has become more commonly performed under the right indications.

In order to fully understand this procedure, let’s take a look at shoulder joint instability as a result of dislocations, the details of the procedure and what the recovery looks like.
Table of Contents
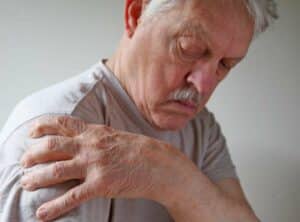
Shoulder Instability from a Dislocation
The shoulder joint is a ball and socket joint. It consists of the humeral head situated in the glenoid cavity.
The humeral head is located at the top of the humerus or upper arm bone. The glenoid cavity is the concave shoulder socket on the shoulder blade, or scapula.
In order for the shoulder to move the way it’s intended to in a stable manner, the humeral head must be positioned and situated correctly in the glenoid cavity. The surrounding soft tissue structures (e.g., ligaments, muscles, tendons) help to ensure this occurs.

A partial (subluxation) or complete dislocation of the shoulder joint will commonly lead to shoulder instability. Shoulder instability will occur when the humeral head isn’t situated correctly in the glenoid cavity, which again can happen as a result of a dislocation.
Dislocation and subsequent instability can occur for a variety of reasons:
- Fall
- Athletic collision
- Blow to the shoulder
- Recurrent dislocations
- Natural hypermobility, such as with connective tissue disorders like Ehlers-Danlos syndrome
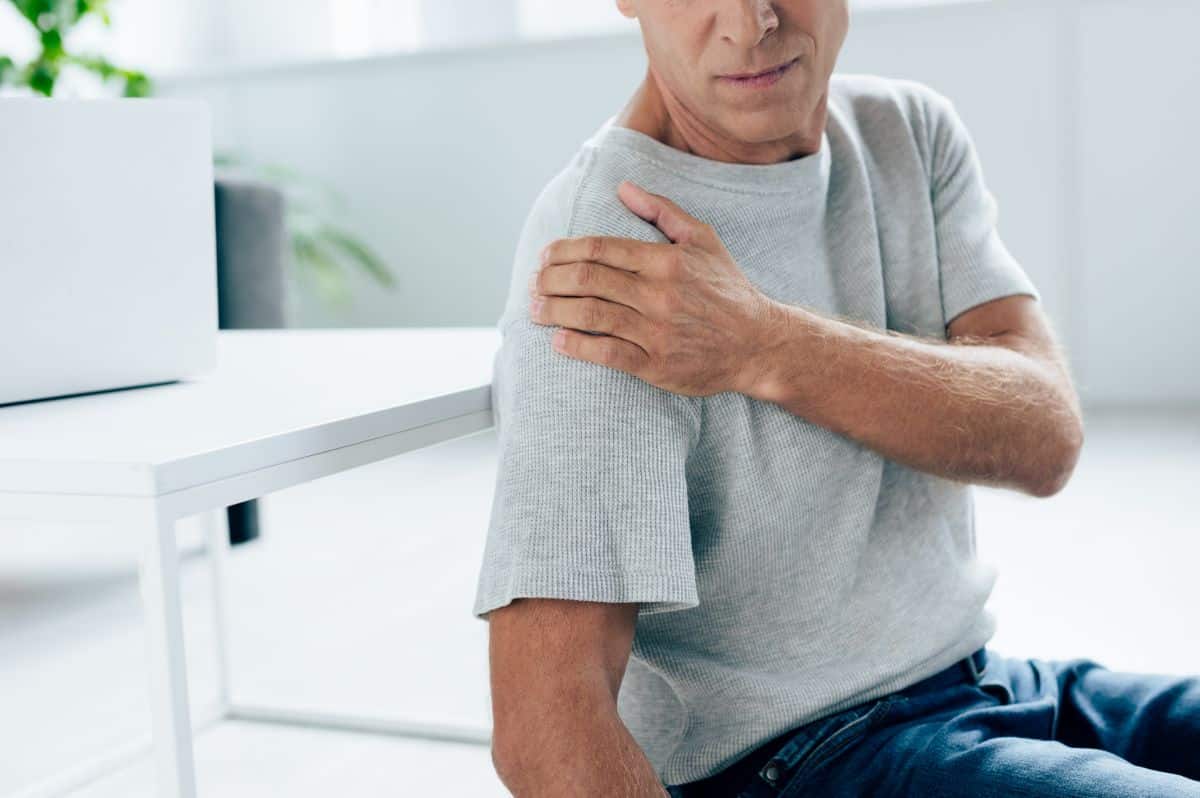
How will you know if you dislocated the shoulder?
The following are common signs and symptoms of a shoulder dislocation:
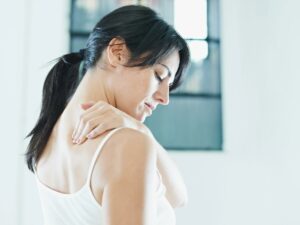
- Pain in the shoulder or upper arm, commonly after a trauma
- An obvious deformity at the shoulder
- Swelling
- Bruising
- Limited use of the arm due to pain
- Numbness and tingling
- Shoulder and upper arm weakness
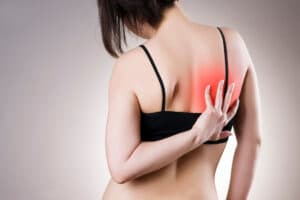
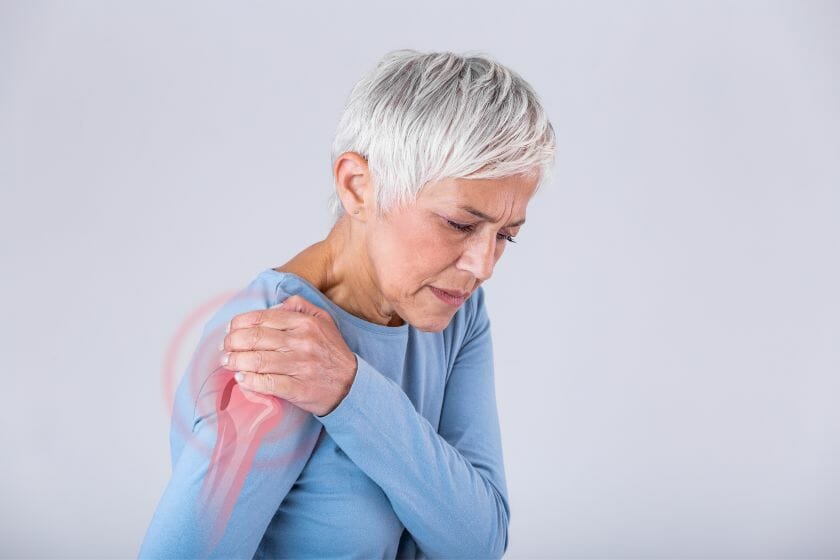
Seeing as shoulder instability is a common side effect from one or more dislocations, let’s take a look at signs and symptoms of shoulder instability as well:
- Recurrent shoulder subluxations (partial dislocations)
- Frequent shoulder dislocations (complete dislocations)
- The shoulder feels excessively loose and unsupported
- More regular shoulder pain
- Shoulder joint deformity
- Numbness or tingling
- Shoulder and upper arm weakness
- Pain when moving the arm
It’s not uncommon for a dislocation to cause additional soft tissue and possible bony damage, such as a torn labrum, rotator cuff tear, and bone loss.
The Latarjet Procedure

This leads us to the latarjet procedure. This surgery is targeted to address anterior shoulder instability.

This isn’t just for any anterior shoulder instability, but specifically for recurrent anterior shoulder instability that involves both soft tissue and significant bone loss or bony damage.
A latarjet procedure involves a bone block technique via a coracoid bone graft. It transfers and attaches the coracoid process, which is on the shoulder blade, to the glenoid. This will provide additional support where there is bone loss.
The attached tendons and subsequent muscles that connect to the coracoid, will be transferred as well during the procedure with the bone graft.
The idea behind this describes three primary benefits:
- A sling is created via a conjoined tendon. The coracoid graft and its attached tendons and muscles, which will provide a significant improvement in supporting and stabilizing the shoulder.
- Adding additional bone to the area of glenoid bone loss, which returns the size of the glenoid bone surface closer to its original condition.
- Repairing the damaged labrum and capsule, similar to a Bankart procedure.
Open Versus Arthroscopic
A latarjet procedure can be performed one of two ways:
- Open
- Arthroscopic
An open shoulder stabilisation approach is more traditional, whereas the arthroscopic version is relatively newer.
An arthroscopic approach is considered more advanced with regards to the technique. It can be a little more challenging as a result, but still just as effective as the open shoulder stabilisation approach when performed by an experienced surgeon trained in arthroscopic procedures.

There have been some studies that have shown the arthroscopic procedure may allow better immediate pain relief after surgery versus the open approach; however, in the following months after surgery, pain management when comparing both techniques is very similar.
Ultimately, both types of approaches seem to have close similarities when it comes to success in treating anterior shoulder instability, low rates of complication, and prevention of recurrent shoulder instability and dislocations.
The choice as to which technique will be performed will essentially come down to the approach your surgeon is trained in.
Other Comparable Procedures
Although the focus of this article is on the latarjet procedure, it might be helpful to compare it to other surgical procedures used to treat recurrent shoulder instability and the differences between them.
- Bankart Repair: This surgery is considered minimally invasive to correct and prevent anterior shoulder instability. It’s indicated primarily for a Bankart injury, which involves soft tissue damage to the labrum, but would not be as successful as the latarjet procedure in addressing bony damage.
- Capsular Shift Surgery: This procedure tightens the loosened ligaments that develop from recurrent dislocations in order to attempt to stabilize the shoulder.
- Remplissage Surgery: This surgery aims to smooth out and correct hill sachs lesions. A hill sachs lesion is a defect in the humeral head. Once smoothed out, the humeral head will then be re-connected to the rotator cuff.
- Total Shoulder Replacement: Extreme degenerative changes, such as with osteoarthritis, and recurrent dislocations/instability from repeat rotator cuff tears can lead to a need for a total shoulder replacement. This surgery will completely replace the ball and socket with artificial components. These are then connected to the humerus via a stem component. As long as the rotator cuff tendons are intact, this surgery can be performed.
- Reverse Total Shoulder Replacement: This is the same as a standard total shoulder replacement, except the ball and socket pieces are reversed. The ball is placed where the socket would go, and the socket is placed where the ball would go. The reason this procedure would be used versus a standard total shoulder replacement would be if the rotator cuff tendons were not intact and therefore dysfunctional.
Contraindications
While the latarjet procedure has been shown to have successful outcomes for recurrent anterior instability, like any surgical procedures, it may not be appropriate for everyone. Let’s take a look at some of the contraindications for performance of this surgery.
- Older populations (>50-years old) with rotator cuff damage not able to be repaired
- First time shoulder dislocation via a trauma in older populations with or without a fracture of the glenoid rim
- Those who voluntarily can dislocate or sublux the shoulder
- Epilepsy that is not controlled due to the risk of fracturing the bone block
- Young athletes who have an unstable painful shoulder and micro-instability
- Anterior instability in a prosthesis after a total shoulder replacement
- A locked anterior dislocation
- Inferior subluxation after a trauma
- Static anterior subluxation or partial dislocation
- Anterior instability with entrapment of the subscapularis or long head of biceps muscles in the joint
Complications
While the latarjet procedure appears to have few complications, the following are possible to consider:
- Recurrent instability (low risk)
- Nerve injury or damage
- Hematoma (rare)
- Infection
- Reduced or loss of external rotation range of motion
- A lack of complete union and healing of the coracoid process bone block
- Bone block fracture or bone loss of the graft
- Osteoarthritis
- Issues related to the specific implants used during the surgery
Recovery After the Latarjet Procedure
The healing process after a latarjet procedure can be long and challenging. Anticipate that you may be placed in a sling for the first few weeks after surgery, possibly up to 6 weeks, to minimize movement.
While full recovery can take up to as long as a year, you won’t necessarily need to be in rehab for that long. Once you’ve demonstrated good pain management and functional use of the arm, you’ll typically be discharged to continue with your home program.
The rehab process will follow a specific protocol, which will guide what you can and cannot do with the arm during certain phases of recovery.
For example, when you’re allowed to begin working on range of motion exercises, you typically will not be able to begin actively moving the arm right away.
You’ll first need to initiate passive range of motion within a specifically allowed range. Some motions may need to be avoided altogether. This will get the shoulder moving but avoid over-activating the healing muscles and other soft tissues.
Here’s an example of two passive range of motion exercises that may be initiated while you’re in rehab.
Shoulder Flexion Table Slide
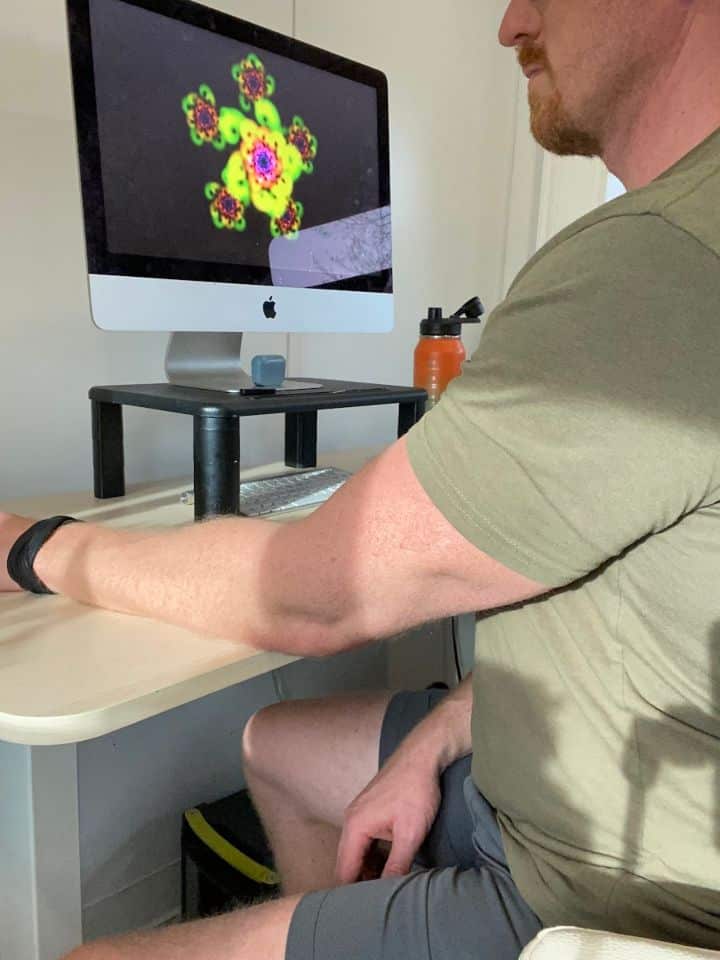
- Seated in a chair in front of a table, such as your kitchen table, assist the surgical arm onto the table in front of you with the palm flat.
- With an upright posture and extended arm, use your body weight to then bend forward and passively slide the arm forward.
- Reach the arm as far as your post-operative instructions allow for, hold for 5 seconds, then return to your starting position.
- Avoid initiating this movement actively with the surgical arm. This is meant to be a PASSIVE motion using the body weight to move the arm back and forth.
- Repeat 10x for 2 sets.
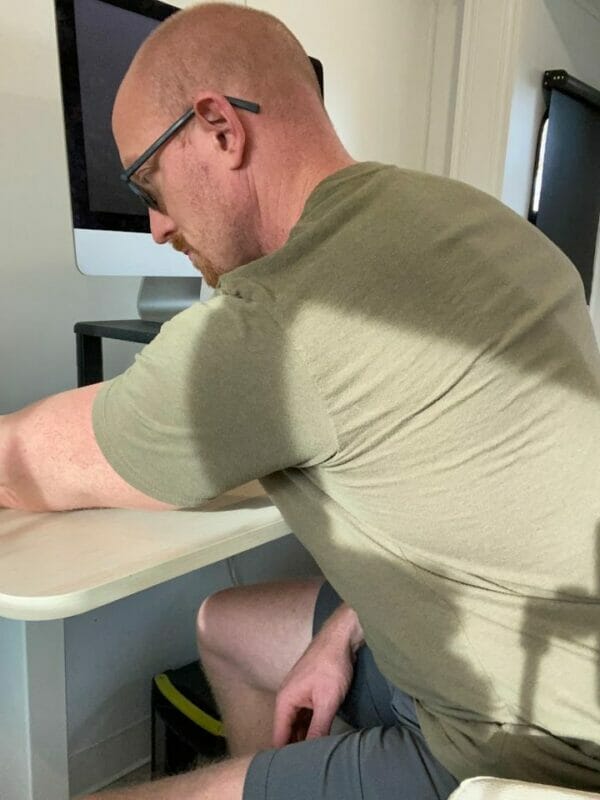
Shoulder Abduction Table Slide
- Seated in a chair next to a table, such as your kitchen table, assist the surgical arm onto the table directly to the side next to you with the palm flat.
- With an upright posture and extended arm, use your body weight to then side-bend towards the arm and passively slide the arm sideways into abduction.
- Reach the arm as far as your post-operative instructions allow for, hold for 5 seconds, then return to your starting position.
- Avoid initiating this movement actively with the surgical arm. This is meant to be a PASSIVE motion using the body weight to move the arm back and forth.
- Repeat 10x for 2 sets.
Here’s a video demonstration to go along with the above images for initial passive range of motion stretches:
At a certain point along the way to recovery, you’ll be allowed to initiate strengthening exercises. It’s common to begin with isometric exercises at first.
An isometric exercise involves a sub-maximal contraction. This will allow a gentle muscle contraction without overstimulating and does not have the arm moving through your normal range of motion.
While an isometric contraction can be performed in all directions the shoulder is able to move, after a latarjet procedure, here are two examples of shoulder isometric directions typically initiated after surgery.
Some directions may be prohibited to practice after surgery until you’re a certain distance along in your post-operative recovery.
Flexion Isometric Contraction
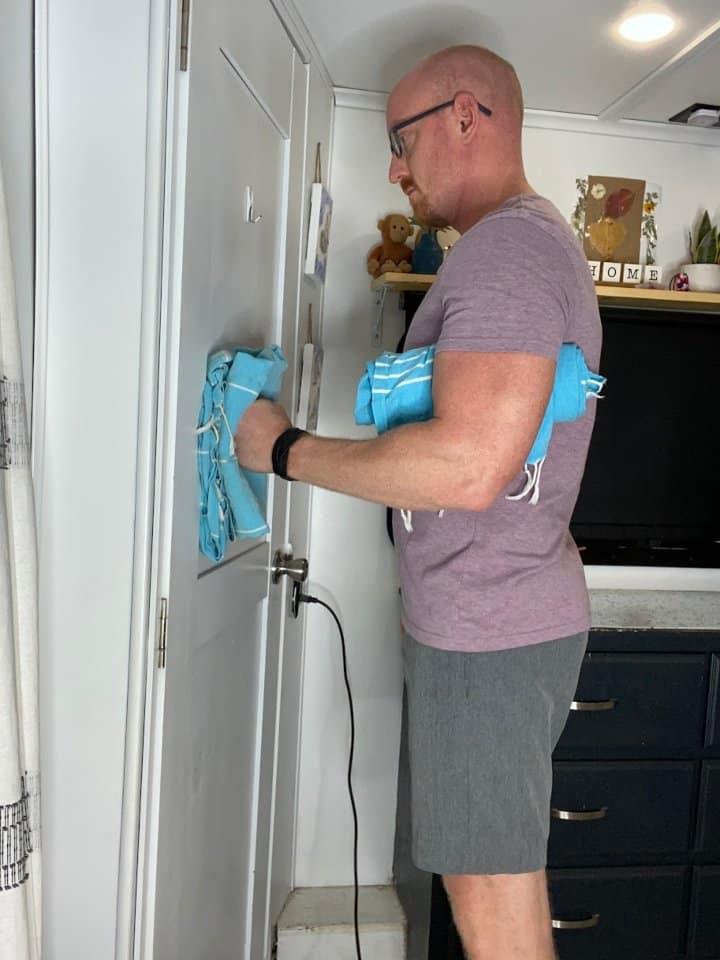
- Position a rolled towel in between the upper arm and torso to support the shoulder. Make a fist and place it in front of you on a wall. You can use a towel or soft ball, like a beach ball, as a cushion.
- The elbow should be bent 90 degrees.
- Gently initiate a forward sub-maximal contraction, without leaning into the ball or wall.
- Hold for 5 seconds, then relax.
- Repeat 10x.
Abduction Isometric Contraction
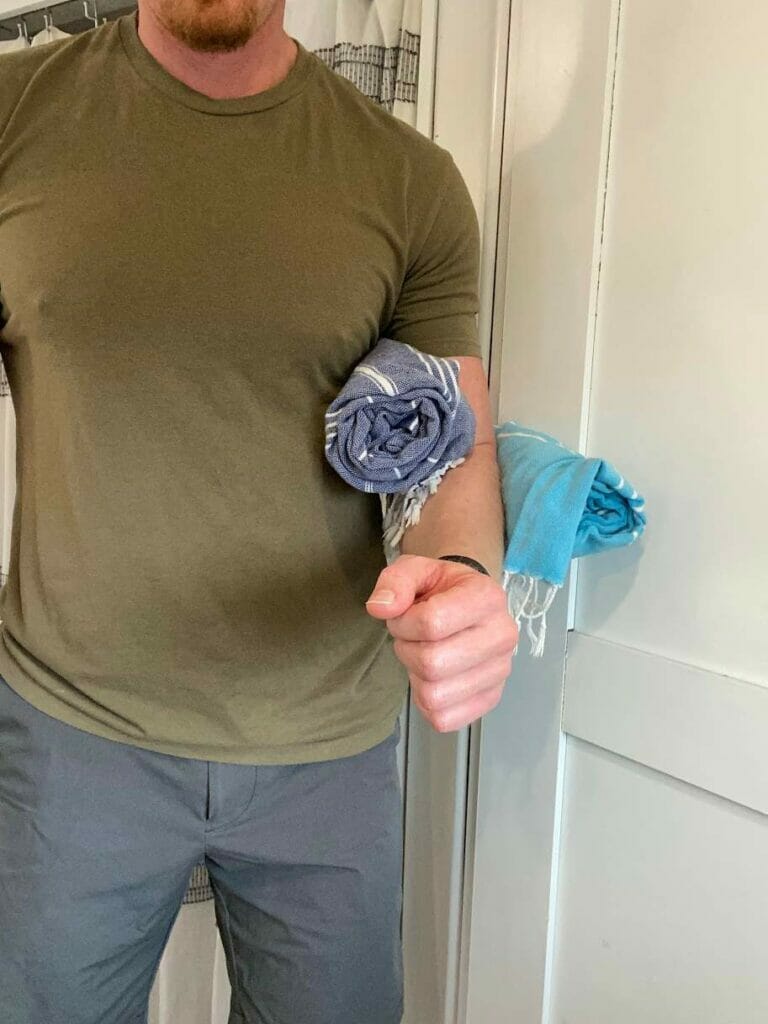
- Position a rolled towel in between the upper arm and torso to support the shoulder. Place the elbow in contact with the wall (use a towel or soft ball, like a beach ball, as a cushion).
- The elbow should be bent 90 degrees.
- Gently initiate a lateral or sideways sub-maximal contraction, leading with the elbow, without leaning into the ball or wall.
- Hold for 5 seconds, then relax.
- Repeat 10x.
For a demonstration of how to do an isometric contraction in all of the directions allowed by the shoulder, take a look at this video. Remember though, don’t practice a motion if you haven’t been cleared to do so yet by your surgeon and/or rehab specialist.
Remember, it’s incredibly important to follow the guidelines given by your surgeon and rehab specialists. DO NOT try to push yourself further along with certain motions and exercises if you haven’t been cleared for this yet.
Key Thoughts
If you’re suffering from ongoing anterior shoulder instability due to recurrent shoulder dislocations, you may want to consult with an orthopedic surgeon to discuss the possibility of a lasarjet procedure.
While this can be a challenging surgery to recover from, it will be worth it to improve your pain and use of the injured shoulder.
Just make sure to listen and follow closely the instructions given by your surgeon and rehab team, and you’ll be on the road to recovery in no time!
FAQ:
Who will rehab me after a latarjet procedure?
Your surgeon will usually refer you to either a physical therapist or occupational therapist for rehab.
If I have shoulder instability, will I automatically need surgery?
Not necessarily.
This very much depends on your individual injury. Sometimes surgeons will recommend going through rehab and see if results can happen without surgery. If you have more severe damage, then surgery may be recommended sooner than later.
Should I use ice or heat after a latarjet procedure?
After any surgery, ice is usually the better choice versus heat. Commonly swelling and inflammation is present while healing, which ice can help in reducing along with pain management.
Wondering What's Next?
Discover 11 Easy, At-Home “Stretch Exercises” for Stronger, Pain-Free Joints (click below)