Free download: Top 10 Natural & Easy Remedies for Joint Pain from Home. Learn these helpful remedies.
Estimated Reading Time: 5 minutes read
Dealing with a distal femoral replacement is a significant life event. This surgery, which replaces the lower part of your thigh bone with an artificial prosthesis, brings about considerable changes in mobility and physical function.
A surgical procedure of this scale can certainly pose challenges, impacting daily life in profound ways. However, adopting a well-rounded rehabilitation regime can make a huge difference in recovery outcomes. You can progressively regain strength, mobility, and confidence by embracing a dedicated routine of specific exercises.

Having a distal femoral replacement is indeed a significant life transition. But remember, this transition opens up new possibilities for improved health and mobility. Understanding what this procedure entails and how to recover effectively is an essential step in this journey.
Table of Contents
Understanding Distal Femoral Replacement
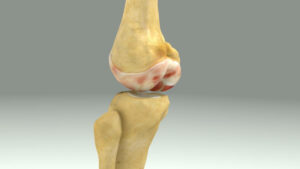
The distal femur is the lower part of the thigh bone that forms the upper part of the knee joint. A distal femoral replacement is a surgery that involves removing and replacing this section of the femur with an artificial part or prosthesis. This operation is usually performed for serious cases of bone damage, such as osteosarcoma, which is a type of bone cancer, or severe trauma, like an extremely complex fracture.
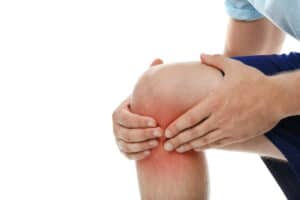
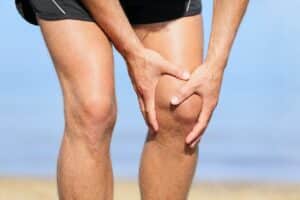
Following the surgery, you may experience a significant decrease in mobility and strength. That’s why rehabilitation exercises are so important. After distal femoral replacement surgery, a well-guided exercise regime can help you gradually regain your mobility and strength. These exercises will help you recover over time and get you back on your feet.
The Recovery Journey: Words of Caution
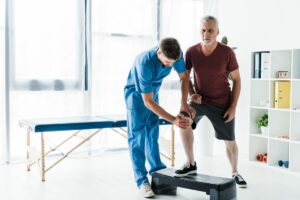
A crucial reminder as you begin your recovery journey: always stick to your surgeon’s advice. While the exercises we’re going to discuss are generally beneficial post-surgery, they should only be undertaken after receiving a clear go-ahead from your doctor.

Regaining strength and mobility is a gradual process, requiring patience and consistency. It’s not about lifting the heaviest weights or performing the highest number of repetitions. Instead, it’s about slowly but surely reintroducing your body to the world of movements.
Exercises to Aid Your Recovery
Assuming you’ve received your doctor’s approval, here are some exercises that you can incorporate into your daily routine to help improve strength and mobility.
1. Ankle Pumps


- While sitting on your bed with the injured leg straight, roll a small towel just under your calf muscle.
- Start the movement by pointing your toe forward and then pulling it back toward your nose.
- Cycle between these two positions for 10 reps and 3 sets.
2. Quad Set
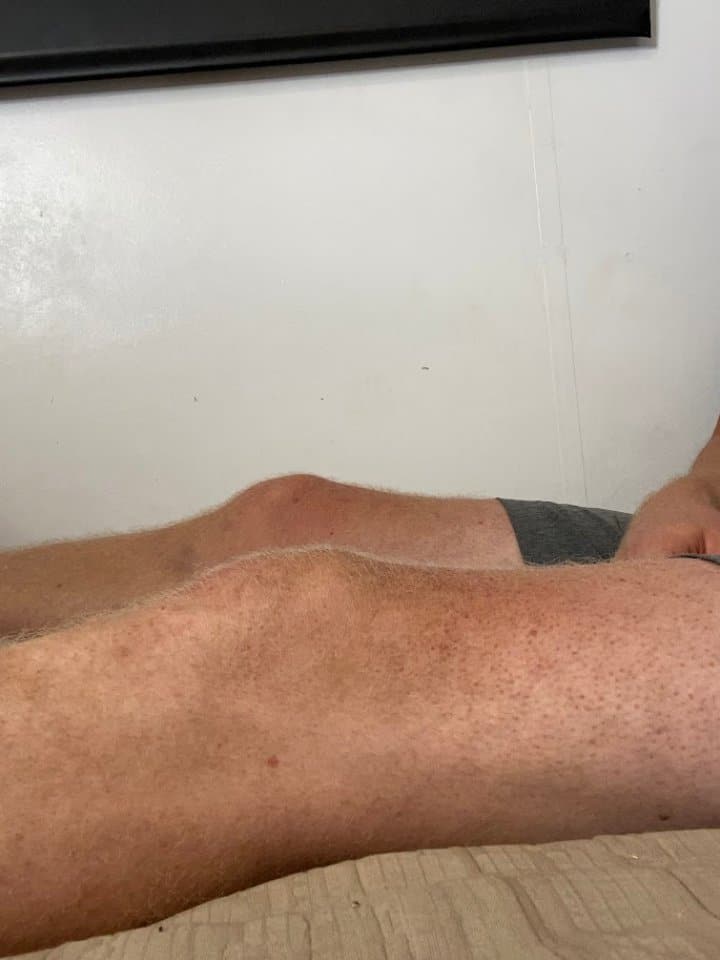
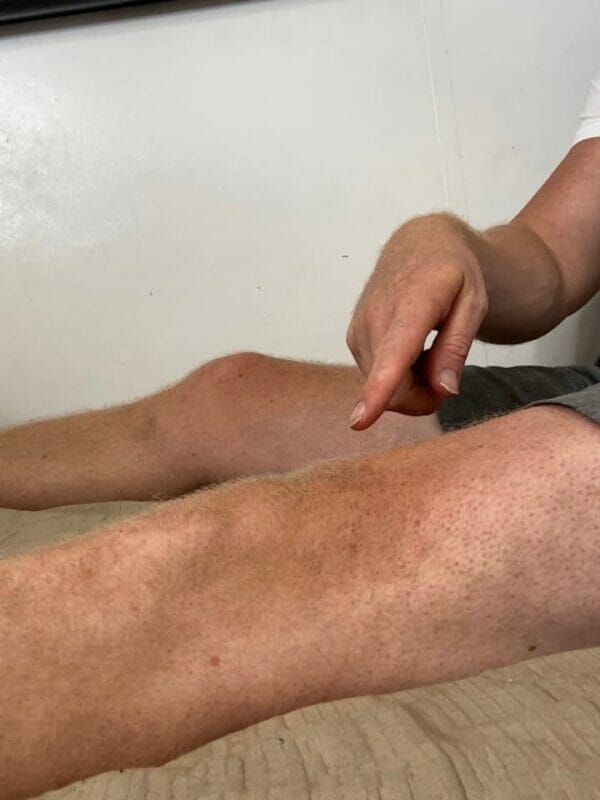
- Starting position: Seated with the injured leg stretched in front of you (can be on the floor, couch, or bed).
- Squeeze the quadriceps (the muscles on the top of the thigh) and try to press the back of the injured knee down toward the surface.
- Hold for 5 seconds, then relax.
- Repeat 10 repetitions for 3 sets.
3. Heel Slides with Rope

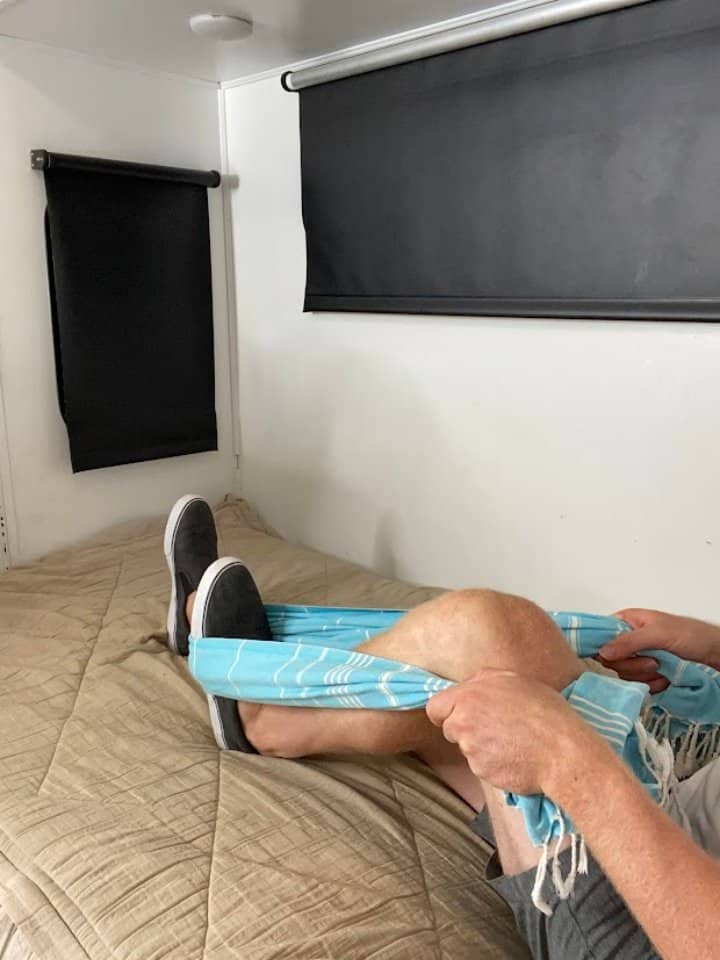
- Starting position: Sitting or laying down with the injured leg in front of you (can be on the floor, couch, or bed).
- Wrap a non-elastic strap around the foot.
- Pull on the strap with the arms to slide the heel towards the bottom while simultaneously bending the knee.
- Hold for 5 seconds, then return to your starting position.
- Repeat 10 repetitions for 3 sets.
4. Side-Lying Leg Lifts


- Lie on your side with legs bent at a 90-degree angle
- Keep your feet and spine in line and your core tight.
- Slowly raise the top leg to hip level.
- Lower your leg back to starting position.
- Then repeat for 10 repetitions and 3 sets. Slowly lift your top leg towards the ceiling about 6-12 inches, keeping your leg in line with your body, don’t let it float forward. Then lower your leg back down.
- Keep your hips and shoulders square to the wall in front of you while your leg moves.
- If you don’t feel increased pain, try to complete three sets of ten on each side.
5. Side Lying Hip Adduction


- Lie on your side with your top leg bent and your bottom leg straight and positioned slightly in front of the top leg.
- Ensure that the foot of your bottom leg is pointing straight forward.
- Lift your bottom leg a few inches off the floor, controlling the movement.
- Lower your leg back down to the starting position.
- Repeat this leg lift for 10 repetitions.
- Complete 3 sets of leg lifts on each side.
- Focus on engaging your inner thigh muscles throughout the exercise.
These exercises are designed to stimulate your muscles and aid your recovery. It’s essential to pay close attention to your body while performing these exercises. If you experience any pain, it’s time to pause. Remember, it’s not about pushing past your limits but about gradual and consistent progress toward healing.
Conclusion
Recovering from a distal femoral replacement surgery can feel daunting, but remember that the most challenging part – the surgery itself – is behind you. Now, the challenge lies in regaining your mobility and strength, a challenge you’re more than capable of tackling.
These exercises aren’t just about rehabilitation. They’re also about reclaiming your independence and getting back to the activities you love. From enjoying a leisurely walk without foot pain to doing the cha-cha at your granddaughter’s wedding, these exercises will put you on the path toward achieving those goals. Just as those suffering from ankle arthritis gradually regain their mobility through consistent effort, your recovery journey will be marked by small yet significant victories. Keep going, and remember, each step you take brings you one step closer to your goal.
Wondering What's Next?
Discover 11 Easy, At-Home “Stretch Exercises” for Stronger, Pain-Free Joints (click below)