Free download: Top 10 Natural & Easy Remedies for Joint Pain from Home. Learn these helpful remedies.
Estimated Reading Time: 7 minutes read
Ever had that pesky shoulder pain while reaching for something high up on a shelf or even when trying to get comfortable in bed? If so, you might be dealing with Subacromial Impingement Syndrome. This condition is a bit like a traffic jam in your shoulder, where your rotator cuff muscles get caught in the narrow passage between your shoulder bones. We call this space the ‘subacromial space.’ Sound familiar? If so, you’re certainly not alone. This is a common shoulder condition.
The good news is that Subacromial Impingement Syndrome is not as daunting as it sounds. And the hero of this story is exercise. Yes, that’s right, regular and targeted exercise can help reduce your pain and strengthen your shoulder, making it more resilient. So, are you ready to dive in? Let’s jump into it then!

Table of Contents
Exercises for Addressing the Subacromial Impingement Syndrome
Shoulder pain can be tough, but it doesn’t have to be a permanent fixture in your life. There are several exercises that can help:
1. Isometric Shoulder Flexion
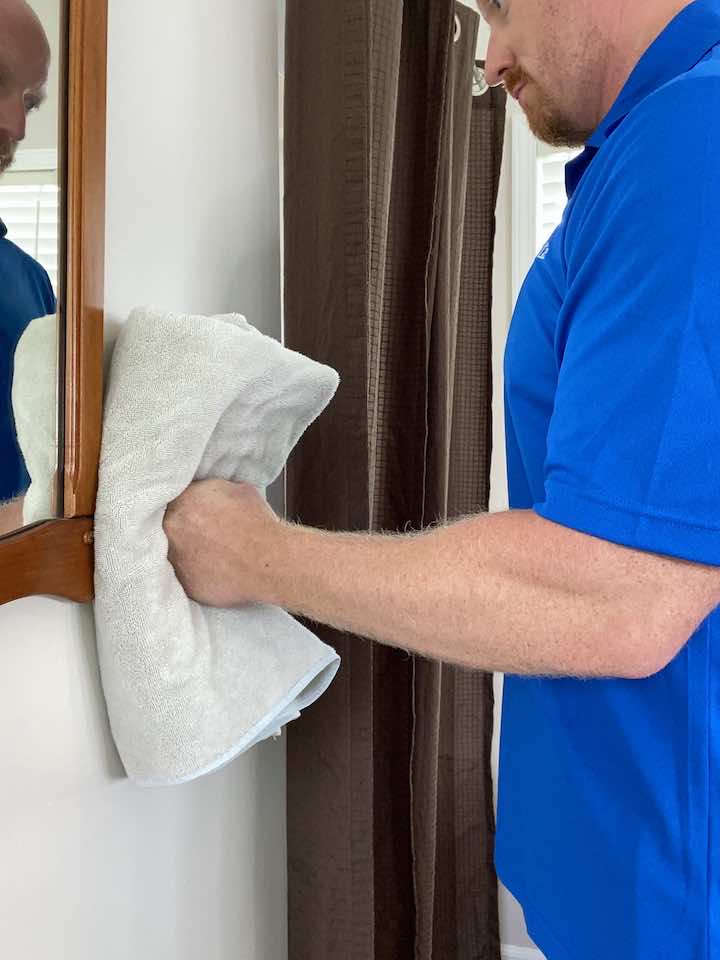
- Stand facing the wall with your elbow bent at a 90-degree angle.
- Gently press your fist into the wall, gradually increasing the pressure to approximately 50-60% of your maximum strength.
- Hold this position for 5 seconds, focusing on the activation of the muscles in the front of your shoulder and arm.
- Repeat the exercise eight times, maintaining proper form and control throughout each repetition.
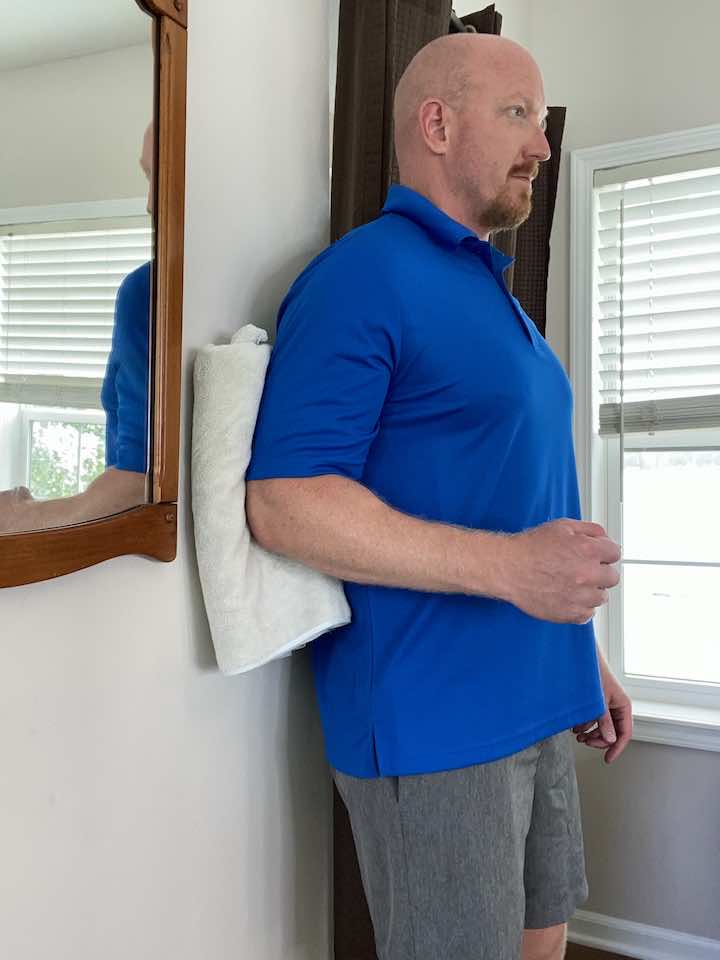
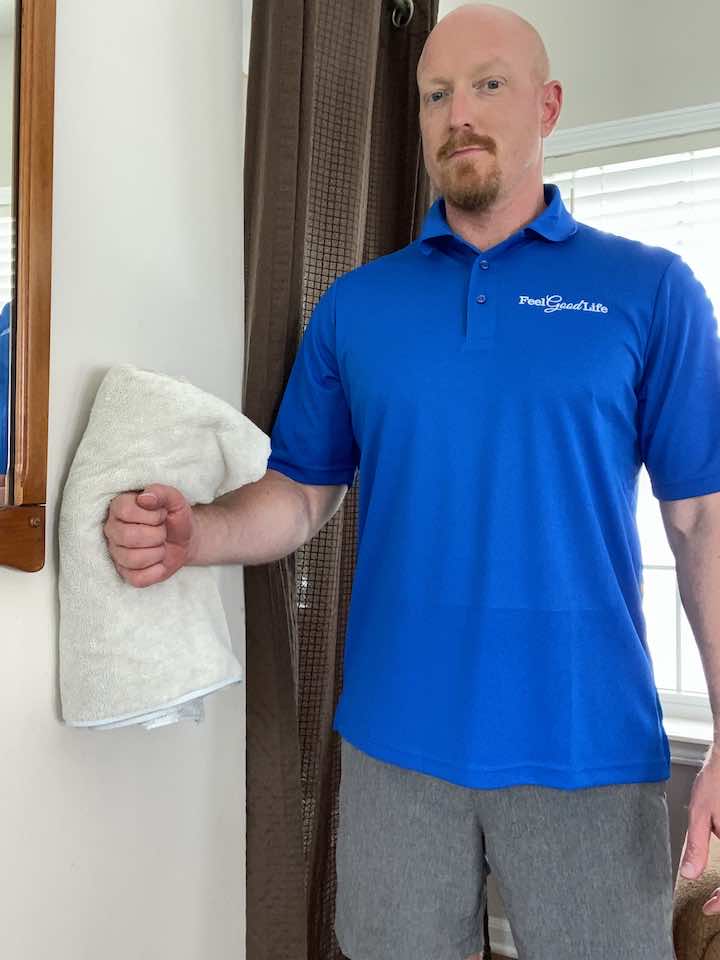
2. Isometric Shoulder Extension
- Stand with your back against the wall, ensuring your elbow is bent at a 90-degree angle.
- Gently press the back of your elbow into the wall, gradually increasing the pressure for 5 seconds.
- Start with about 50-60% of your maximum strength, considering your pain levels. Avoid pressing too hard if you experience cramping or a significant increase in pain.
- Repeat the exercise eight times, focusing on activating the muscles in the back of your shoulder and arm.
3. Isometric Shoulder External Rotation
- Stand in a door frame with your elbow bent at a 90-degree angle.
- Place the back of your hand against the door frame, focusing on the area just above your wrist.
- Gently press the back of your hand into the door frame, gradually increasing the pressure to approximately 50-60% of your maximum strength.
- Hold this position for 5 seconds, concentrating on activating the muscles responsible for external rotation.
- Repeat the exercise eight times, feeling the muscles engage on the outside of your arm and shoulder.
4. Isometric Shoulder Internal Rotation
- Stand in front of a door frame with your elbow bent at a 90-degree angle.
- Place the palm of your hand against the door frame, focusing on the area just above your wrist.
- Gently press the palm of your hand into the door frame, gradually increasing the pressure to approximately 50-60% of your maximum strength.
- Hold this position for 5 seconds, concentrating on activating the muscles responsible for internal rotation.
- Repeat the exercise eight times, feeling the muscles engage on the inside of your shoulder and arm.
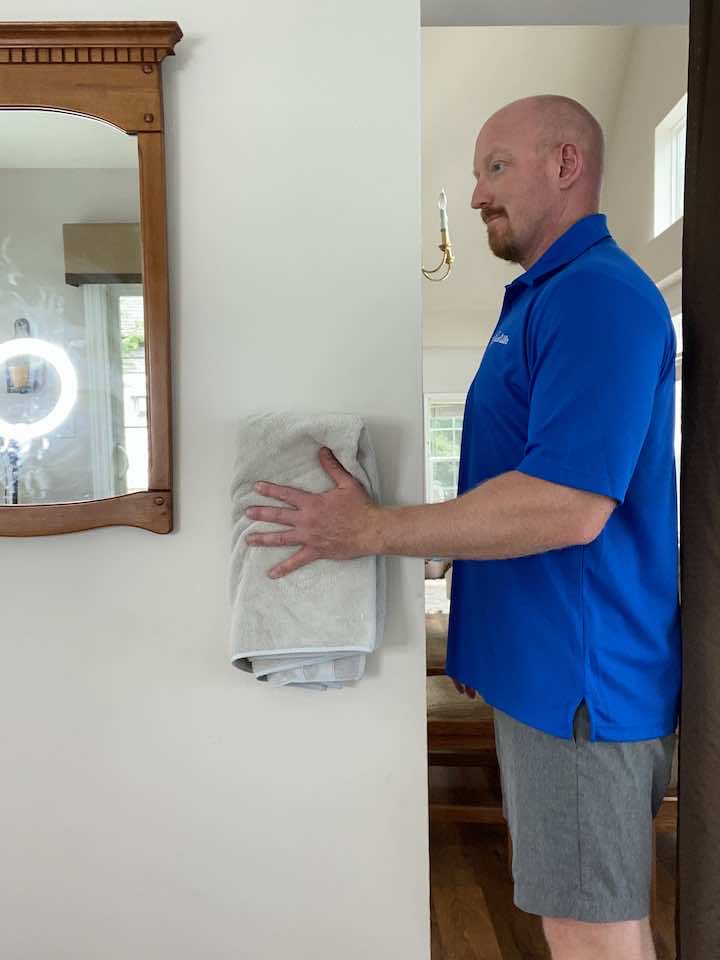
5. Isometric Shoulder Abduction
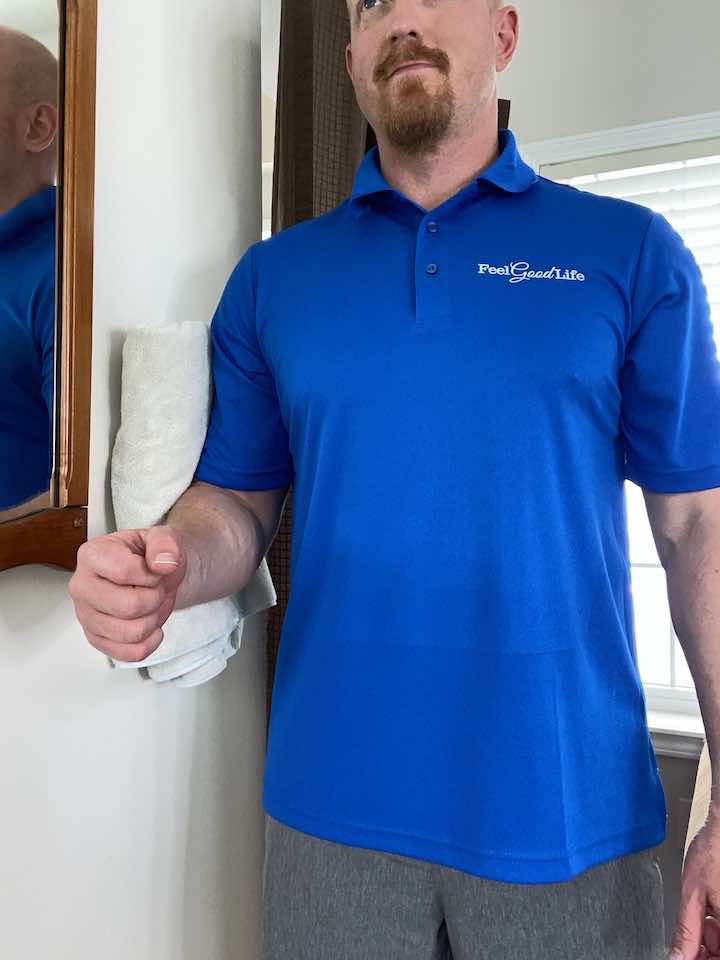
- Stand next to a wall with your side facing it.
- Place a pillow between your arm and the wall.
- Push your arm away from your body, pressing the pillow into the wall.
- Feel the contraction in your shoulder muscles.
- Hold the contraction for a few seconds.
- Relax and release the pressure.
- Repeat the exercise as desired to target your shoulder muscles.
The Benefits of Isometric Exercises
Isometric exercises are an incredibly effective starting point when dealing with subacromial impingement. These exercises allow you to target specific muscles, strengthening them without overburdening your shoulder. Over time, these exercises will help reduce pain, increase stability, and improve function in your shoulder. They provide a strong foundation for your shoulder recovery journey.
Moving Beyond the Pain
Once your pain starts to decrease, we can start introducing some more active exercises.
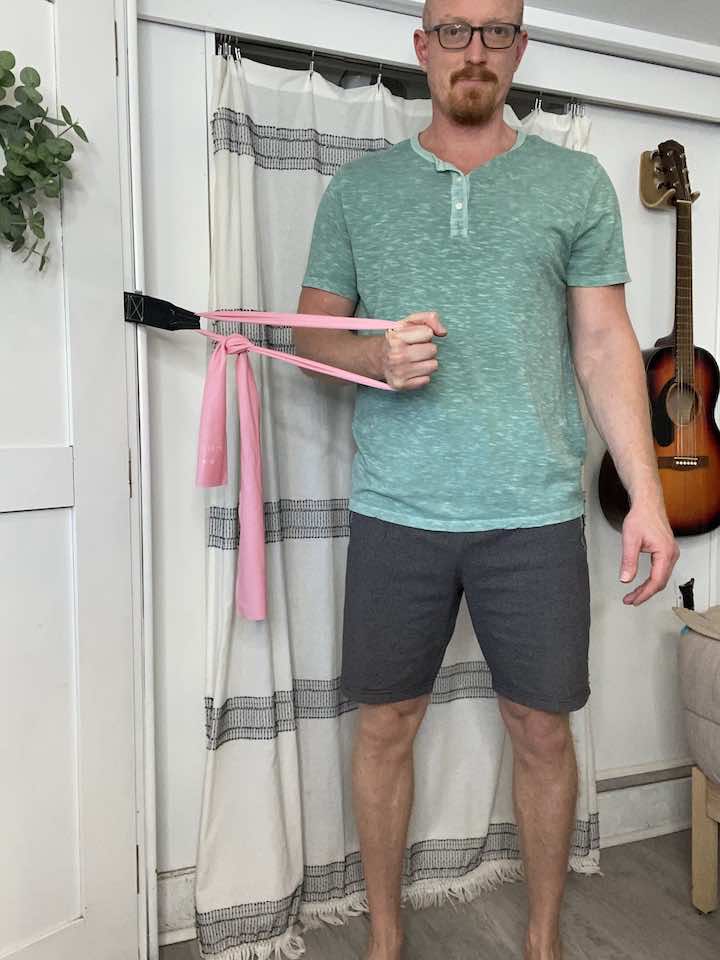
1. External Shoulder Rotation with a Resistance Band

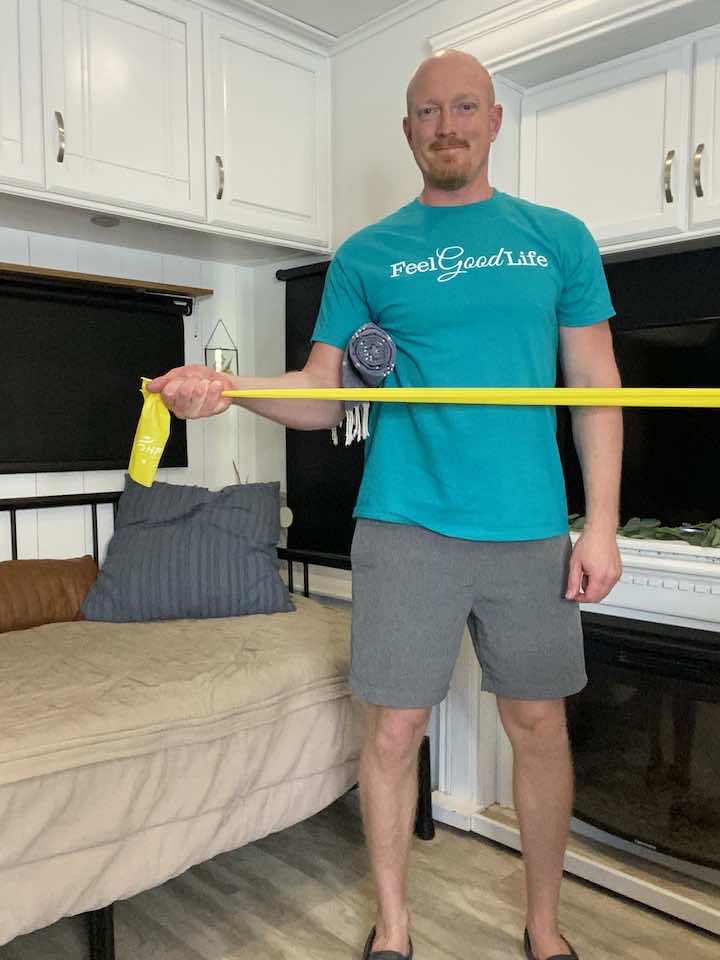
- Attach one end of the resistance band to a secure location, such as a doorknob or post, at the height of your elbow to perform the correct motion.
- Stand facing the band and hold the other end with your hand on the same side, elbow bent at a 90-degree angle and tucked by your side, and palm facing towards your body.
- Keeping an upright posture, slowly pull the band away from your body, rotating your arm outward and away from your torso while maintaining the 90-degree angle of your elbow.
- Hold this position for 2 seconds, then return to your starting position.
- Repeat the movement for 10 repetitions, then switch to the other arm.
- Aim for 3 sets of this exercise.
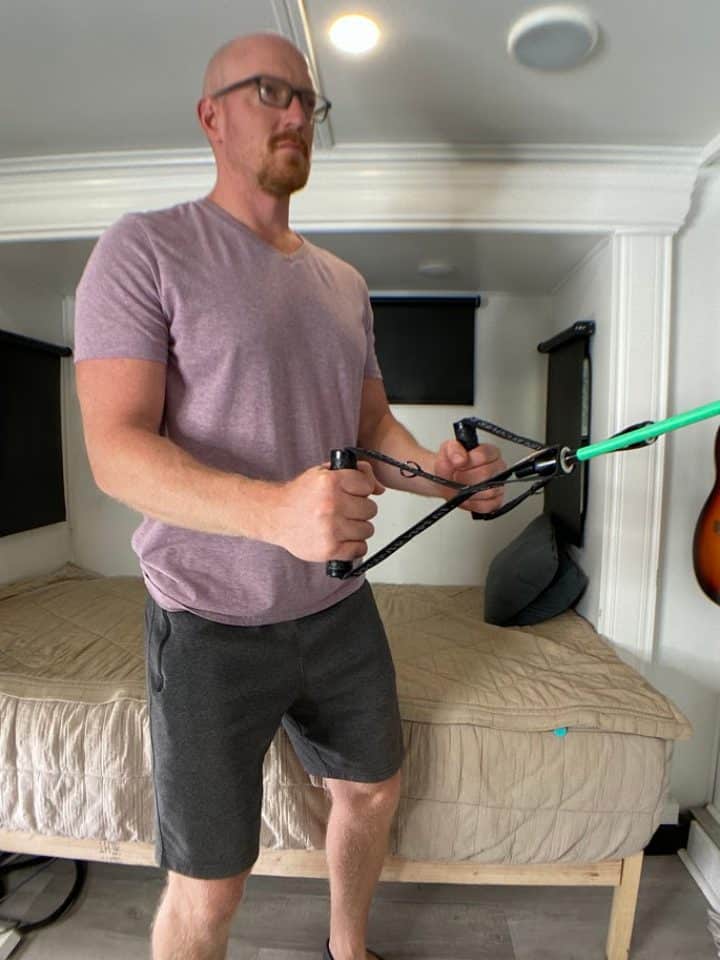
2. Internal Shoulder Rotation with a Resistance Band
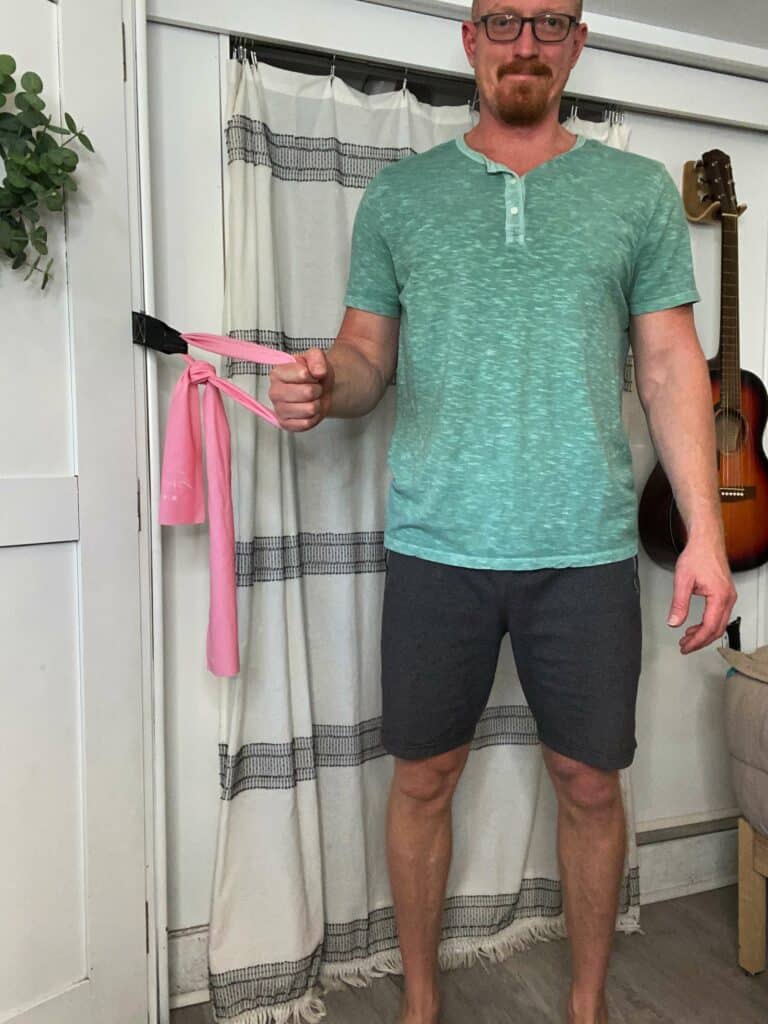
- To perform this exercise, you will need to attach one end of the band to a secure location, such as a doorknob or post, at the height of your elbow to perform the correct motion.
- Keeping an upright posture, slowly pull the band towards your stomach while maintaining the 90-degree angle of your elbow.
- Hold for 2 seconds, then return to your starting position.
- Repeat the movement for 10 repetitions, then switch to the other arm.
- Aim for 3 sets of this exercise.
3. Upright Row
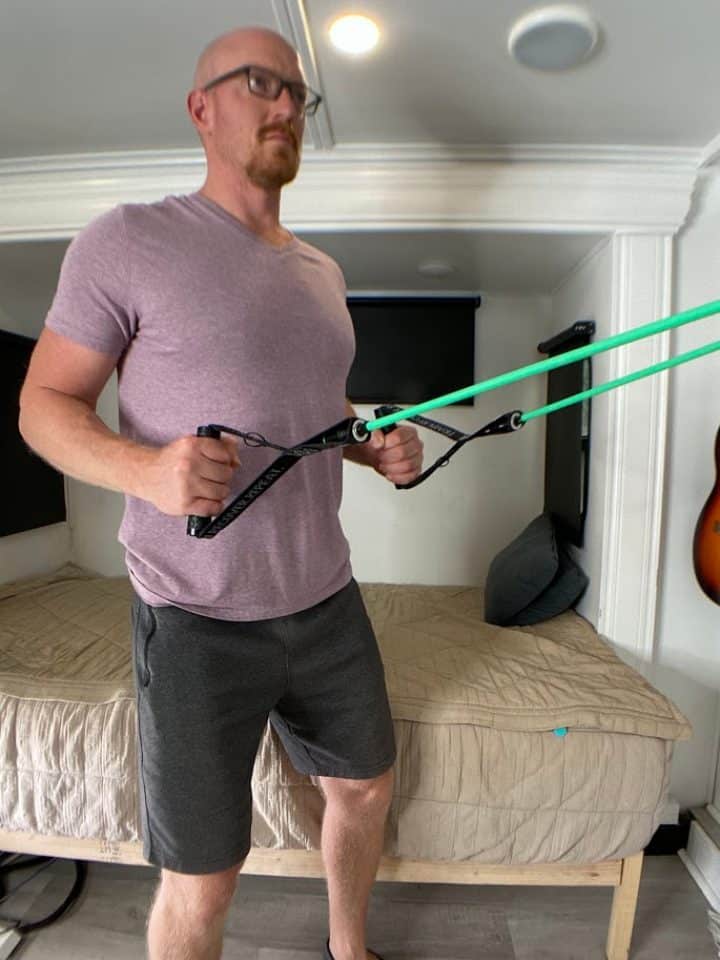
- Hold on to the ends of a resistance band (light, medium or heavy), which you can attach to a door knob.
- Begin with the arms elevated in front of you to shoulder height and the palms facing each other.
- Step back far enough that the resistance bend has a little tension.
- Pull back on the band by bending the elbows and swinging the arms back next to you. Make sure to squeeze the shoulder blades together.
- Hold for 2 seconds, then return to your starting position.
- Repeat 10 repetitions for 3 sets.
4. Pec Stretch in the Door

- Stand in a doorway with your feet shoulder-width apart.
- Place your forearms on each side of the doorframe, with your elbows at a 90-degree angle.
- Step forward with one leg, stretching your chest muscles gently.
- Keep your head and chest lifted, and avoid arching your lower back.
- Hold the stretch for at least 30 seconds, feeling a gentle pull in your pec muscles.
- Repeat the stretch on both sides for 3 repetitions.
The Benefits of Active Exercises
These active exercises are an integral part of your recovery process. They continue the good work of strengthening your shoulder and improving its overall mobility and flexibility.
Furthermore, they help to reintroduce your shoulder to regular movements, which aids in returning to daily activities. With regular practice, you’ll find your shoulder becoming stronger, more flexible, and pain-free.
Consistency is Key
Consistency, as with most things in life, is crucial. Just as your favorite TV series is best enjoyed regularly, these exercises need to be part of your daily routine. It’s not a sprint; it’s a marathon. With patience and consistency, these exercises will aid in mitigating the pain and increasing the strength and flexibility of your shoulder.
So, do these exercises regularly, and remember to listen to your body. If an exercise causes pain, take it easy and perhaps revert to a previous stage. Over time, you will make progress, and that nagging shoulder pain will decrease.
Conclusion
And there we have it – a set of effective exercises that can help you manage and potentially overcome Subacromial Impingement Syndrome. By including these exercises in your routine, you are taking an active role in your recovery. You’re not merely enduring the pain but doing something about it.
So, here’s to pain-free shoulders and happier days ahead! Remember, recovery takes time and patience, so don’t be discouraged if progress seems slow. Just like a tree doesn’t grow overnight, your shoulder needs time to heal and strengthen. With consistency and dedication, you will see improvements, and that pesky shoulder pain will become a thing of the past.
Wondering What's Next?
Discover 11 Easy, At-Home “Stretch Exercises” for Stronger, Pain-Free Joints (click below)