Free download: Top 10 Natural & Easy Remedies for Joint Pain from Home. Learn these helpful remedies.
Estimated Reading Time: 6 minutes read
Hamstring tears can be challenging. They cause discomfort and can limit your daily activities. But rest assured, it’s a hurdle that many athletes and non-athletes alike have overcome. Remember, healing is not about speed but consistent, dedicated efforts. It’s a journey, not a race. Your body requires time to recover properly.
When initially faced with a hamstring tear, it may feel like a steep hill to climb. However, through focused patience and the right set of exercises, your strength and flexibility can be restored. Think of it as a personal project, somewhat like addressing issues such as a sprained ankle or flat feet. It can be challenging, but it’s certainly achievable. Let’s get started on your path to recovery!

Table of Contents
Understanding Hamstring Tears and Their Stages
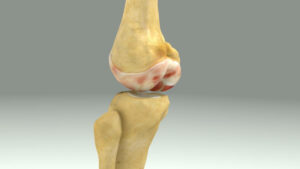
A hamstring tear happens when your hamstring muscle is stretched beyond its limit. There might be swelling and sharp pain, but don’t worry, that’s your body’s way of sounding the alarm that something’s not right.
Before I delve into exercises, it’s crucial to understand the different stages of a hamstring tear. Doctors typically classify hamstring tears into three grades:
- Grade 1: Mild strain with a few torn muscle fibers, but the muscle is still intact.
- Grade 2: Moderate strain with more torn fibers and a more pronounced loss of strength and flexibility.
- Grade 3: Severe strain or complete tear of the muscle, which might require surgery.
The grade of your tear will determine the course of your treatment, so it’s essential to consult your doctor or physical therapist before starting any exercise regimen.
Early Stage Exercises for Hamstring Tear
After getting the all-clear from your doctor, and if your tear isn’t severe, here are some exercises to help you kickstart your journey to recovery:

1. Ankle Pumps


- While sitting on your bed with the injured leg straight, roll a small towel just under your calf muscle.
- Start the movement by pointing your toe forward and then pulling it back toward your nose.
- Cycle between these two positions for 10 reps and 3 sets.
2. Quad Sets
- Starting position: Seated with the injured leg stretched in front of you (can be on the floor, couch, or bed).
- Squeeze the quadriceps (the muscles on the top of the thigh) and try to press the back of the injured knee down toward the surface.
- Hold for 5 seconds, then relax.
- Repeat 10 repetitions for 3 sets.
These initial exercises serve as the foundational steps towards your recovery, designed to help you gradually regain strength and improve your mobility post-injury.
Progressive Rehab Exercises for Hamstring Tear
Once the inflammation begins to ease and the bruising starts to fade, it’s time to take your recovery to the next level. Here are some more challenging exercises to help you progressively restore strength and mobility:
1. Heel Slides with Rope

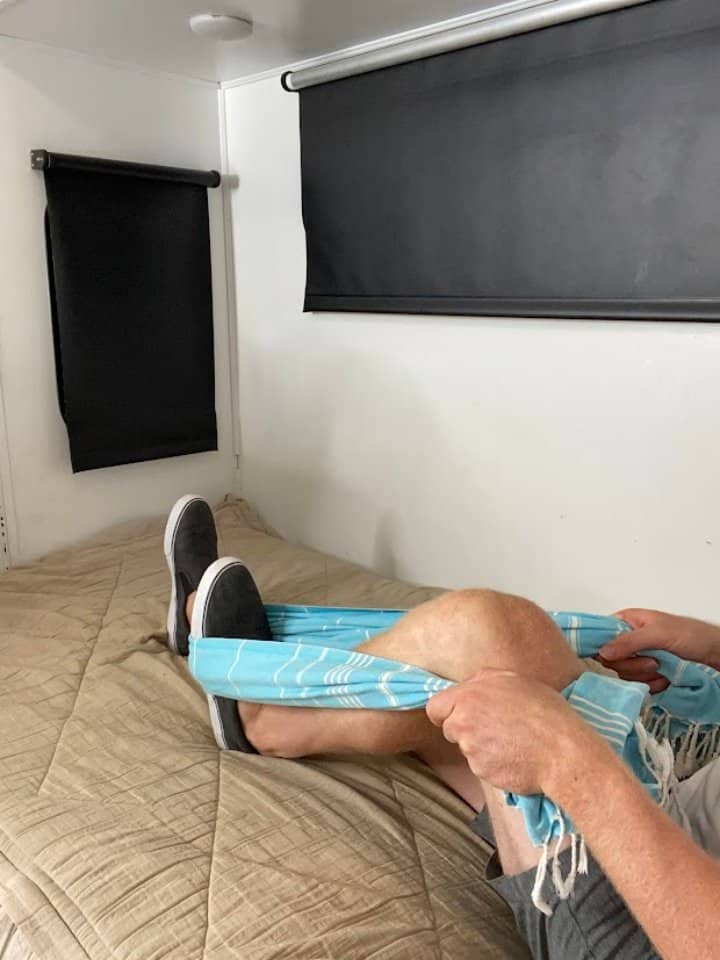
- Starting position: Sitting or laying down with the injured leg in front of you (can be on the floor, couch, or bed).
- Wrap a non-elastic strap around the foot.
- Pull on the strap with the arms to slide the heel towards the bottom while simultaneously bending the knee.
- Hold for 5 seconds, then return to your starting position.
- Repeat 10 repetitions for 3 sets.
2 .3-Angle Isometric Knee Flexion
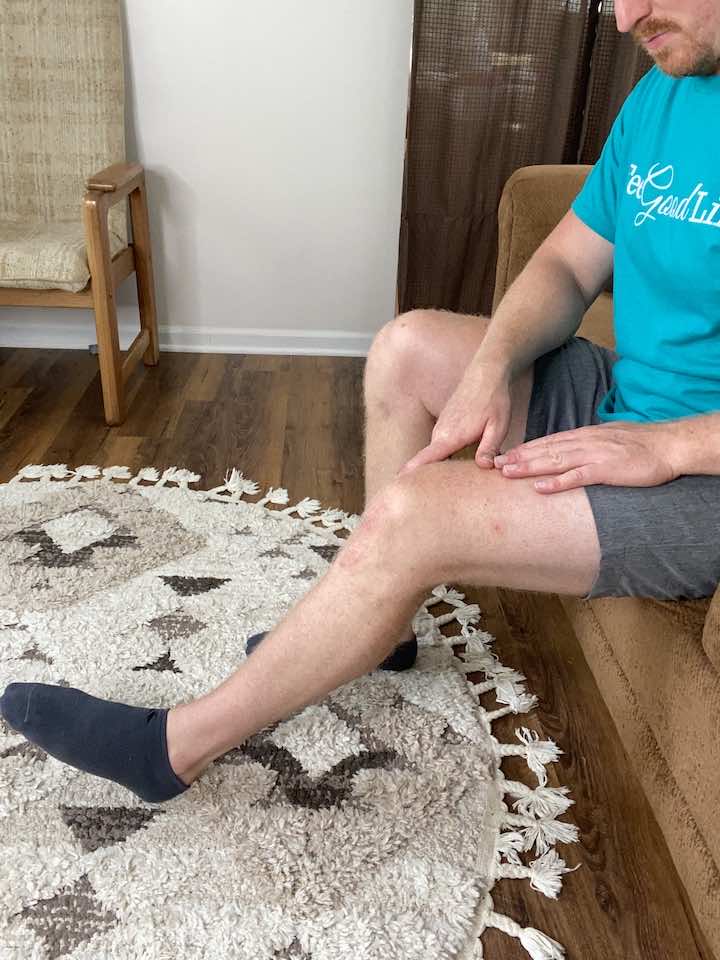
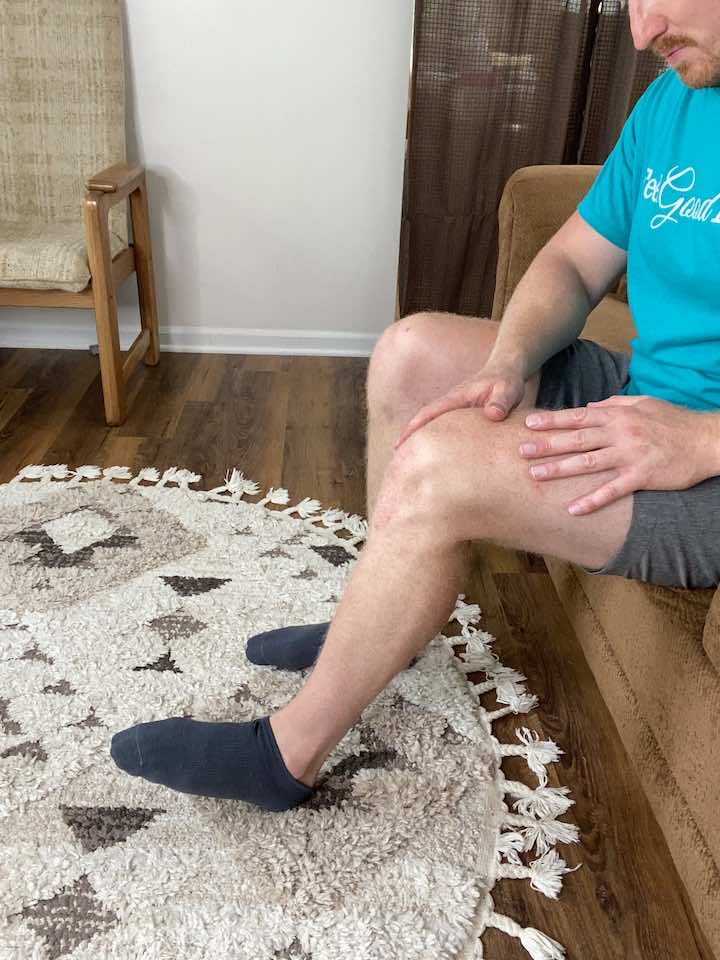
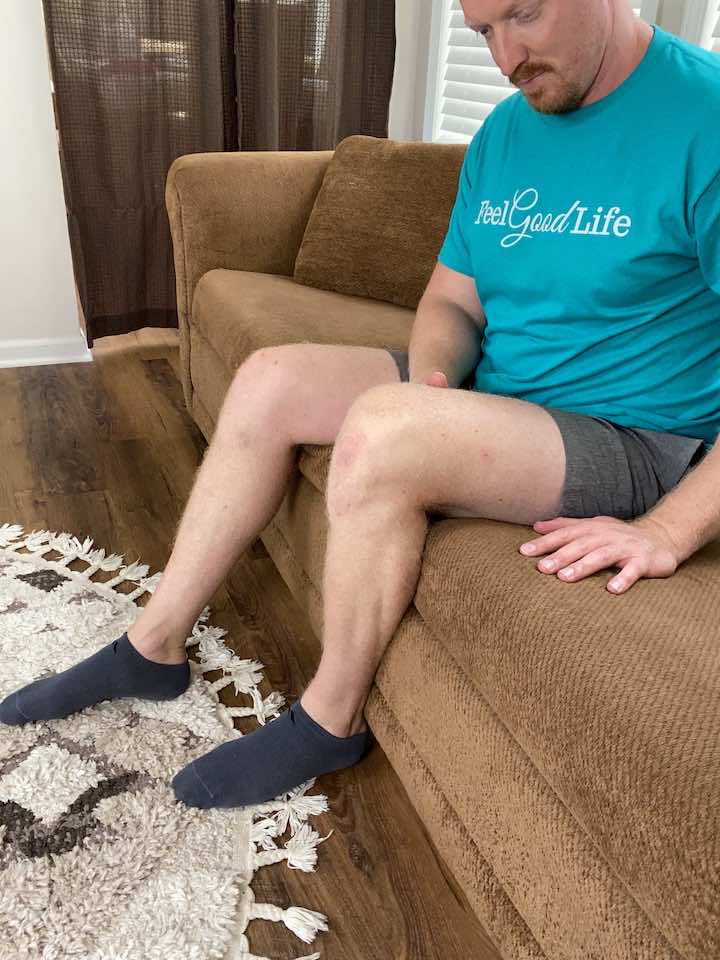
- Sit in a chair with your knee bent at a 90-degree angle.
- Press your heels down and backward against the floor for 5 seconds.
- Move your leg back towards the chair and once again press down and backward for 5 seconds at this new angle.
- Adjust your legs to form a 90-degree angle and, for the final repetition, press down and backward for 5 seconds.
- Repeat this exercise for 10 repetitions and complete 3 sets.
- Remember to limit the force based on your pain.
3. Seated knee extension
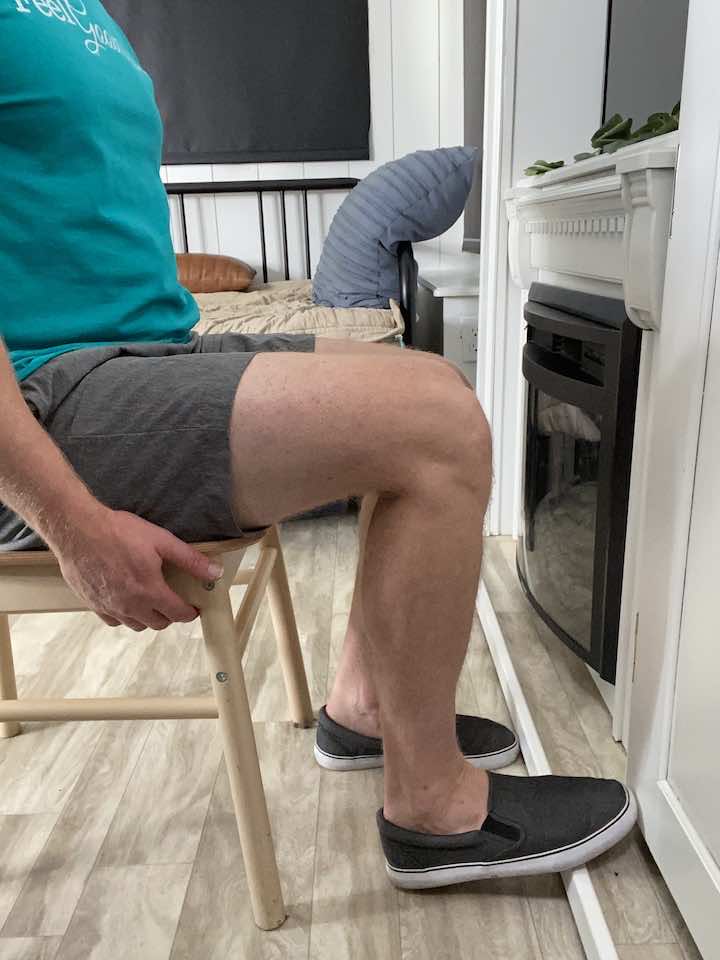
- Sit in a chair about a foot away from a wall, with your knees at a 90-degree angle and your spine in a neutral position.
- Press your toe into the wall to tense your thigh muscle.
- Push with about 70-80% of your maximal exertion for 10 seconds.
- Release the tension and rest for a few seconds.
- Repeat this exercise for a total of 3 times per knee.
4. Clamshells


- Start by laying on your side with both knees bent.
- Keep your feet in contact with each other, and then rotate your top leg up. Ensure you keep your spine aligned and your hips don’t rock back! The rule of thumb is to do a smaller range of motion if you think your back is moving.
- Rotate your top leg back down to the starting position.
- Do this exercise 10 times in each set.
- Complete 3 sets of the exercise.
5. Standing Hip Extension (only lifting the injured leg)

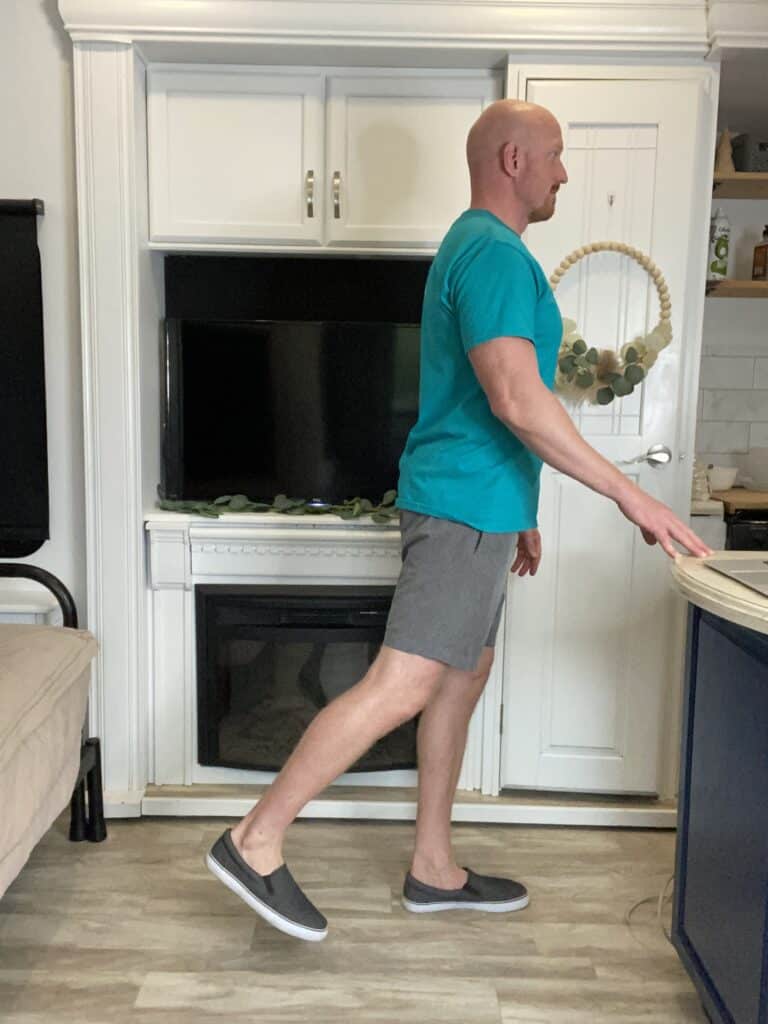
- Stand tall with your hands placed on a steady surface, such as a counter, sink, or chair (without wheels), to hold onto for balance.
- Shift your weight onto your left leg, keeping a slight bend in your left knee to avoid locking it out.
- Keeping your toes pointed forward and your right leg straight, lift your right leg back a few inches.
- Lower your leg back down to the starting position.
- Repeat this movement for 10 repetitions only on the injured leg.
- Do a total of 3 sets of this exercise.
6. Standing Hip Lifts (only lifting the injured leg)


- Stand tall with one hand placed on a bed or chair for support.
- Balance on your left leg, keeping a slight bend in your knee to avoid locking it out.
- Lead with your heel and lift your right leg out to the side, keeping your foot flexed.
- Be sure not to lean to the left while lifting your leg.
- Lower your leg back down to the starting position.
- Repeat this movement for 10 repetitions only on the injured leg.
- Do a total of 3 sets of this exercise.
- If pain increases, wait for two weeks and try again.
Conclusion
Starting a recovery journey from a hamstring tear comes with its unique set of challenges. There will be ups and downs, days where progress seems slow, and others where you feel triumphant. But remember, every step, no matter how small, is a step towards recovery.
Your dedication to healing is crucial for a successful recovery. So, here’s to patience, perseverance, and your first pain-free steps! You’re not merely rehabilitating a hamstring tear, but you’re also laying the groundwork for stronger, more resilient hamstrings. Keep up the excellent work!
Wondering What's Next?
Discover 11 Easy, At-Home “Stretch Exercises” for Stronger, Pain-Free Joints (click below)