Free download: Top 10 Natural & Easy Remedies for Joint Pain from Home. Learn these helpful remedies.
Estimated Reading Time: 7 minutes read
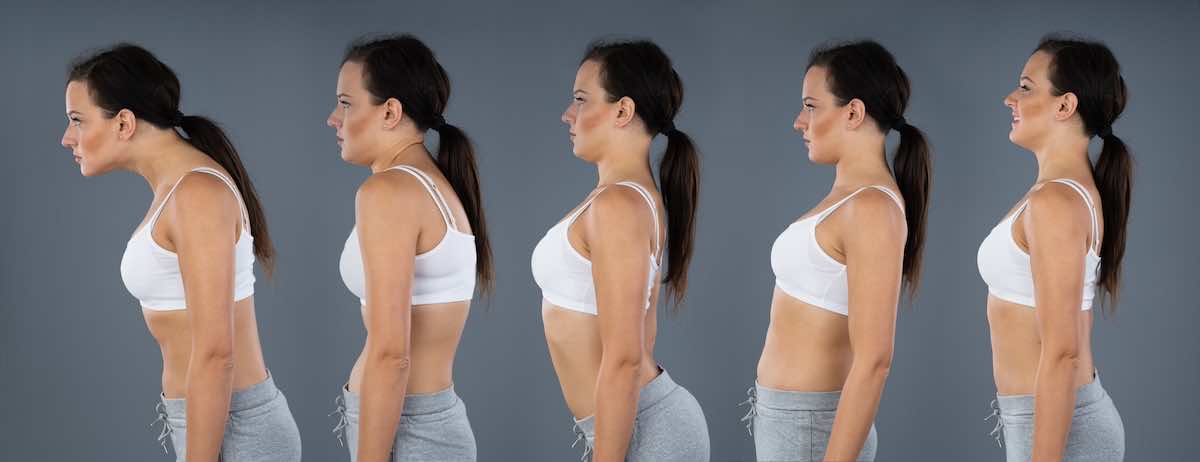
Many of us spend a lot of time staring at screens these days. Whether it’s a computer, phone, or TV, these devices have changed how we hold our heads. Over time, this has led to a common issue called forward head posture.
Imagine how your head leans forward when you’re checking out your phone; now, imagine it is staying like that. Not a good look, right? More than looks, it can also cause neck and shoulder pain, headaches, and even mess with how we breathe.

This slouched posture has become more familiar with the rise of technology use. But don’t worry! With the right exercises, you can help correct it and save yourself from potential pain and health issues down the road.
Table of Contents
The Rise of Forward Head Posture: Why Does It Happen?
Our modern lifestyle is a big reason behind this posture problem. Hours spent on laptops, smartphones, and watching TV mean our heads lean forward a lot.
This isn’t how our bodies are designed to be; over time, it becomes a habit. It’s not just about tech, though. Reading, driving, and even some hobbies can make us lean in too much.
Our neck muscles get used to this position when we do these things for long. This can lead to our head staying forward, even when we aren’t doing these activities.
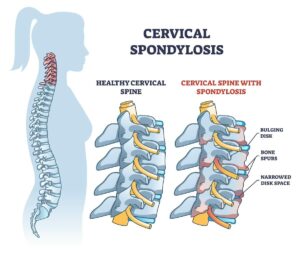
Over time, our muscles adapt to this position. The neck and shoulder muscles become weak, while the muscles in the front of the neck and chest become tight. This imbalance makes it hard to maintain a neutral, upright posture, leading to the head drifting forward.
Exercises to Correct Forward Head Posture
Having good posture feels and looks better. Plus, it’s healthier for our spine and muscles. The exercises below target those tight and weak spots, helping pull our head back where it belongs. Before diving in, remember to check with a health professional to ensure these exercises are safe for you.
A. Soft Tissue Mobilization
Soft tissue mobilization is like giving your muscles a good massage. It helps to release tension and ease muscle spasms. When muscles are tight, they pull our bones in the wrong direction. By loosening them up, we help our skeleton get back to its natural position.
Using a lacrosse ball to find and press on tight spots (trigger points) can help. These trigger points can lead to neck spasms and discomfort. By releasing them, we’re one step closer to better posture.
B. Stretches
Stretching feels great and for a good reason. It lengthens tight muscles, which can pull our bones out of place. When we stretch, we’re helping muscles get back to their normal length. This helps our bones and joints sit correctly.
1. Levator Scapulae Stretch
- Begin by sitting upright in a chair.
- Depending on the side of pain, place that hand on the seat. For instance, if your right side aches, use the right hand.
- With your opposite hand, gently grasp the side of your head.
- Apply a gentle pressure to guide your gaze toward the opposite armpit.
- Hold for 30 seconds and repeat three times.

2. Pec Stretch

- Standing in front of your doorway, raise your arms up to shoulder height like a goalpost. The elbows will be bent with the palms facing forward.
- Keeping this position, rest the arms against your doorway.
- Slowly lean forward into a gentle stretch and hold for at least 30 seconds.
- Repeat this stretch for a total of 3 times.
C. Range of Motion
Moving our joints in their full range is like giving them a good workout. It keeps them healthy and helps muscles work right. If our joints move well, our posture will be better.
1. Book Openers
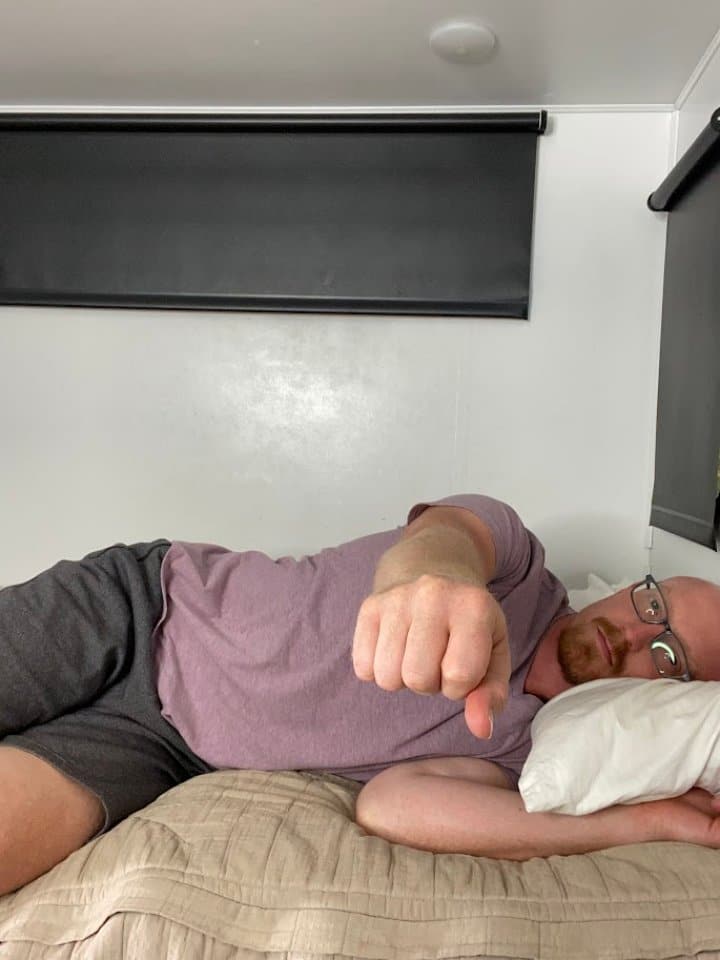
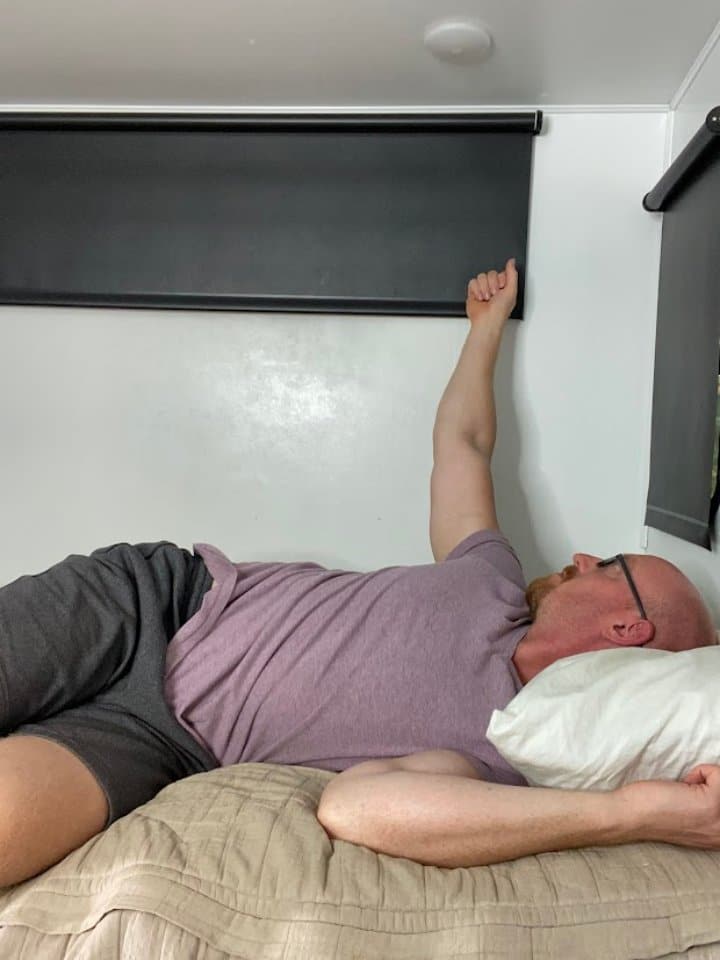
- Begin laying on one side (you can lay on your bed, couch or the floor). Make sure to have pillow support for a neutral neck position. The legs can be relaxed in whatever position is most comfortable.
- Reach the top arm forward, then slowly begin moving it toward the ceiling. Have the head follow this motion.
- Once the arm is pointing towards the ceiling, the rest of the spine should rotate and follow the arm as it continues to move and stretch behind you.
- Only rotate as far as the spine is comfortable with.
- Hold for 5 seconds, then return to your starting position.
- Repeat for 3 repetitions, then perform on the opposite side.
2. Back Extension with a Chair
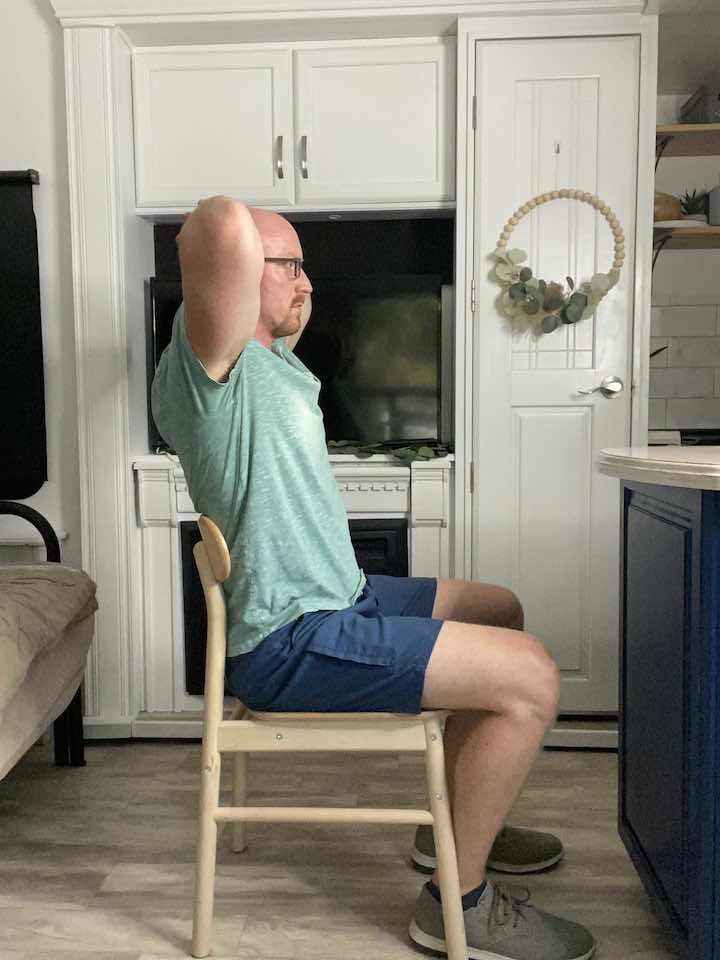
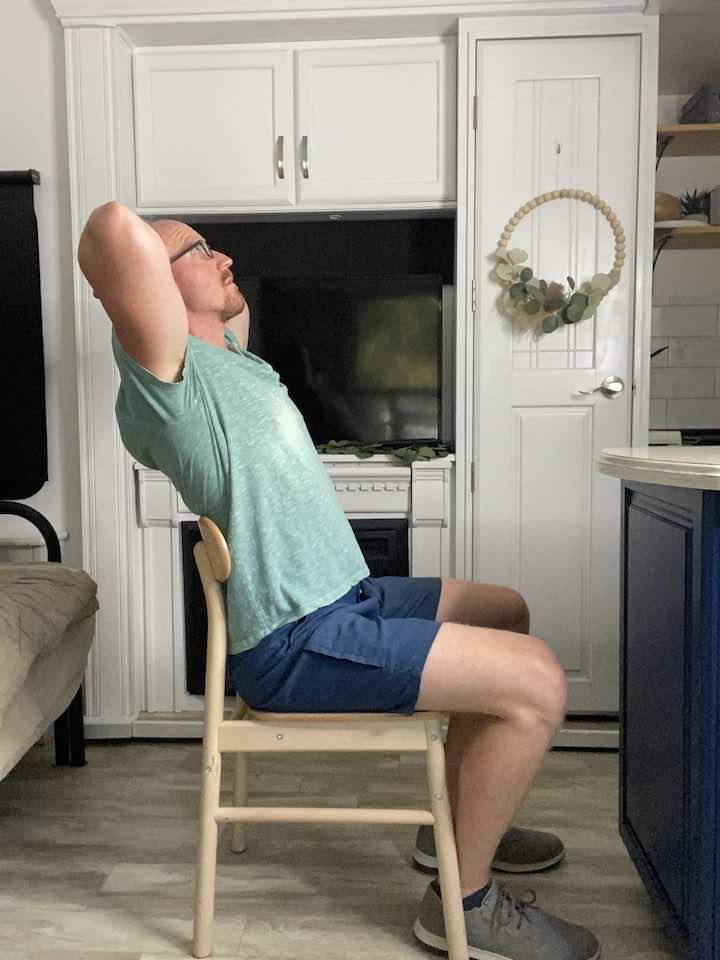
- Starting position: Using a chair with a back, place your hands behind your head to cradle it and your back positioned against the chair back.
- Slowly lean back, extending your back while looking up towards the ceiling. Make sure not to lean to far back so you don’t tip the chair!
- Hold the stretch for up to 5 seconds, then return to your starting position.
- Repeat for 10 repetitions and 3 sets in total.
D. Strengthening
Strong muscles hold our bones in place. So, if our muscles are weak, our posture might slump. By making them strong, we ensure they do their job well.

1. Chin Tucks
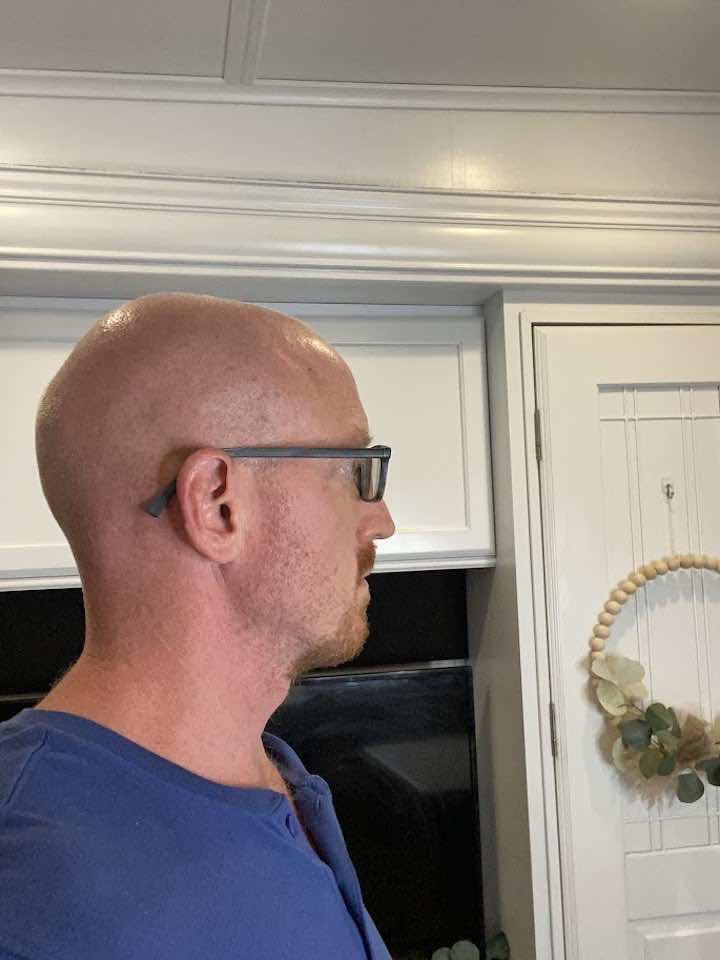
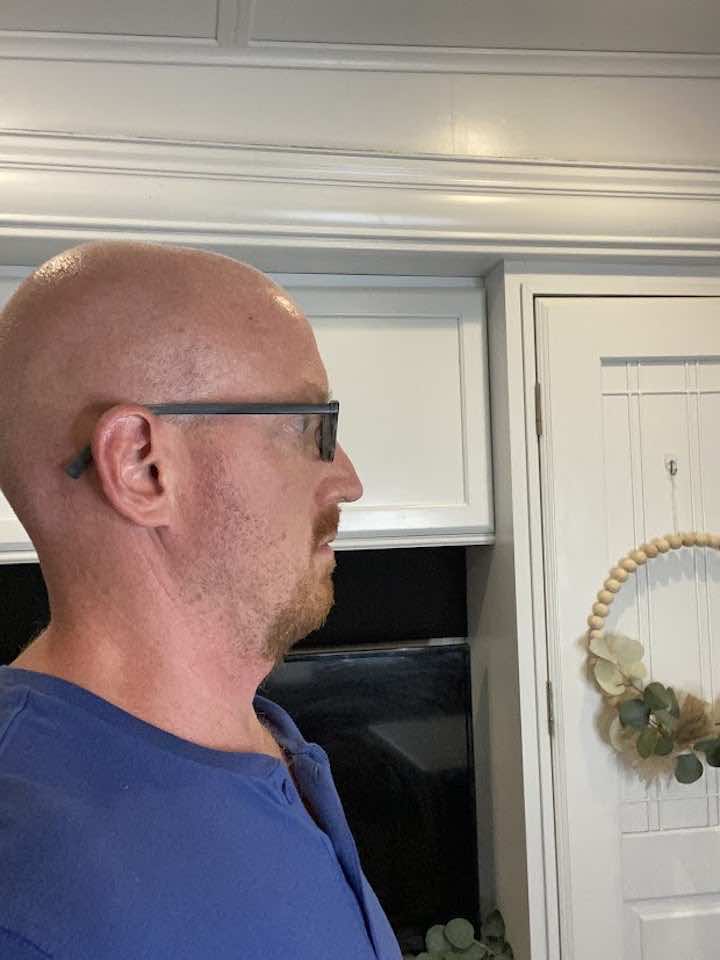
- You can perform a chin tuck laying on your back or sitting or standing.
- Gently tuck the chin directly back as if trying to make a double chin. Avoid nodding your head.
- Hold this position for 2 seconds, then slowly relax your muscles.
- Repeat 10 repetitions.
2. Scapular Retraction

- In a sitting or standing position, try to sit as straight as possible. Aim to position the head in a neutral position as possible.
- Gently pull the shoulders back and squeeze the shoulder blades together.
- Hold for 5 seconds, then relax.
- Repeat 10 repetitions for 3 sets.
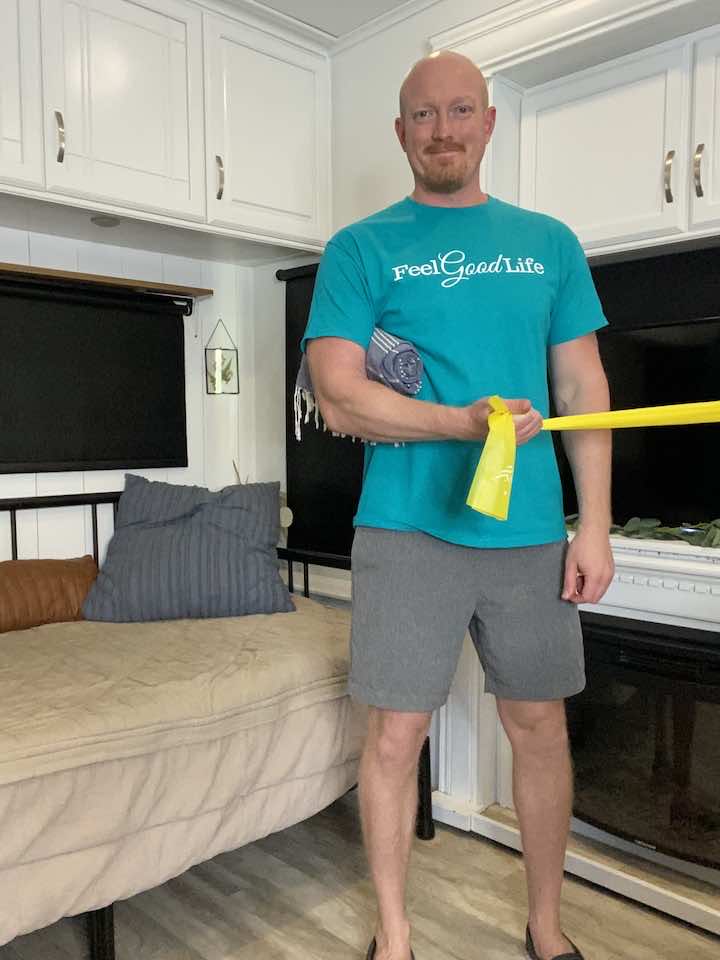
3. Rows with Resistance Band
- Hold on to the ends of a resistance band (light, medium or heavy), which you can attach to a door knob.
- Begin with the arms elevated in front of you to shoulder height and the palms facing each other.
- Step back far enough that the resistance bend has a little tension.
- Pull back on the band by bending the elbows and swinging the arms back next to you. Make sure to squeeze the shoulder blades together.
- Hold for 2 seconds, then return to your starting position.
- Repeat 10 repetitions for 3 sets.
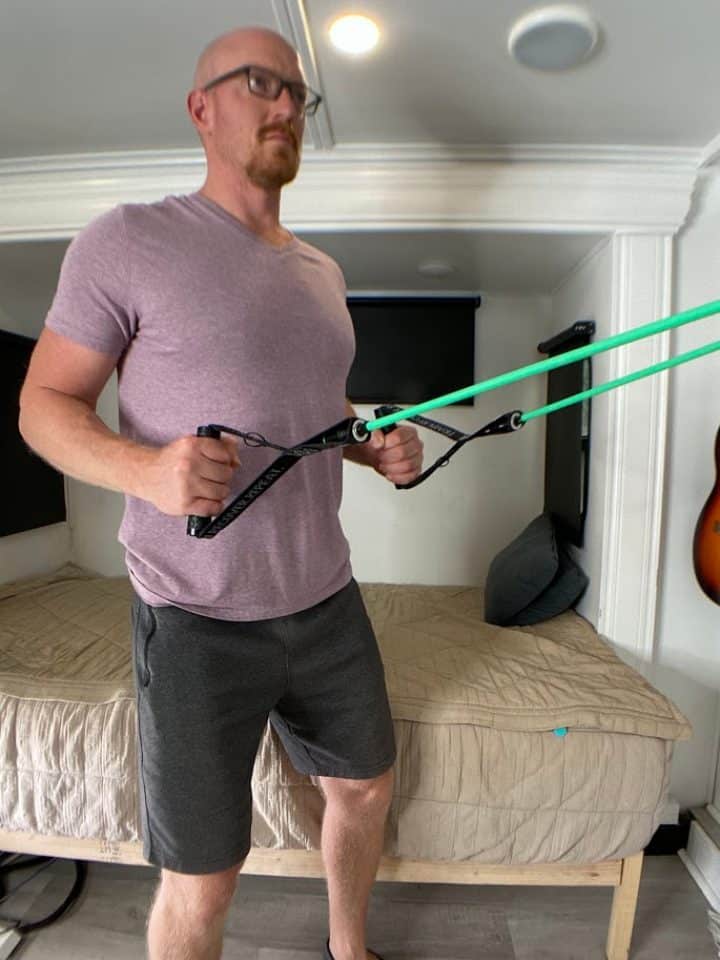
4. External Shoulder Rotation with a Resistance Band
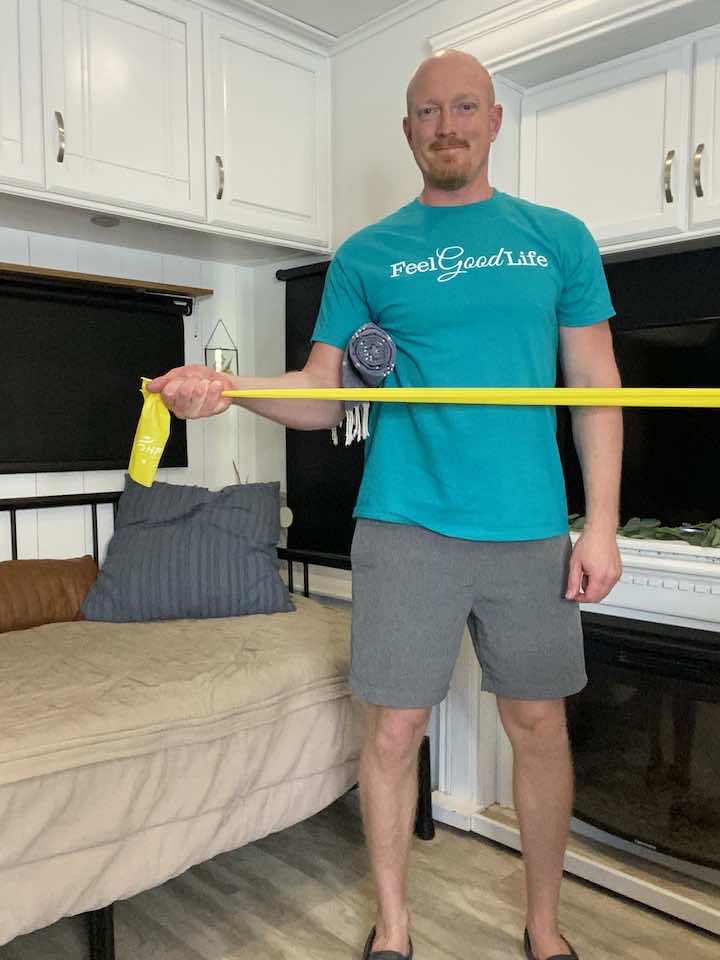
- Attach one end of the resistance band to a secure location, such as a doorknob or post, at the height of your elbow to perform the correct motion.
- Stand facing the band and hold the other end with your hand on the same side, elbow bent at a 90-degree angle and tucked by your side, and palm facing towards your body.
- Keeping an upright posture, slowly pull the band away from your body, rotating your arm outward and away from your torso while maintaining the 90-degree angle of your elbow.
- Hold this position for 2 seconds, then return to your starting position.
- Repeat the movement for 10 repetitions, then switch to the other arm.
- Aim for 3 sets of this exercise.
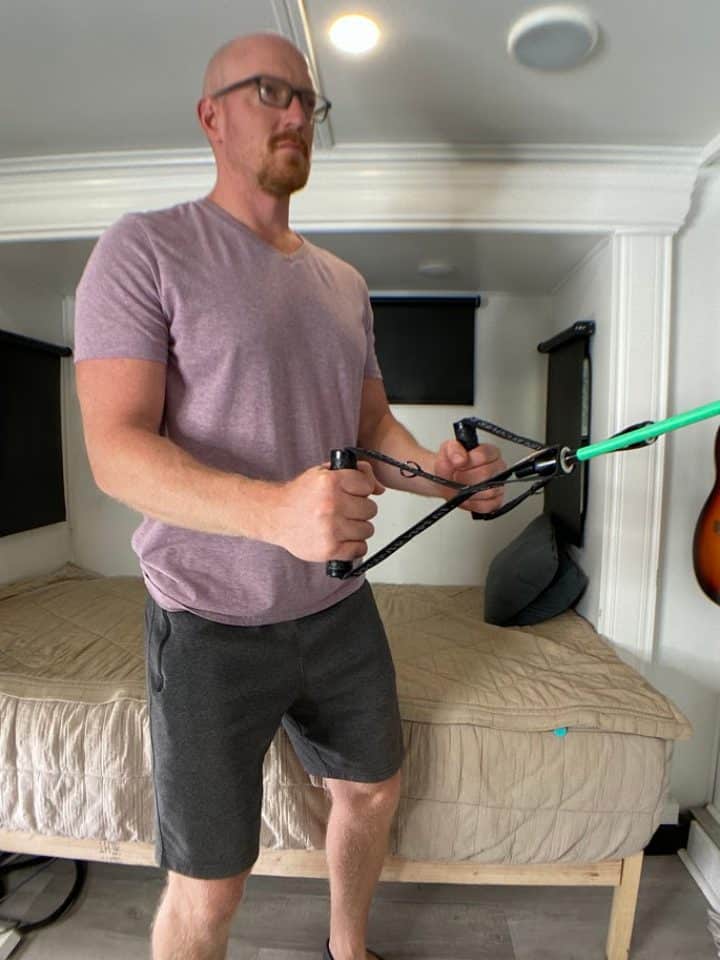
5. Internal Shoulder Rotation with a Resistance Band
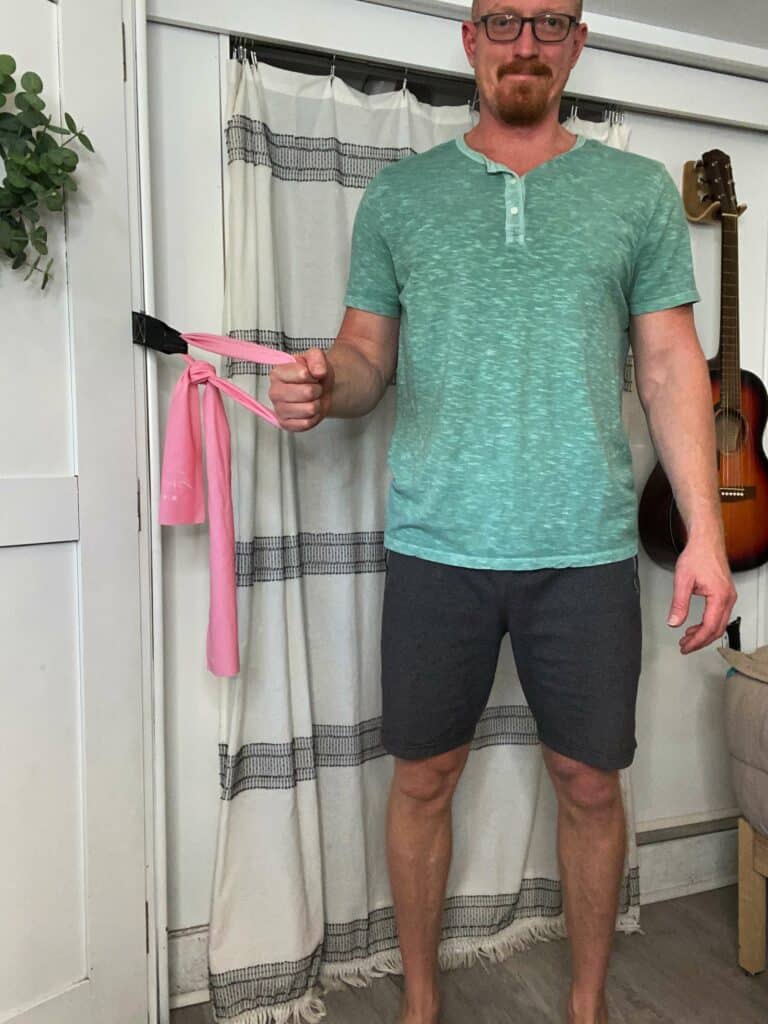
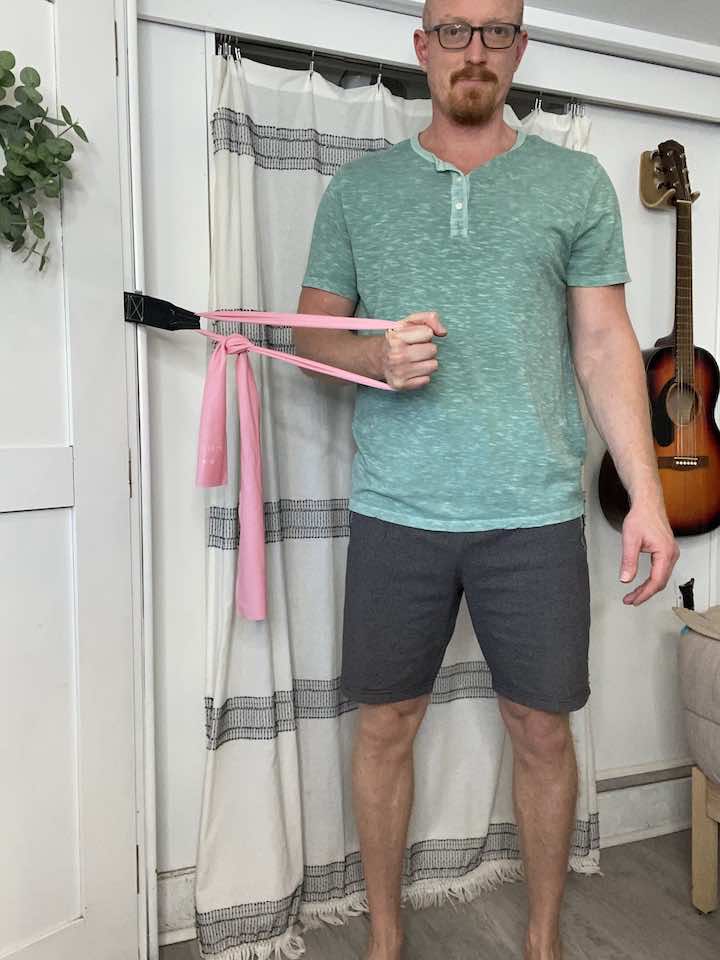
- To perform this exercise, you will need to attach one end of the band to a secure location, such as a doorknob or post, at the height of your elbow to perform the correct motion.
- Keeping an upright posture, slowly pull the band towards your stomach while maintaining the 90-degree angle of your elbow.
- Hold for 2 seconds, then return to your starting position.
- Repeat the movement for 10 repetitions, then switch to the other arm.
- Aim for 3 sets of this exercise.
Posture Tips
Think of your posture like a building. If the foundation isn’t straight, the whole building leans. Our bones are like that building. By setting them right, everything else falls into place.
When standing or sitting, aim to have your ears over your shoulders and your shoulders over your hips. Imagine pulling your shoulder blades down and lifting your chest up. Be careful not to push your back too far back, as that can be another problem.
Conclusion
We all want to feel our best, and good posture is key to that. Forward head posture is a common issue these days, but with awareness and regular exercise, it can be corrected.
By taking a proactive approach and integrating these exercises into our daily routine, we can ensure better spinal health, reduce the risk of associated discomfort, and project a more confident image.
Remember, it’s never too late to start working on improving your posture. Start today and enjoy the benefits of a healthier spine.
Wondering What's Next?
Discover 11 Easy, At-Home “Stretch Exercises” for Stronger, Pain-Free Joints (click below)