
Free download: Top 10 Natural & Easy Remedies for Joint Pain from Home. Learn these helpful remedies.
Estimated Reading Time: 6 minutes read
Joint pain can be a real hassle, especially when it comes to wrist instability. It’s like having an unwelcome guest who always seems to stay. But don’t worry, my friend! There are ways to manage and prevent this pesky pain.
Think of your wrist like a house of cards. If one card falls out of line, the whole structure becomes unstable. And that’s what happens in your wrist joint when things aren’t correctly aligned. This can cause pain and weakness, making it hard to wave hello or hold a pen.

Fortunately, taking good care of your wrist can help keep it become healthy and pain-free. There are simple things you can do, like ensuring you have good posture and taking breaks when doing tasks requiring a lot of wrist movement. You might also consider using a wrist brace to help support your wrist.
It’s important to remember that you don’t have to do anything too complicated to help your wrist feel better. Simple changes can make a big difference. And if you’re ever unsure about what to do, don’t hesitate to talk to your doctor or a physical therapist.
So don’t let wrist instability bring you down. You can keep your wrist strong and healthy with care and attention. And who knows, you’ll become your friends’ go-to person for wrist health tips!
Table of Contents
What causes wrist instability?
Wrist instability can be caused by a variety of factors, including:
- Aging: Our bones and cartilage can weaken as we age, leading to joint pain and instability.
- Arthritis: Arthritis is a common cause of joint pain, including in the wrist. It can cause inflammation, swelling, and stiffness in the joints.
- Injuries: A fall, a sports injury, or other trauma to the wrist can cause instability and pain.
- Repetitive motion: Repetitive activities, such as typing or playing a musical instrument, can strain the wrist and cause pain and weakness over time.
Effective Exercises and Stretches to Relieve Pain!
Exercise and stretching can help to strengthen the muscles and ligaments around your wrist, improving stability and reducing pain. Some exercises you can try include:
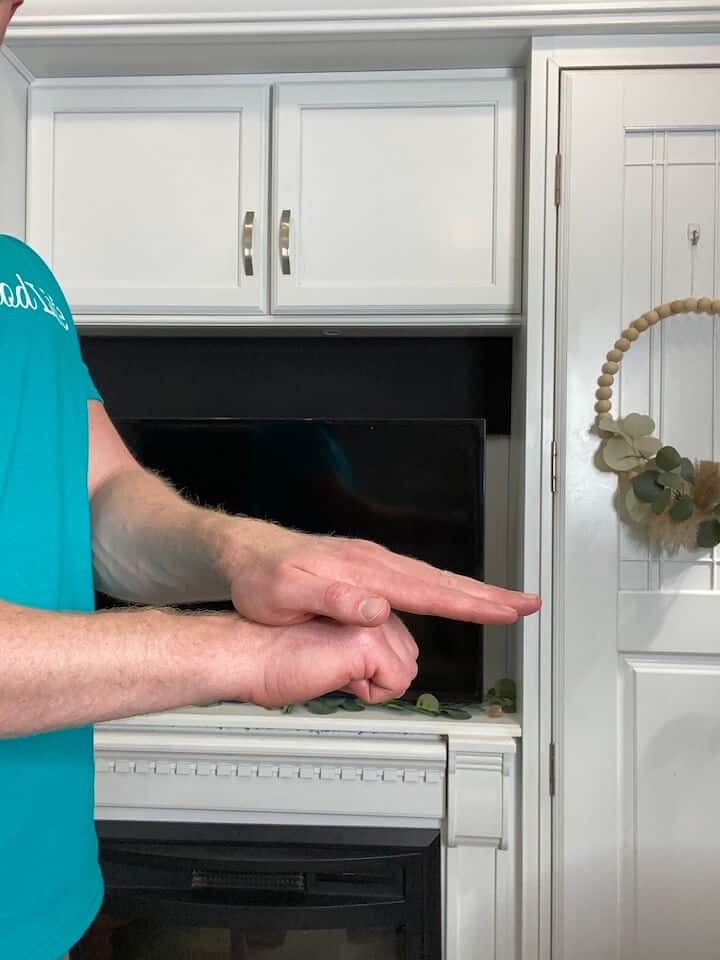
1. Gentle Isometrics
- Make a first with your injured hand.
- Then place your uninjured hand against your fist.
- Gently push the injured fist into the uninjured hand. Muscles should activate, but the injured wrist should not move.
- Adjust where you press your fist to activate the different muscles that support your wrist.
- You’ll press your wrist four ways: up, down, and then on each side.
- Hold the press for 5 seconds, 10 repetitions, and 2 sets in each of the four directions.
a. Isometric Flexion

Push your wrist upwards against resistance without changing the angle of your wrist.
b. Isometric Extension
Push your wrist upwards against resistance without changing the angle of your wrist.
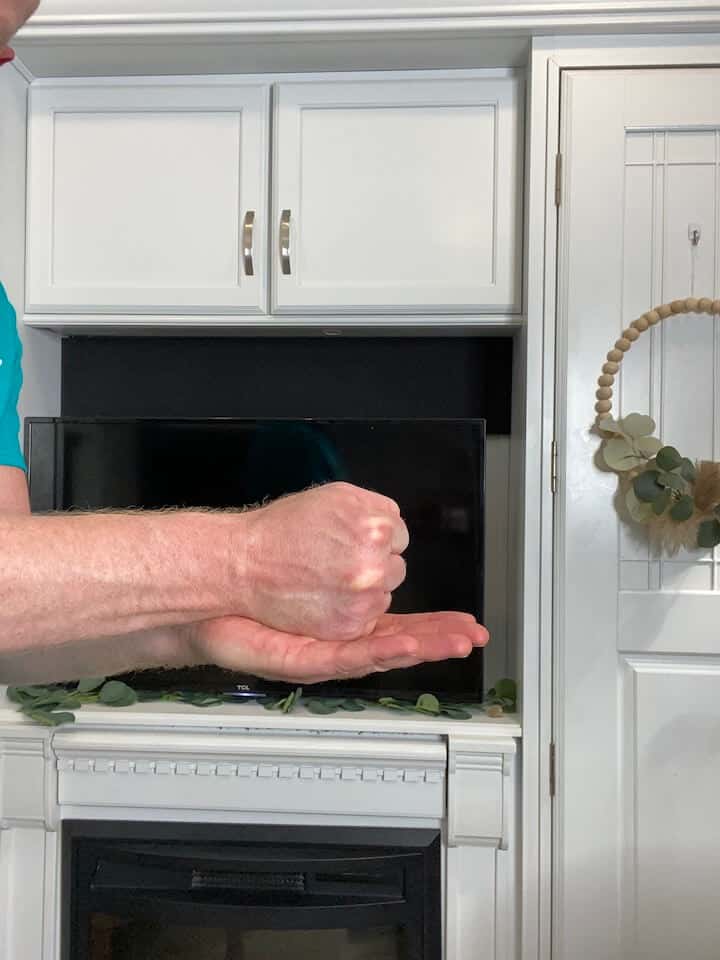
c. Isometric Abduction
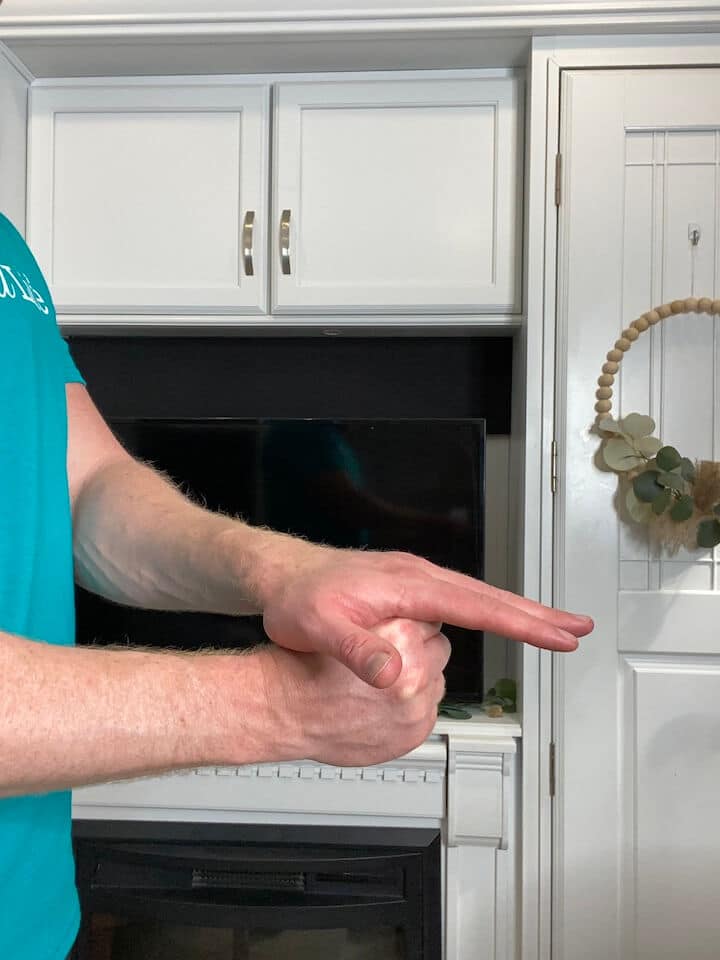
Push your wrist upwards against resistance without changing the angle of your wrist.
d. Isometric Adduction
Push your wrist downwards against resistance without changing the angle of your wrist.
Note: As pain improves, you can use light weights or resistance bands.
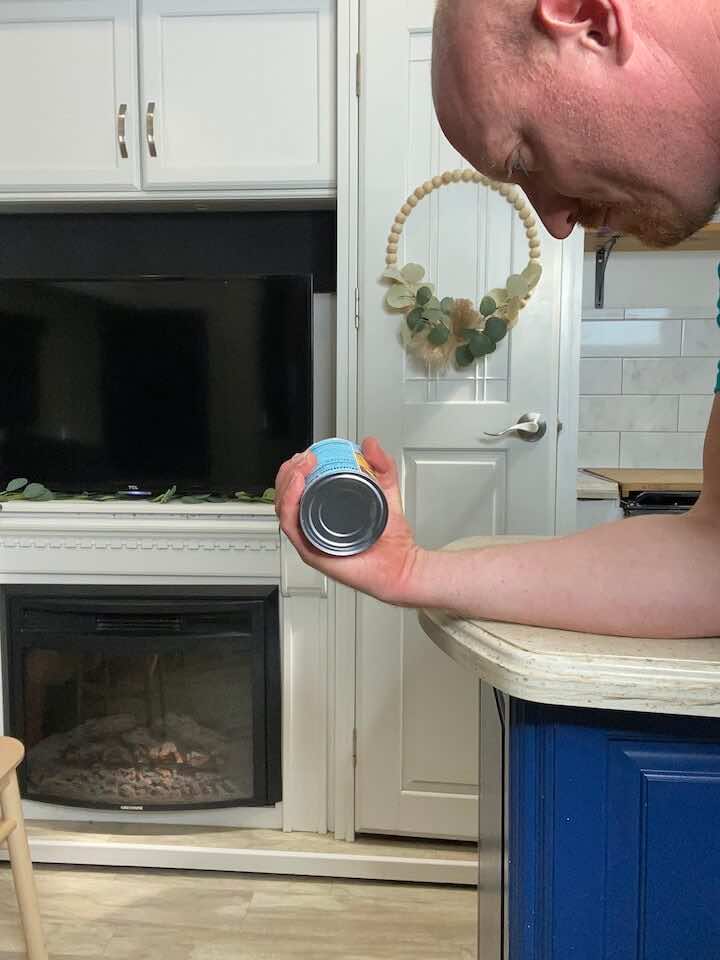
2. Wrist lifts

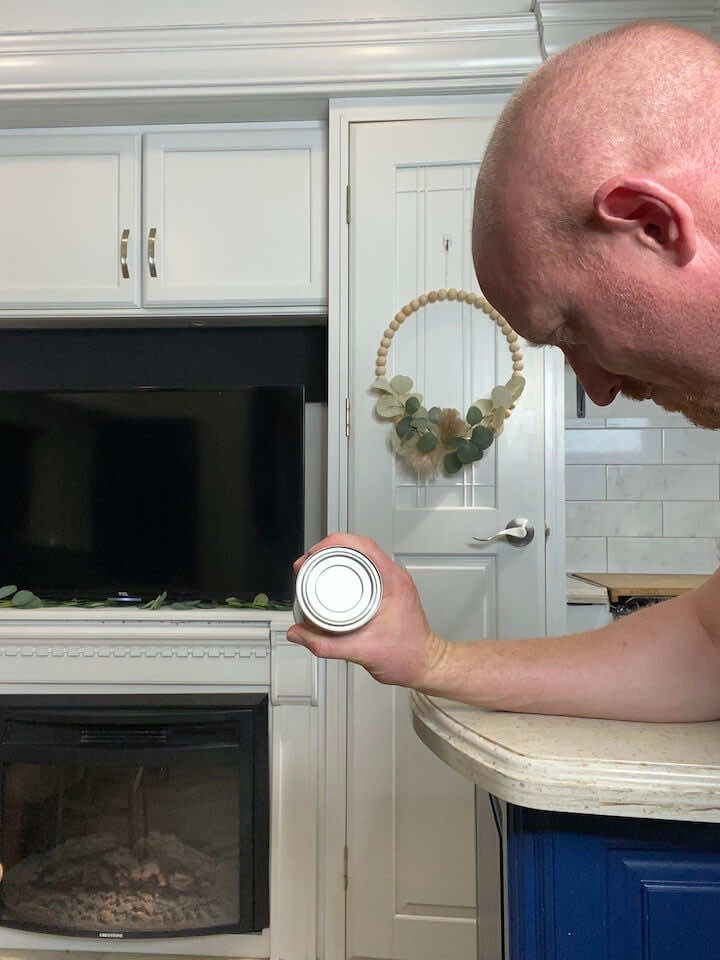
- Sit in a chair with a soup can or lightweight in your hand.
- Rest your forearm on a table or on your lap, with your palm facing downward and your wrist in a neutral position.
- Keep your elbow bent at a 90-degree angle.
- Lift the weight by flexing your wrist and raising your hand up toward your body.
- Hold the contraction for a few seconds, then slowly lower the weight back down to the starting position.
- Make sure to isolate the movement to your wrist and avoid using your forearm to lift the weight.
- Repeat the movement for 10 repetitions and 3 sets, and gradually increase the weight or resistance as you progress.
3. Wrist Curls
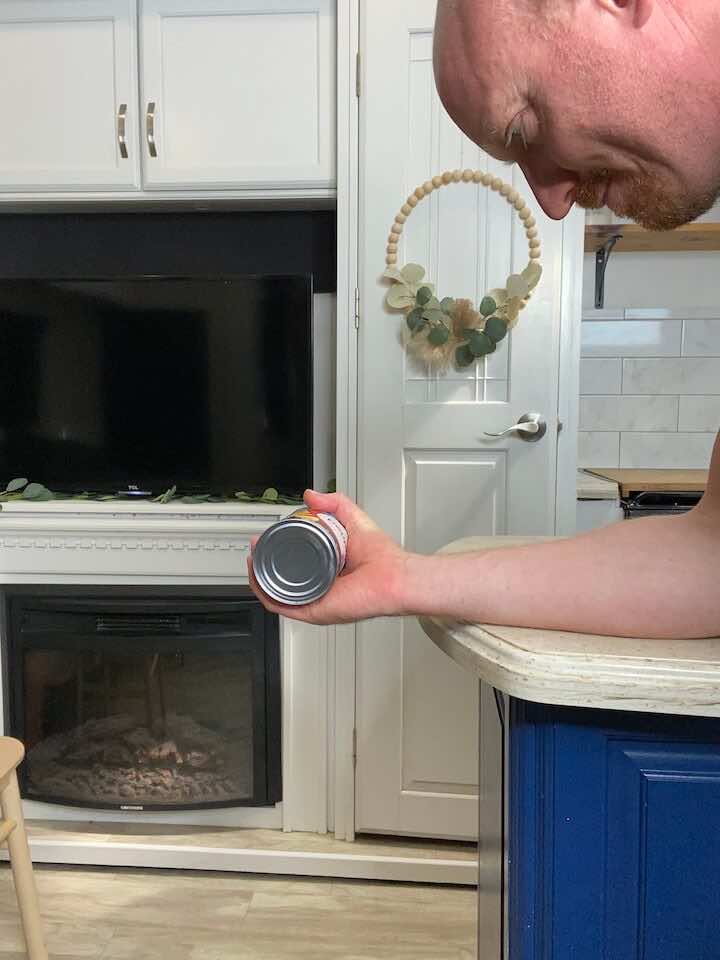
- Sit in a chair with a soup can or lightweight in your hand.
- Rest your elbow on a table, with your palm facing upward and your wrist in a neutral position.
- Keep your forearm still and isolated, and lift your wrist by curling it toward your body.
- Hold the contraction for a few seconds, then slowly return to the starting position.
- Remember to isolate the wrist and avoid using your forearm to lift the weight.
- Repeat the movement for 10 repetitions and 3 sets, and gradually increase the weight or resistance as you progress.
4. Tennis Ball Squeezes


- Sit at a table, leaning on the edge with your forearm. Grab a tennis ball in the palm of your hand.
- Squeeze your hand into the tennis ball and hold for 5 seconds. Release and repeat 10 times and 2 sets.
- If this becomes too easy, create a bigger gap between your fingers — the bigger the gap, the greater the challenge.
5. Resisted Ulnar Deviation
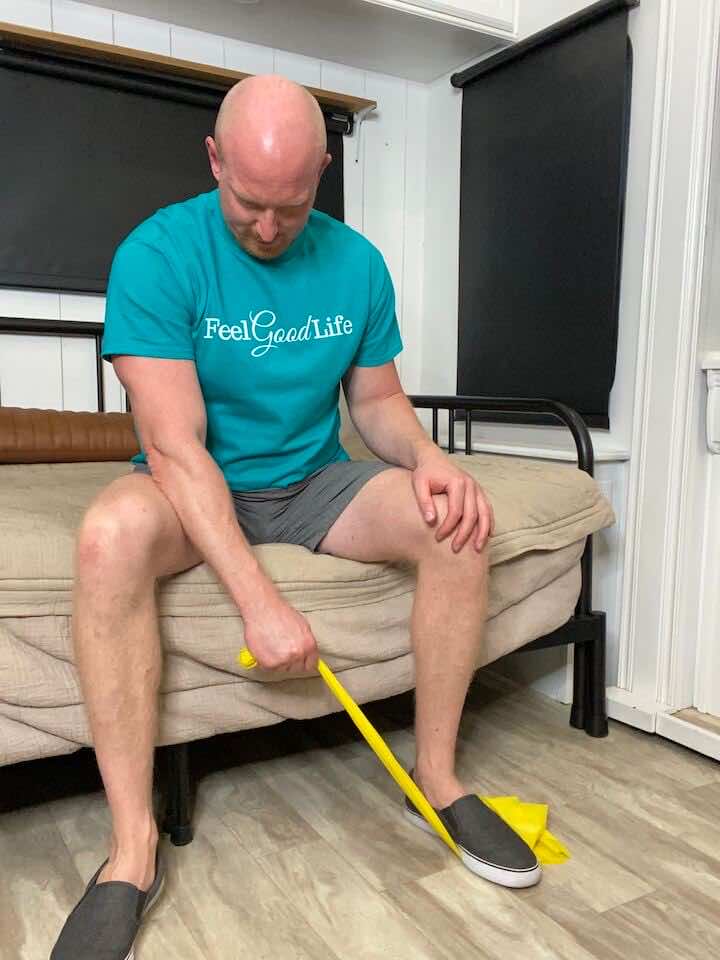

- Place a resistance band under your foot (opposite side of your inured wrist) and hold on to the band with the injured hand.
- Hold the band with your hand so that your palm is facing the floor and there is tension on the band.
- keep your hand in a fist and move your wrist so that your pinky side it moving to the side. It’s not a big movement so don’t try to force extra ROM if it’s painful!
6. Resisted Radial Deviation
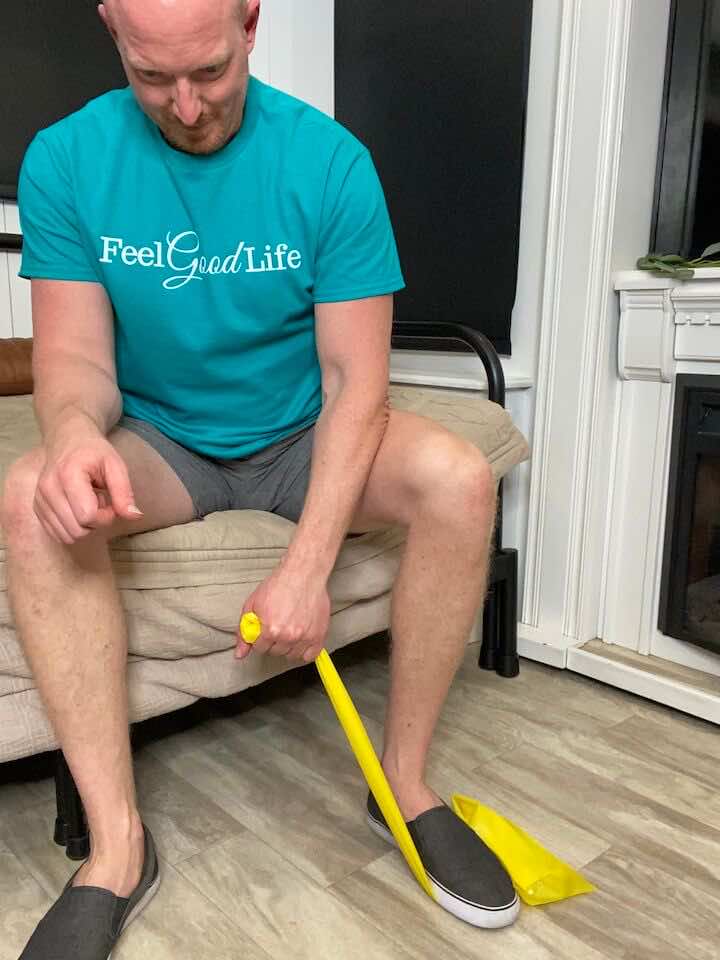

- Place a resistance band under your foot (same side of your injured wrist) and hold on to the band with the injured hand.
- Hold the band with your hand so that your thumb is facing the ceiling and there is tension on the band.
- keep your hand in a fist and move your wrist so that your fist moves up and down. It’s not a big movement from the wrist so don’t try to force extra ROM if it’s painful!
Conclusion
Wrist instability can be a frustrating and painful problem, but there are steps you can take to relieve your discomfort and improve your quality of life. By exercising, using hot and cold therapy, taking medications, using wrist splints, and making lifestyle changes, you can reduce pain and improve stability in your wrists. Talk to your doctor if you have any questions or concerns about your wrist pain or if your symptoms worsen.
Wondering What's Next?
Discover 11 Easy, At-Home “Stretch Exercises” for Stronger, Pain-Free Joints (click below)