Free download: Top 10 Natural & Easy Remedies for Joint Pain from Home. Learn these helpful remedies.
Estimated Reading Time: 9 minutes read
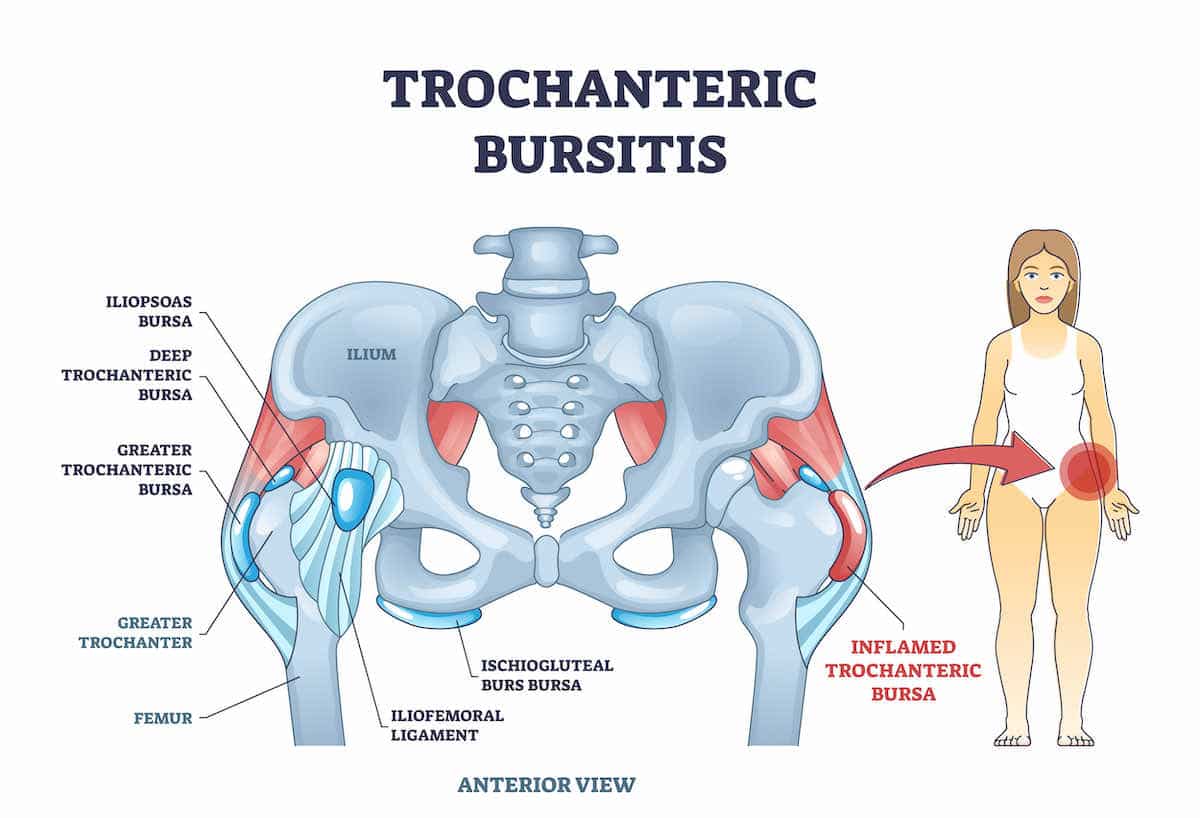
Hey there, friend! So, your hip is acting up, and you’re wondering what’s the deal. Well, you might be struggling with trochanteric bursitis – a fancy name for when your hip throws a tantrum and you’re stuck dealing with the aftermath. It’s when the bursa, a tiny cushion in your hip joint, gets upset and swells up. But don’t you worry; we’re here to help you tame that pesky hip and have you back to dancing the twist in no time!
Now, you might be curious why your hip decided to cause a ruckus. Sometimes it’s because of an injury, while other times, it’s from overusing the hip joint. Injuries can happen in a flash – like when you slipped while doing the moonwalk or played tag with the grandkids for too long.

Overuse can happen when you stand for hours on end or do the same activities over and over again, like gardening or walking your furry friend. Age can play a role too, but age is just a number, right?
In this article, we will guide you through the ins and outs of trochanteric bursitis, share some helpful exercises to get your hip back on track.
What’s the Deal with Trochanteric Bursitis? Symptoms and Causes
Trochanteric bursitis can be quite the party pooper. It usually starts with an achy feeling on the outside of your hip, and sometimes it can even travel down your thigh. You might notice the pain worsens when you walk, climb stairs, or even try to snooze at night.
It can also be a bit tender when you press on the hip area, making it harder to find a comfy position. But don’t let this hip hiccup get you down – we’ve got some simple exercises that can help you show that hip pain who’s boss!

The main reason we get trochanteric bursitis is that the bursa in the hip joint becomes irritated and inflamed. This can happen because of an injury, overuse, or even just the wear and tear of getting older.
Sometimes, the muscles and tendons around the hip can also become tight or weak, which puts more stress on the bursa and leads to inflammation. The key is to find ways to calm down the inflammation and strengthen the muscles around the hip to prevent future flare-ups. After all, we still have plenty of dance floors to conquer!
Trochanteric Bursitis Exercises: Shake, Rattle, and Roll That Pain Away!
Exercising might be the last thing you want to do when your hip hurts but trust us, it can work wonders! It’s like giving your hip a pep talk to get back in the game! The right exercises can help reduce pain, improve flexibility, and even prevent future injuries.
A. Overall Strength to Support Joint
1. Standing Hip Lifts
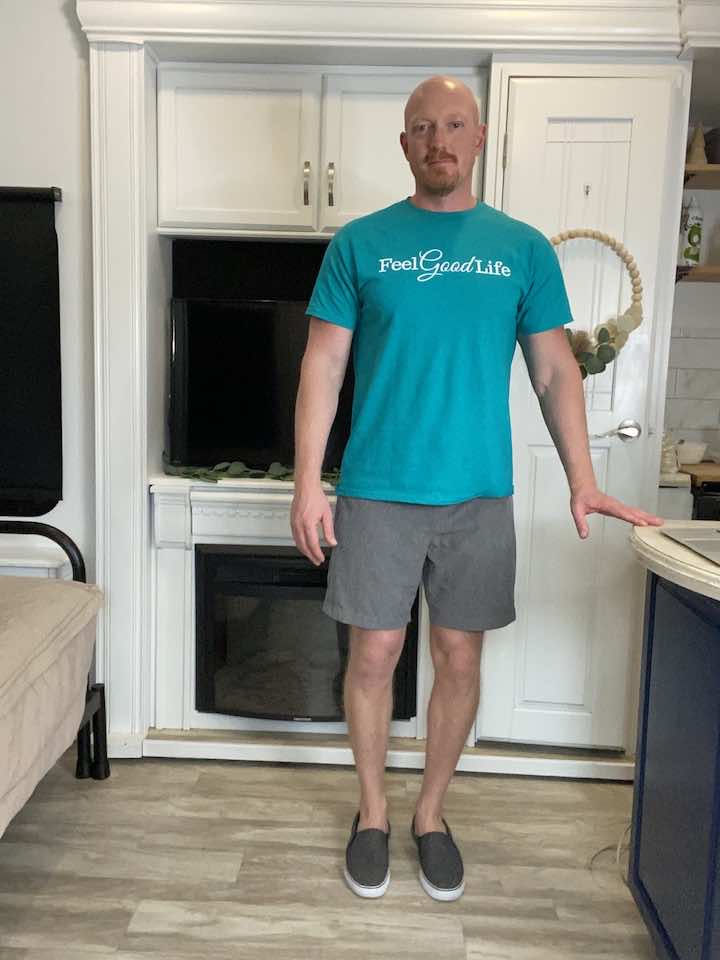
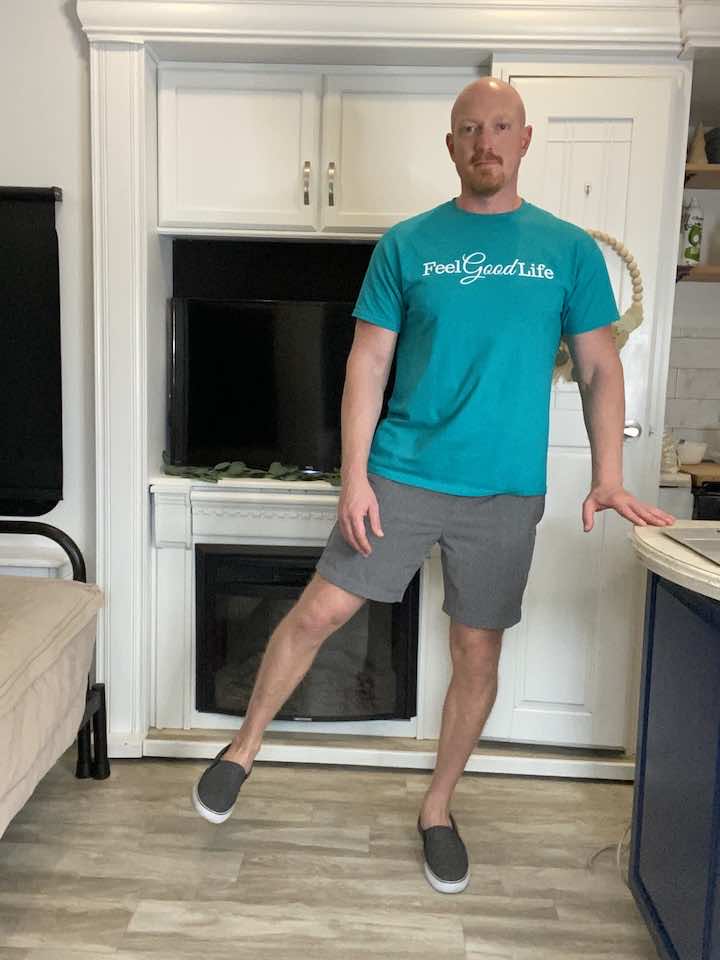
- Stand tall with one hand placed on a bed or chair. Balance on your left leg, keeping a soft bend in your knee to keep from locking out.
- Leading with your heel, lift your right leg out to the side. Be sure not to lean to the left.
- Repeat 10 times per leg and 3 sets.
2. Standing Hip Extension
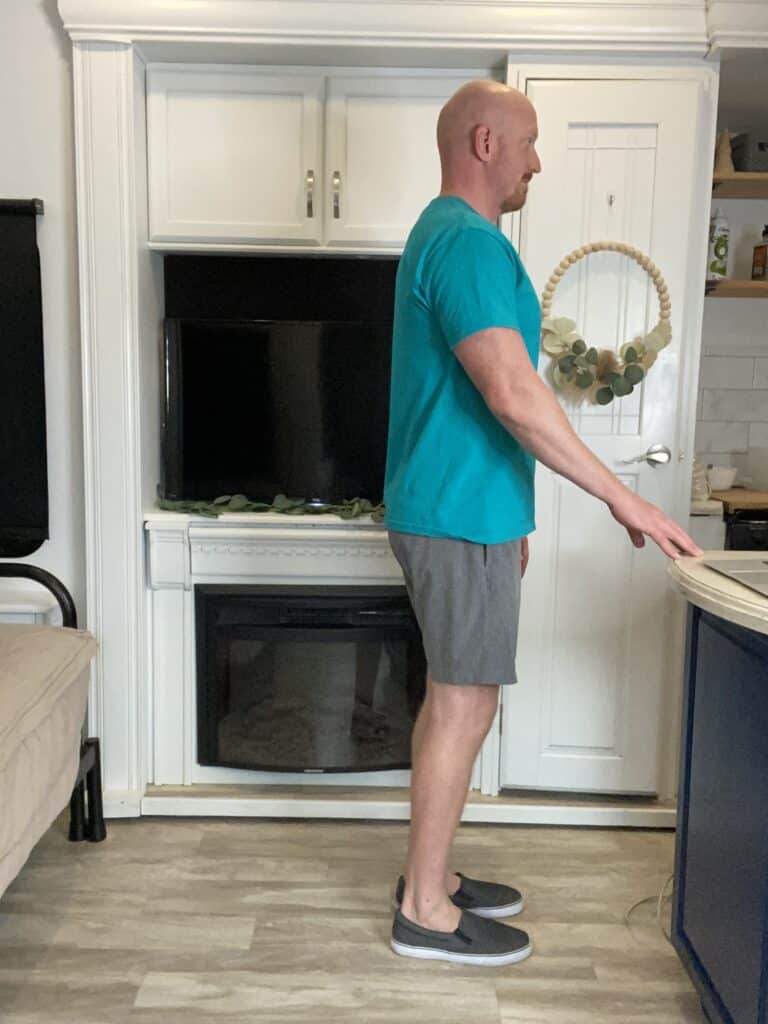
- Stand tall with your hands placed on a steady surface. You can use a counter, sink, or chair (no chairs with wheels) to hold on to for balance.
- Shift your weight onto your left leg, keeping a soft bend in your left knee to keep it from locking out.
- Then, keeping your toes pointed forward and your right leg straight, lift your right leg back a few inches, then lower back down.
- Repeat 10 times per set and complete 3 sets.
3. Inner Hip Strengthening
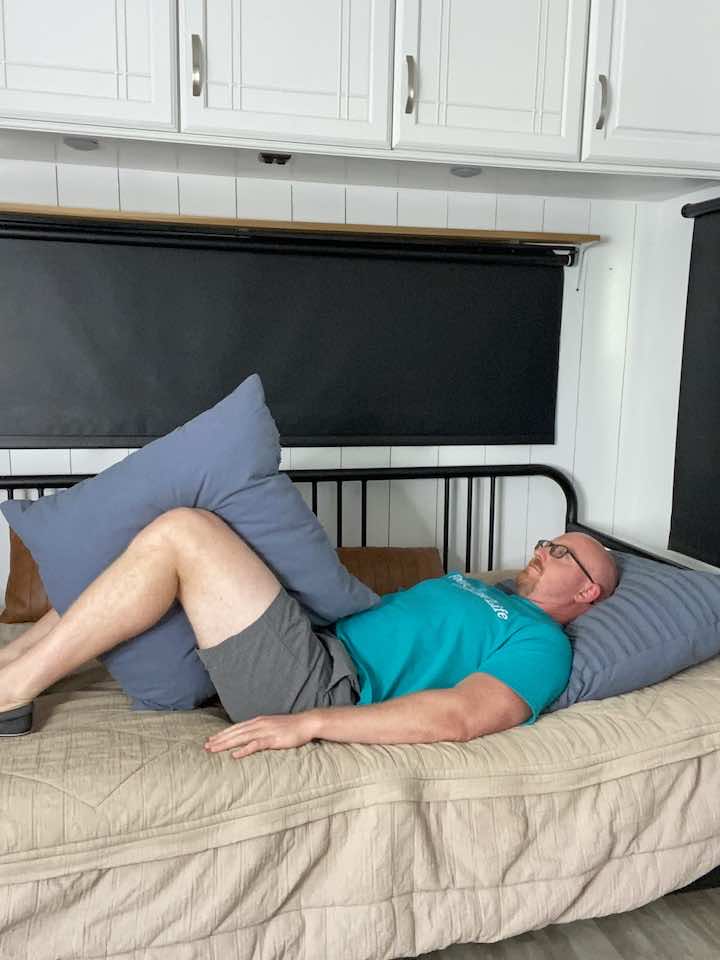
- Lie on your back with knees bent and feet flat on the floor
- Place a ball or rolled towel between your legs
- Gently squeeze the ball or towel for 5 seconds, then relax
- Repeat 10 times per set and complete 3 sets.
4. Full Leg Lifts
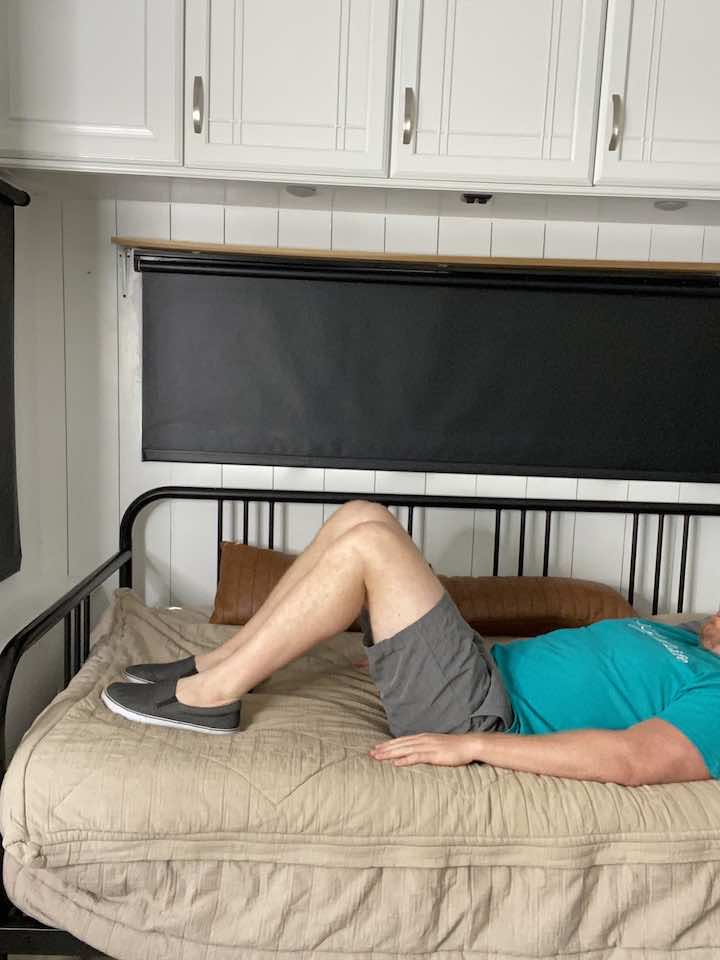
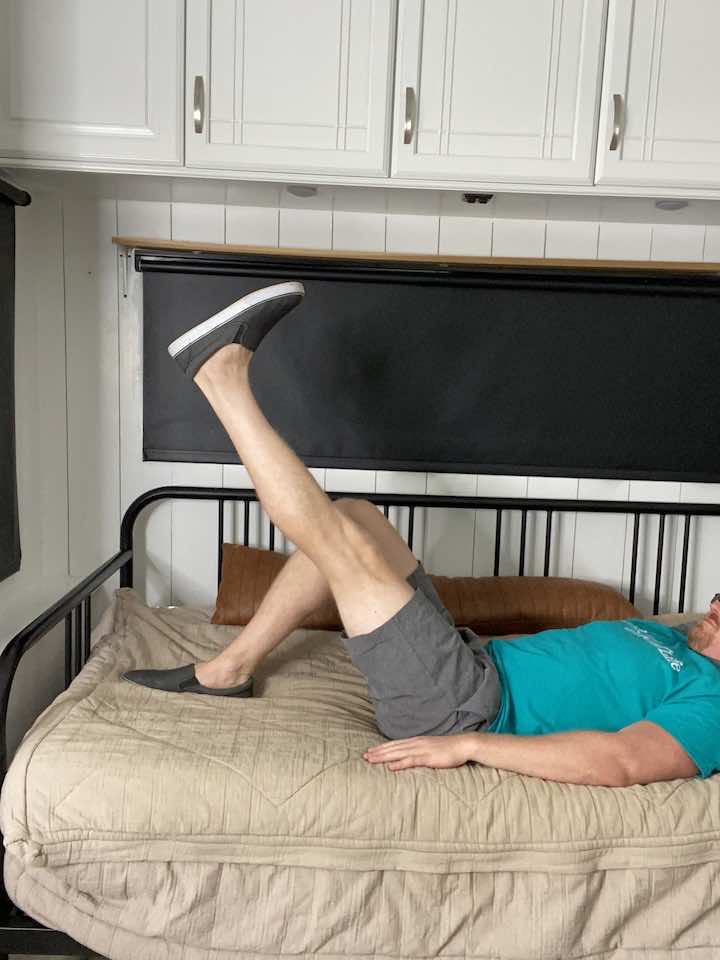
- Lie on your back with one leg straight and the other bent at the knee.
- Keep the straight leg straight as you lift it up towards the ceiling until your bottom lifts off the floor.
- Slowly lower the straight leg back down until it is just above the floor, and hold for a moment.
- Then, raise the straight leg back up
- Repeat 10 times per set and complete 3 sets on each leg.
B. More Advanced Exercises
1. Squats

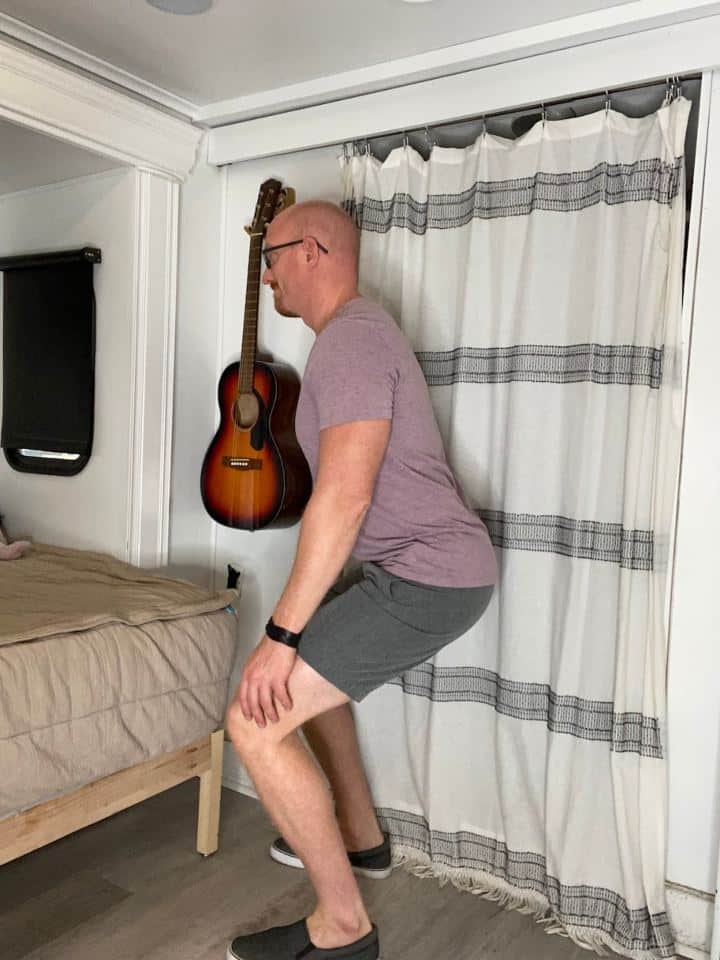
- Position the feet about hip-width apart for a proper squat, with the toes pointing forward.
- Slowly sit the hips back towards the heels as the knees bend. Your torso should hinge forward to counterbalance your hips, sitting back towards the heels.
- Bend the knees as far as you’re comfortable, hold for 2 seconds, then return to your starting position.
- Repeat 10x for 3 sets.
2. Side Lunges


- If you feel unsteady at all, stand tall with your hands placed on a steady surface. You can use a counter, sink, or chair (no chairs with wheels) to hold on to for balance.
- Step out to the side so that you’re in a wide stance.
- Shift your weight to your right side. Keep your right knee over your ankle and then bring your hips back.
- To sand, push through your right heel and straighten your right leg.
- Repeat 10x for 3 sets.
Tip:
Make sure you can still see your toes when performing this lunge. There’s a lot more pressure in your knees when knees travel over your toes. One way to see your toes better is to keep your weight in your heel and to really get those hips back like you’re about to sit in a chair.
To make this exercise easier:
Make your range of motion smaller. Only bring your hips back a few inches.
To make this exercise more challenging:
Hold at the bottom of your range of motion for 2 seconds before standing back up. This will challenge your balance so don’t forget the chair to help with balance.
3. Lateral Walk with Resistance Band
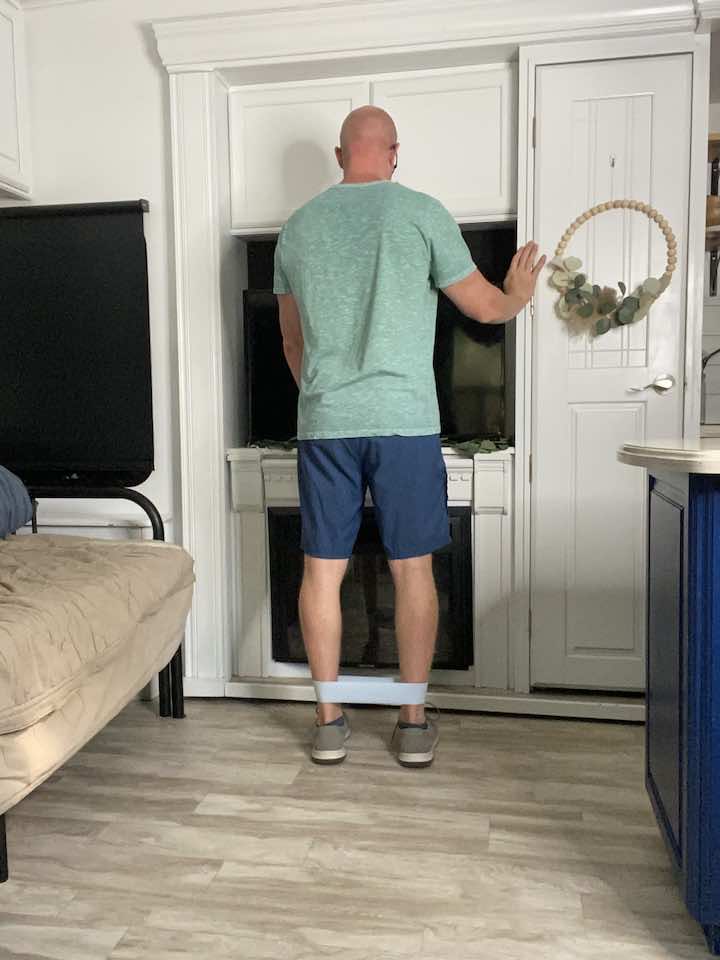
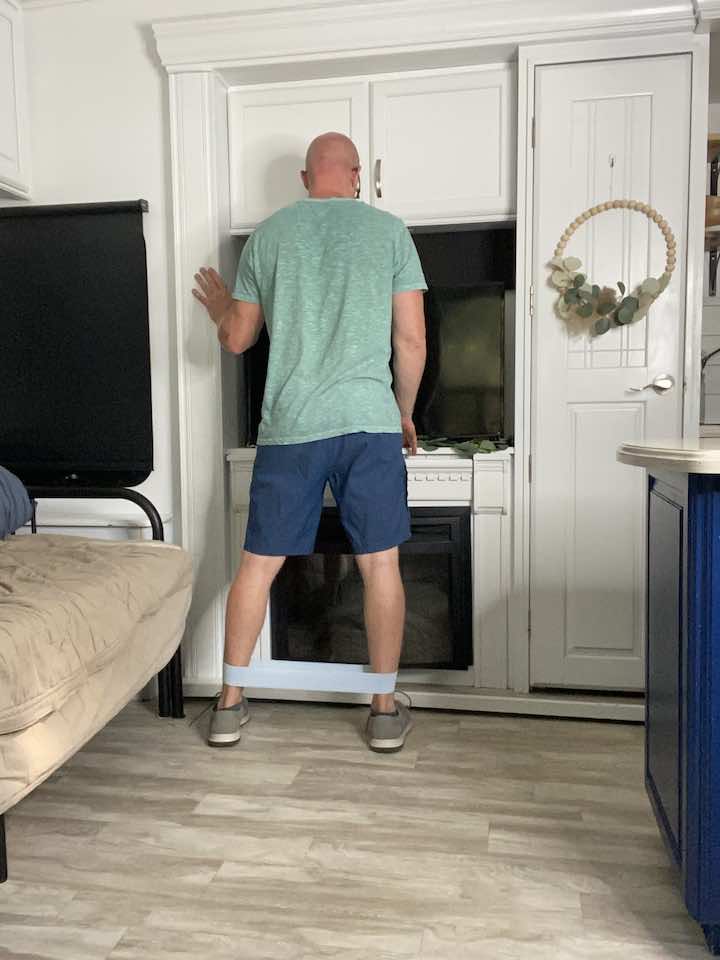
- Starting position: Tie a resistance band (light, medium or heavy) around the thighs with the feet positioned side by side, and stand in front of a sturdy surface, such as your countertop. Begin on one end of the countertop.
- Begin side-walking across the length of the countertop, then return the opposite way. Make sure to avoid dragging your feet.
- Practice 10 laps back and forth along the countertop and complete 3 sets.
4. 3-Way Leg Kicks While Standing
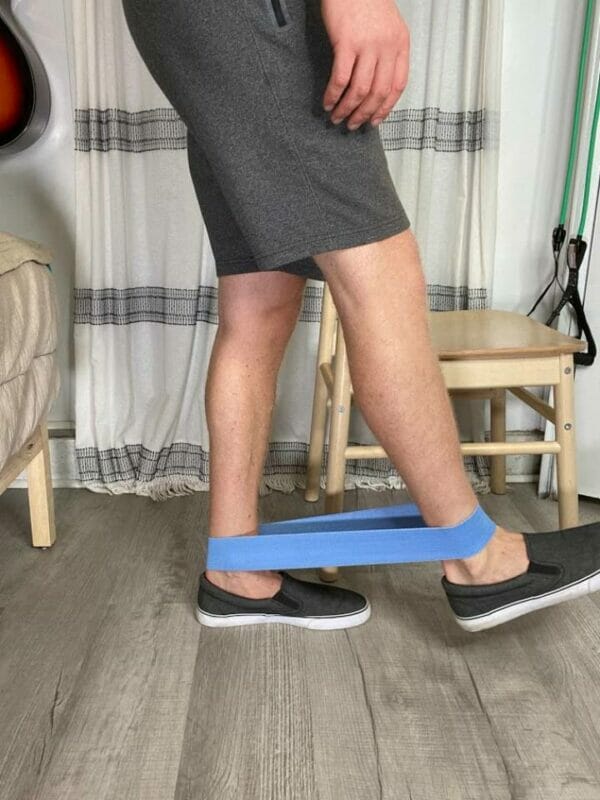

- Begin standing in front of a sturdy surface, like your countertop, in case of need for balance support. You can tie a resistance band around the ankles (light, medium, or heavy resistance) or use an ankle weight (~2-3 lbs).
- Keep both legs straight during this exercise. You will be in a single-leg stance on your supporting leg while keeping a straight leg on the kicking side.
- Slowly kick the leg forward, then back to your starting position.
- Repeat the kick to the side, then back to your starting position.
- Finally, kick back, then return to your starting position.
- Repeat the sequence for 10 repetitions in each direction, then switch to the other leg (balance exercises can be helpful to improve stability in the standing leg, so it’s not a bad idea to practice the exercise on both sides to give the affected leg a chance to balance in a single leg stance).
- Practice 3 sets on each leg.
5. Single Leg Balance
- Starting position: Standing in front of a sturdy surface, such as your countertop.
- Shift all of your weight onto the injured leg (avoid locking into the knee joint), picking the opposite foot up off the floor.
- Practice balancing for 30 seconds (you can use the counter for balance assist as needed).
- Return to your starting position to take a break.
- Repeat 2 more times on both sides.
C. Stretches for Overall Tightness
1. Seated Hamstring Stretch
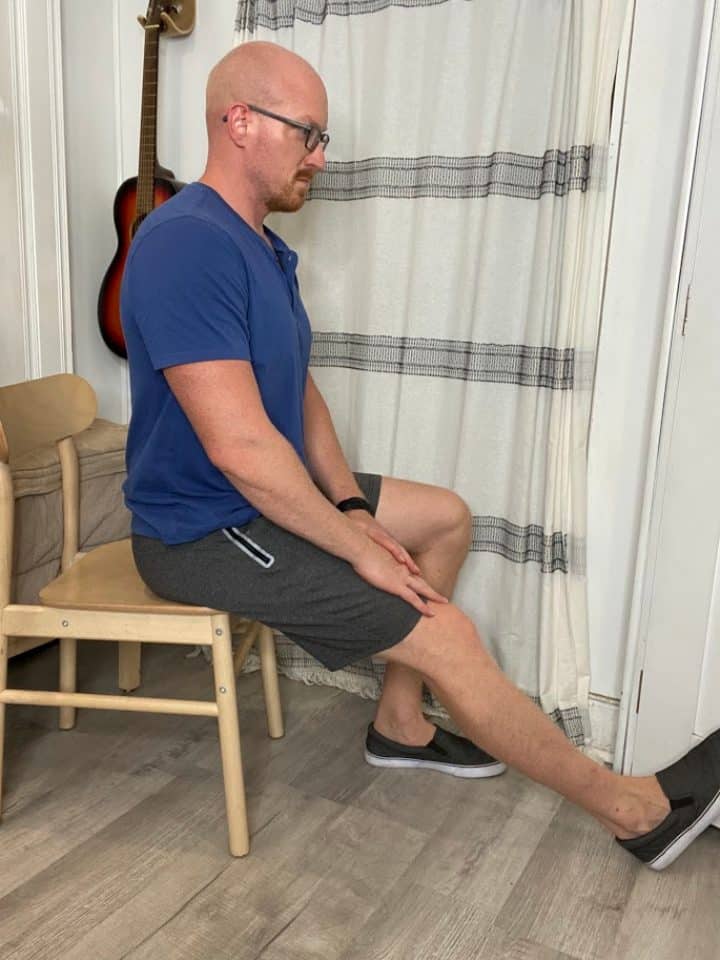
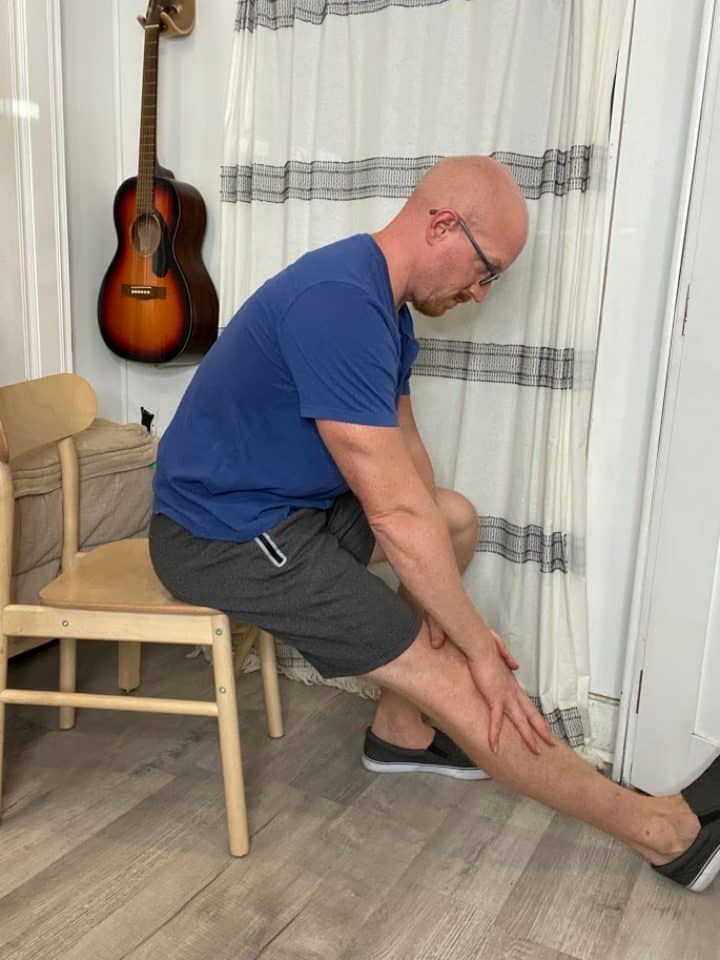
- Seated in a chair, place the leg to be stretched and extended in front of you (the knee should be straight).
- Keeping a straight back, bend forward via hinging at the hips.
- Once you feel a tolerable stretch behind the back of the leg,
- Hold for at least 30 seconds or up to 1 minute.
- Repeat 2 more times.
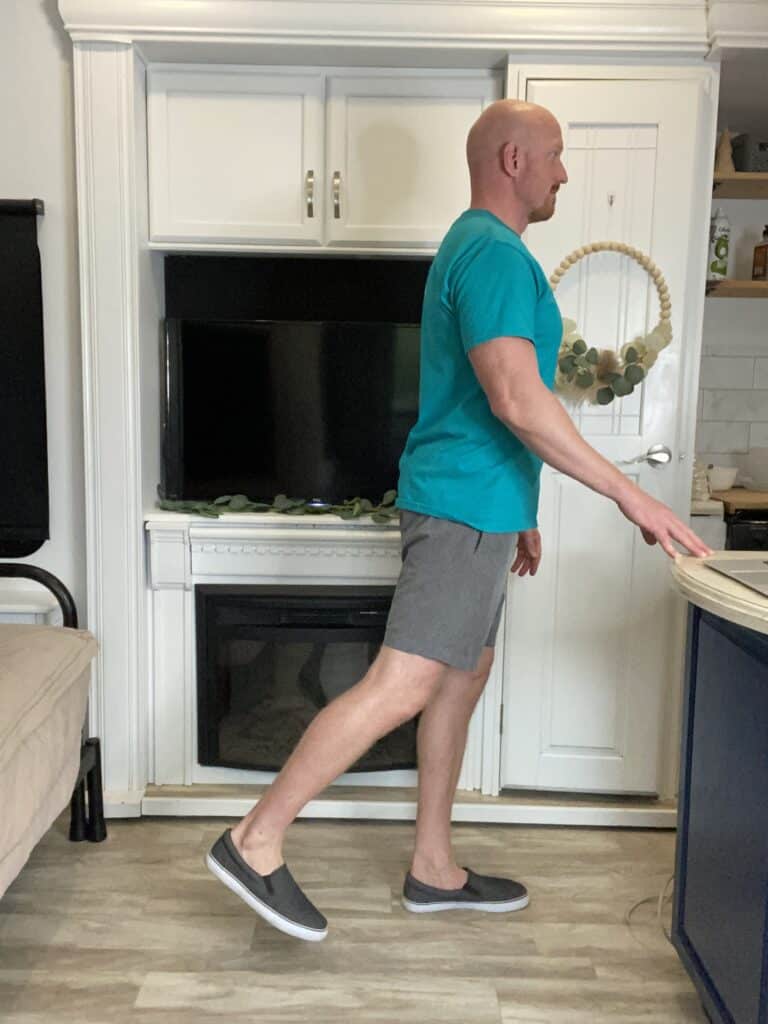
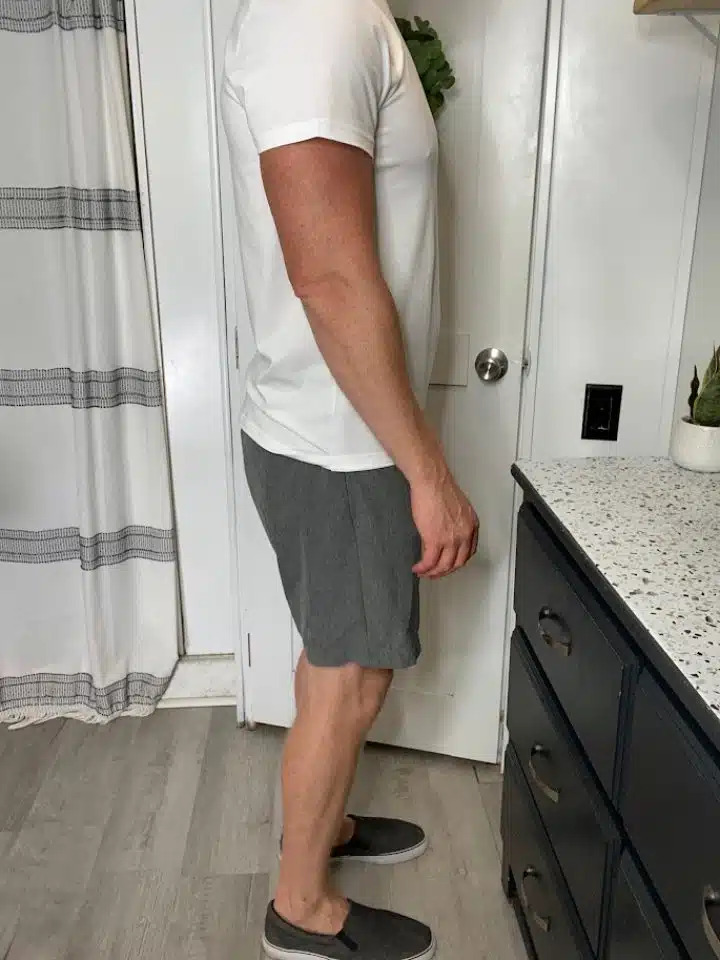
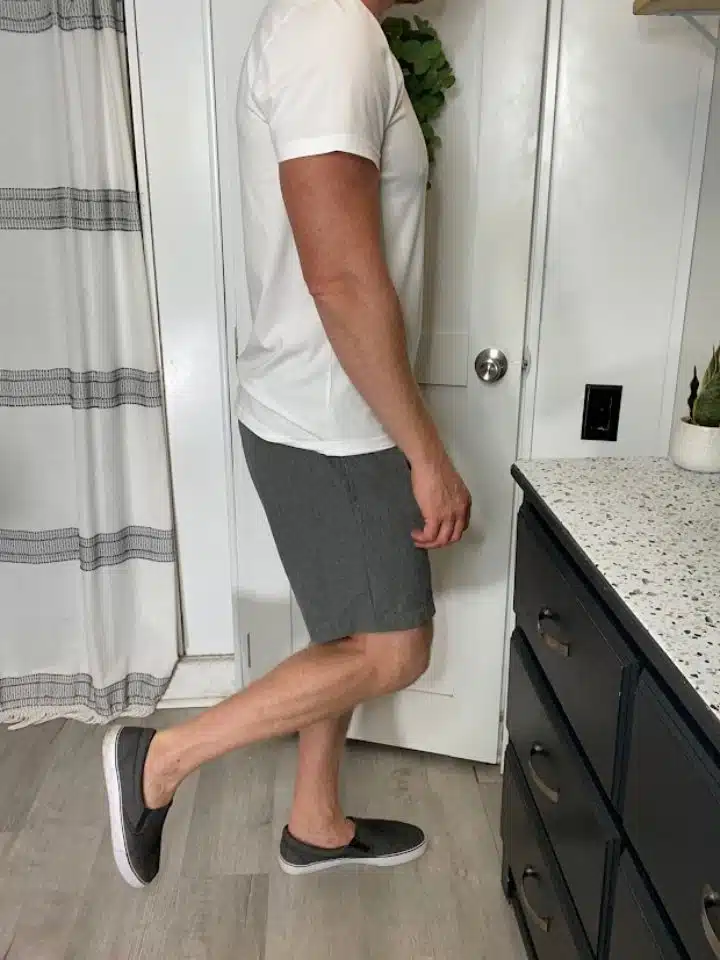
2. Hip Flexor Stretch
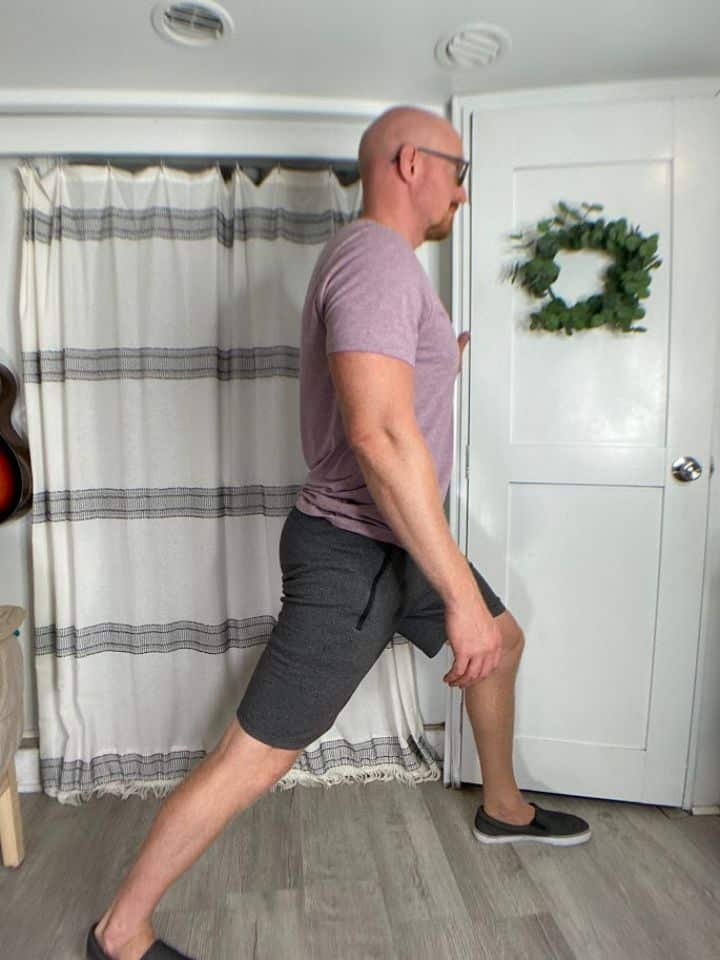
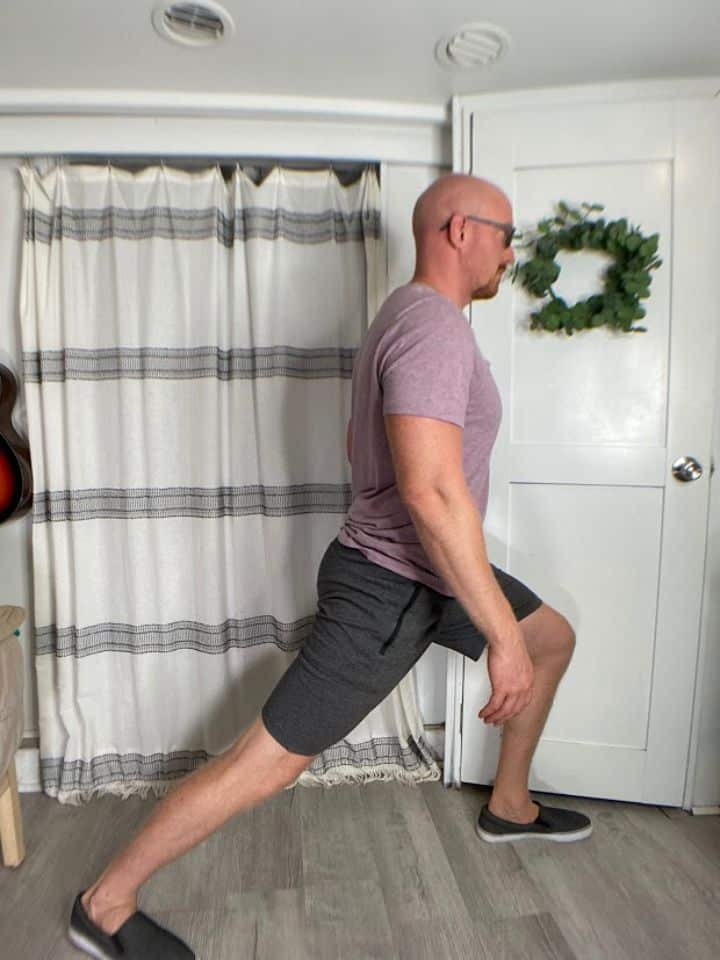
- Begin standing in front of a sturdy surface, such as the countertop, in case you need additional balance support.
- Position the unaffected leg forward and the painful leg back (the further apart the legs are, the stronger the stretch for the hip flexors).
- The front leg should have a bent knee, while the other knee in the back should be straight.
- Lean the body towards the front leg until a stretch is felt in the front of the hip in the back leg (make sure to keep both heels on the ground).
- Hold the stretch for at least 30 seconds.
- Repeat 2 more times.
- If the opposite hip generally feels tightness, you can also repeat on the other side.
3. Standing Quad Stretch
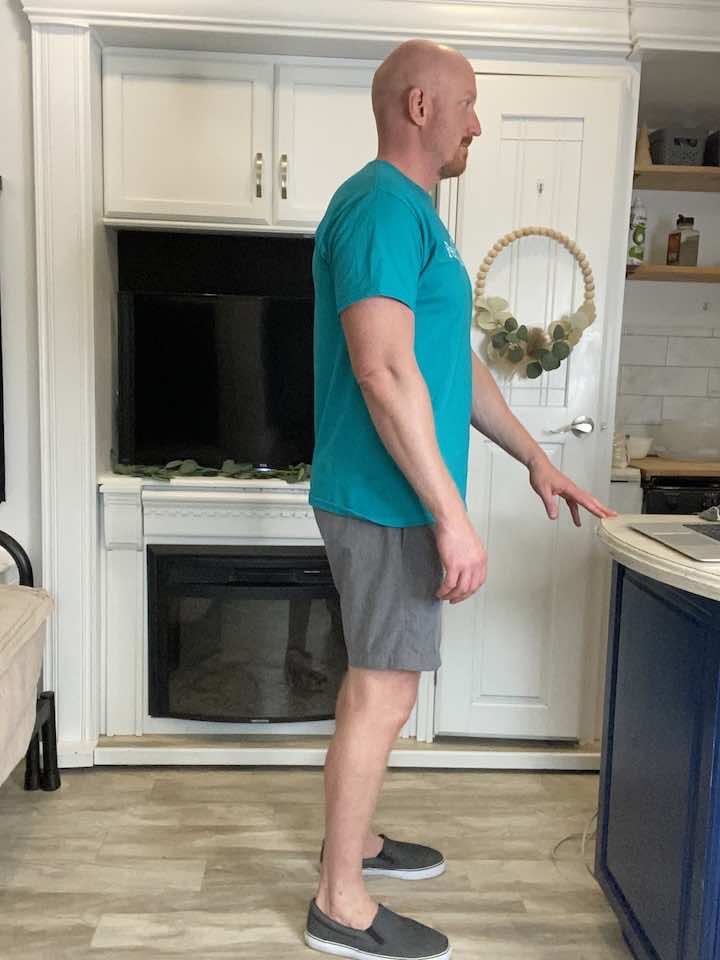
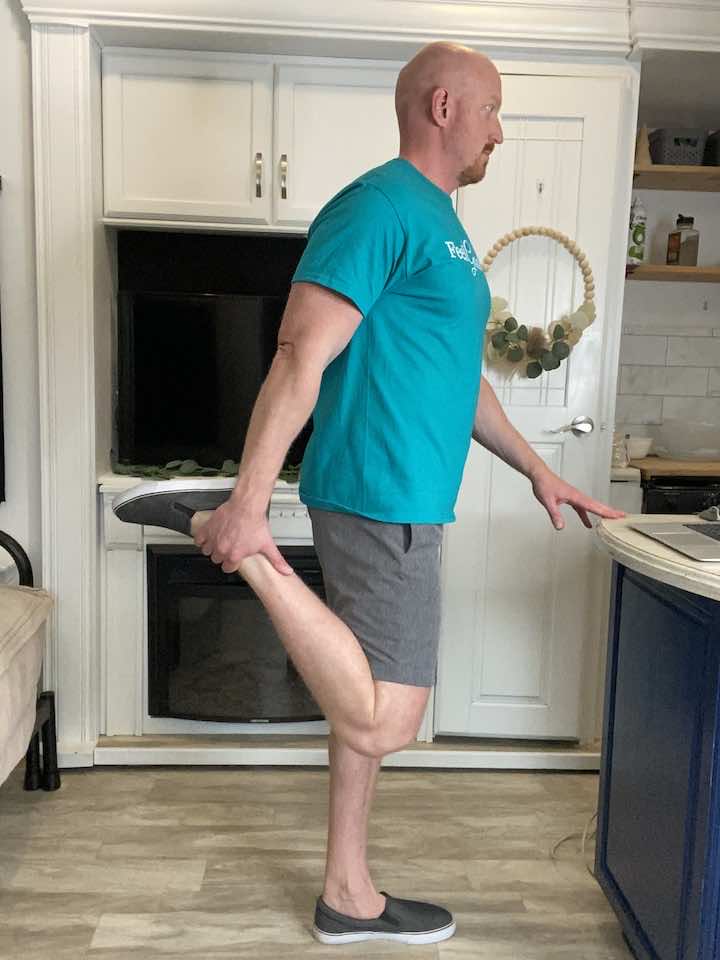
- Stand tall with your hands placed on a steady surface. You can use a counter, sink, or chair (no chairs with wheels) to hold on to for balance.
- Bend your knee and hold onto the top of your foot.
- Hold for 30 seconds, focusing on keeping your knees lined up.
- Repeat 2 more times.
To make this exercise easier:
You can always decrease the time you hold the stretch. The goal is to hold for 30 seconds, but you don’t have to do that on day one.
Conclusion
In conclusion, dealing with trochanteric bursitis might feel like wrestling with a stubborn hip, but with the right approach and a little humor, you can get back to feeling like yourself again.
Remember to consult with your healthcare provider or physical therapist before trying any new exercises, and don’t forget to have fun along the way. By understanding the causes of your hip pain and incorporating targeted exercises, you’ll be well on your way to taming that pesky hip and dancing your heart out!
Wondering What's Next?
Discover 11 Easy, At-Home “Stretch Exercises” for Stronger, Pain-Free Joints (click below)