
Free download: Top 10 Natural & Easy Remedies for Joint Pain from Home. Learn these helpful remedies.
Estimated Reading Time: 11 minutes read
Ankle injuries can be very frustrating! They really get in the way of pretty much any and all standing activities, including the most important one… walking! One of the most common types of ankle injuries you’ll come across is ankle sprains.
Table of Contents
What Happens with a Sprained Ankle?
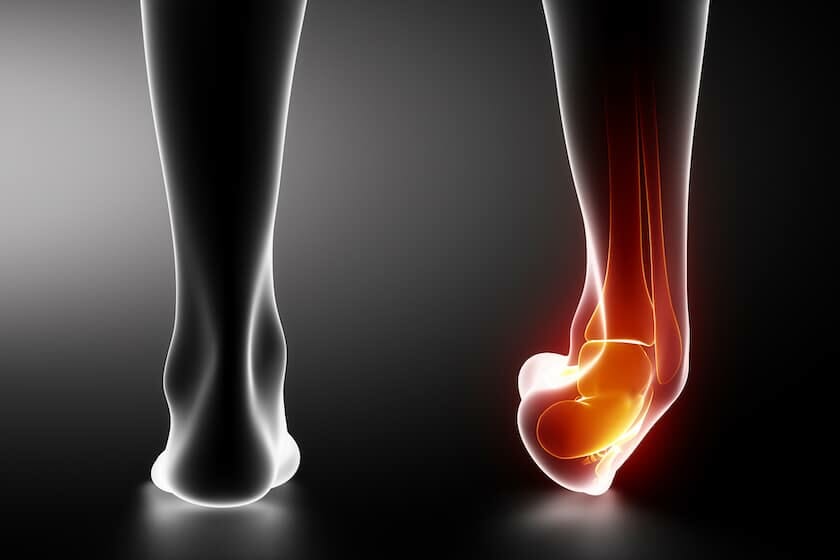
Usually with a sprain, your ankle has excessively rolled over in a certain direction, likely overstretching one or more ligaments in the ankle. Inversion ankle sprains are the most common type.

Sprains can be tough to recover from because normally once a ligament has been overstretched, it won’t necessarily return back to its original length and taut status.
This can create instability in the ankle joints and making standing, walking, and sports quite a challenge.
After a sprain, you may notice ankle pain, weakness, limited range of motion, and swelling. If a sprain is bad enough, it can affect other areas around the entire foot and ankle. Foot pain, and even pain in the lower leg, can occur as a result of an ankle injury.
If this happens, you may begin noticing that you’re putting less weight on the injured leg and more weight on the other side because of the pain.

You may also notice your walking becomes affected, such as with a limp because of the pain and limited mobility of the ankle.
There’s a higher potential for a sprain if you already have weak ankles, history of a previous ankle sprain, or are currently experiencing another type of foot or ankle pain.
To relieve pain, prevent further injury, and reduce your chance of injury at all, knowing which type of strengthening exercises to perform is important.
Best Exercises to Strengthen Ankles After a Sprain
Exercise! Not just any exercise, but certain types of exercises can be very effective for recovering from a sprain and even preventing one from occurring.
Let’s take a look at some of the best exercises to strengthen ankles after a sprain.
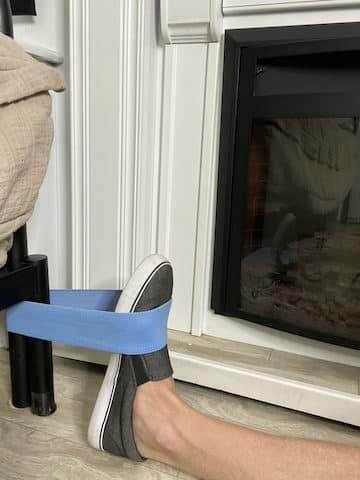
1. 4-Way Ankle Strengthening with a Resistance Band
This exercise looks to promote ankle strength on the affected leg through use of a resistance band.
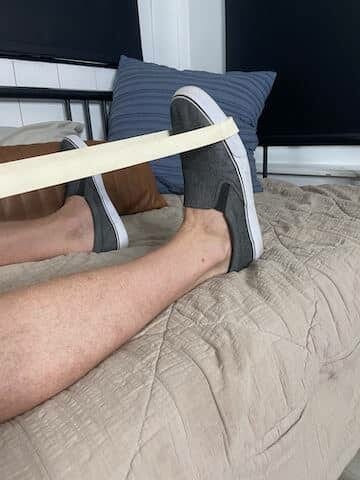
Starting position: The most comfortable position for this ankle strengthening exercise will typically be in a long sitting position with your legs in front of you. Make sure to keep your knee straight during each motion.
Begin with a lighter resistance band to see what you can handle at first. You can gradually increase the resistance when the lighter band becomes too easy.
If you’re using a certain amount of resistance that feels too heavy or is causing pain, either ease tension on the band you’re using, or change to a lighter resistance.
There are 4 main directions the ankles can move in: dorsiflexion, plantar flexion, inversion, and eversion. These are the directions you will be moving in during this exercise.
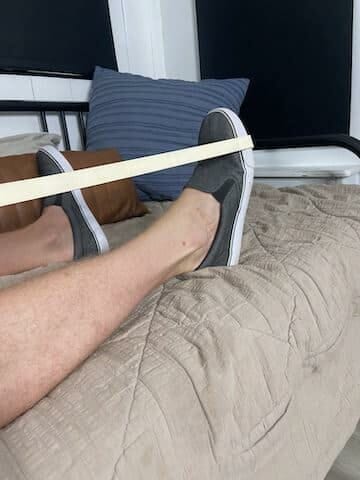
A. Dorsiflexion
- You will either need someone to hold the resistance band for you or tie the band to something, like a sturdy chair.
- Slowly flex the ankle back in your direction as far as you can. You’ll feel the resistance of the band as you move away from it. Once you’re at the end of your available range of motion, slowly return to the starting position.
- Repeat 10-15 repetitions for 2-3 sets, as tolerated.
B. Plantar Flexion
- For this direction, you can hold the ends of the band yourself and loop the band around the foot of the injured leg.
- Slowly point the foot and ankle down and away from yourself. Move as far as your ankle will allow, then slowly return to the starting position.
- Repeat 10-15 repetitions for 2-3 sets, as tolerated.
C. Inversion
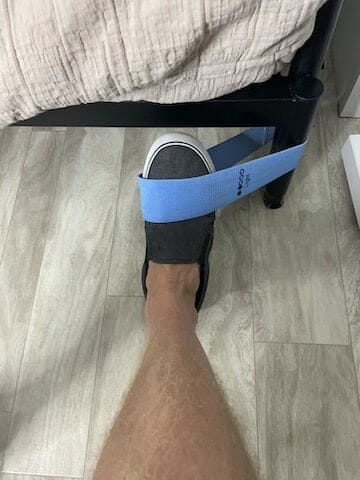
- You can still hold the band for this direction and keep it looped around the foot, however, the angle you’re hold the band will change a little. The angle you hold the band will also depend on which ankle is injured.
- If your right ankle has been sprained, hold the band off to your right side. If your left ankle has been sprained, hold the band off to your left side.
- Because inversion technically involves a bit of plantar flexion, the easiest way to move in this direction is to scoop your foot and ankle down and in towards your unaffected leg (think ice cream scoops!). Once you’ve moved as far as possible, slowly return to your starting point.
- Repeat 10-15 repetitions for 2-3 sets, as tolerated.
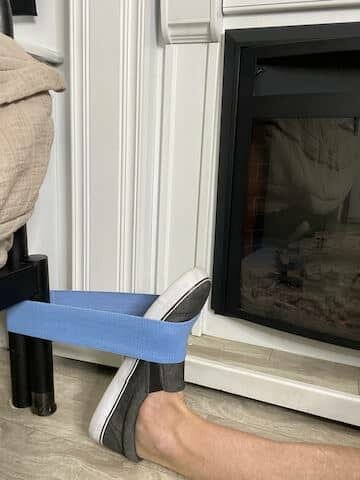
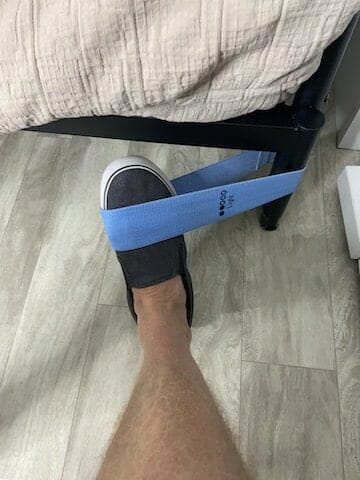
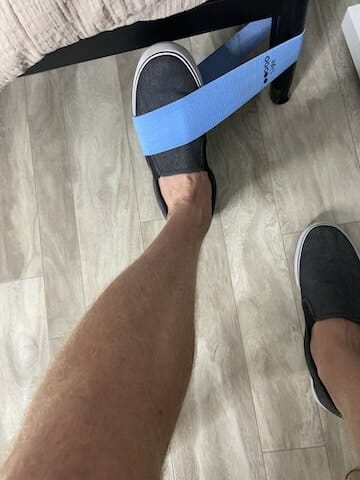
D. Eversion
- Technically for this direction, you’ll need to attach the band around something, like the sturdy chair used for dorsiflexion. The reason for this is because eversion involves some movement into dorsiflexion as well.
- Next, position yourself so that your affected leg is away from the band. Loop the band around the foot.
- Slowly begin to move your foot and ankle up and away from the unaffected leg (the opposite of inversion). Once at your end range of motion, slowly move back to you where you began.
- Repeat 10-15 repetitions for 2-3 sets, as tolerated.
Side note: For eversion, if you can’t (or just don’t want to) attach the band to something sturdy, you could hold the band towards the opposite side of what you did for inversion.
As long as you’re moving the ankle in the correct direction and can feel resistance from the band, you’ll still get the benefit of the exercise.
2. Standing Calf Raises
Standing calf raises are a great exercise for helping foot and ankle pain. This exercise targets the calf muscles, which connect via their tendon attachments to the foot and ankle, such as the Achilles tendon.
Seeing as the problem with an ankle sprain is that a ligament or ligaments have been overstretched, creating instability and less support in the ankle, it’s important to strengthen the surrounding muscle-tendon units to assist in keeping the ankle joint stable.
Standing calf raises can be performed either on both legs simultaneously or on a single leg. After an acute ankle sprain, it’s recommended to avoid attempting a single leg calf raise initially as it’s considered a more advanced exercise and could further irritate the injury.
How to Do the Exercise
- Starting position for a double leg calf raise: Begin with the feet flat on the floor. You may want to be standing in front of a sturdy surface, like your countertop, to help balance.
- Place your feet hip width apart, toes pointed forward, and keep the legs straight. Make sure you’re keeping your weight evenly distributed between both legs.
- Slowly lift the heels, moving the feet and ankles into a plantar flexed position. Once you’ve moved through your maximum ankle range, slowly lower the heels back to the floor.
- Repeat 10-15 repetitions for 2-3 sets, as tolerated.
If you’re out of the acute phase of injury (normally after the first week of the sprain), and pain is controlled, you can try out the calf raise on a single leg.
You’ll repeat the same steps as above for the double leg calf raise, but on one leg at a time.
As this is a more difficult version of a calf raise, you may want to begin with fewer repetitions, such as 5-10 and work your way up.
For both the double and single leg calf raises, don’t force the range of motion you’re moving in.
If you begin to experience pain or feel that you’re forcing the movement, either cut back on the number of repetitions or move through a smaller ankle range.
Keep everything tolerable!
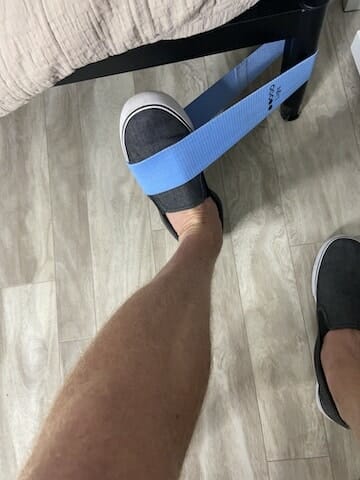
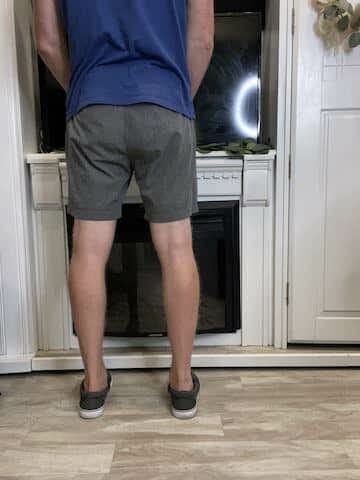
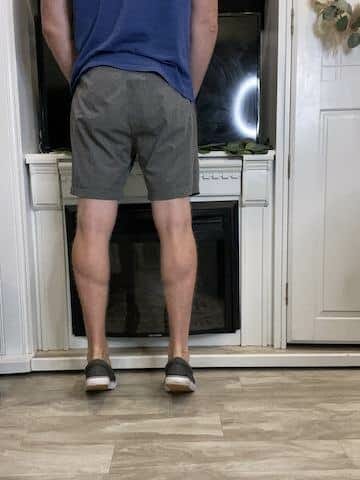
3. Single Leg Balance Exercises
Any type of exercise that has you balancing on one foot will always challenge the foot and ankle strength and stability.
You can make this even more challenging by balancing on an uneven surface, such as a foam, bosu surface or dynadisc.
There are so many different exercises you can do that balance on one foot, so where to begin??
Let’s consider 2 easy exercises:
A. Balancing on One Foot
That’s pretty much as simple as it gets!
Practice balancing on one foot at a time (doesn’t hurt to practice on your unaffected leg too!) on various surfaces.
It’s highly recommended to begin on a flat surface, such as the floor, before making things more challenging on an uneven surface.

Once balancing on the floor becomes too easy, then you can advance the exercise to a different surface.
Considerations for balancing on one foot
- Keep the foot flat on the leg doing the balancing, while the other foot is off the floor.
- Don’t just rely on the foot and ankle to support you. Make sure to also engage and tighten your quads and glutes.
- Make sure you’re not locking back into the knee on the standing leg. Doing this means you’re resting into the knee joint and relying on it to support you versus engaging the muscles along the entire standing leg.
How Long Do You Balance?
As long as you can!
Don’t go crazy but try to aim anywhere from 30 seconds to 1 minute for 2-3 sets. If you have poor balance and/or weak ankles, you may need to begin with a shorter hold time, which is absolutely fine.
Work your way up to a longer hold time as your foot and ankle stability and strength improves.
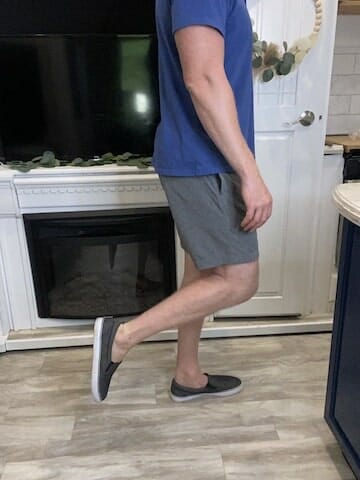
4. Marching One Leg at a Time
Marching is an easy way to begin initiating balancing on a single leg, without having to hold for a longer time frame.
Marching may seem like a simple exercise, but you can really make this challenging and pretty fun!
A. Marching In Place
You can march in place very easily. If you’re concerned about being able to balance or have weak ankles, try alternating legs to begin with.

Consider marching on one leg for about 2-5 seconds, then switching to the other leg. Repeat on each side for 10-15 repetitions for 2-3 sets.
If alternating legs while marching is too easy, you can practice all marching repetitions with the same leg first, then switch to the other side.
For example, 10-15 repetitions marching with the right leg (hold each rep 2-5 seconds), then switch legs and repeat on the left side.
B. Walking March
Another variation may include a walking march. If you think you’ll need a little help balancing, you can practice this along your countertop or back of the couch.
Simply take a step forward with one foot and lift the other leg forward into a marching position, hold 2-5 seconds, then move the leg that is in the air forward to take your next step.
The opposite leg will then march. Repeat for the entire length of your countertop or couch 5-10 repetitions each way.
Final Thoughts
Hopefully you’ve found these ankle strengthening exercises informative and productive. Remember, these exercises are not only helpful for recovering from an ankle sprain, but also for preventing injury and keeping healthy feet.

If you’ve experienced an ankle sprain, it’s always best to consult with your medical doctor. They may feel it’s necessary for you to see a physical therapist to help you with optimal recovery.
Along the way to recovery, keep in mind that you may experience some muscle soreness, but nothing should ever cause pain or make pain worse!
FAQ:
Should I wear shoes while doing these exercises?
Yes! Having the correct support for the feet and ankles is so important for success. Make sure your shoes are the correct fit and support the arches well. You may even want to consider using inserts for best foot/ankle alignment.
Will exercises alone fix my ankle sprain?
Exercises will absolutely help in your recovery, but many times after an initial injury, more is needed than exercises. This is why it’s important to consult with your medical doctor and physical therapist for other recommendations to optimize your recovery.
What else can my doctor or PT do to help my sprain?
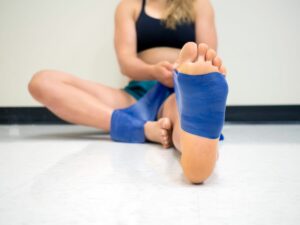
While rehabilitating a sprained ankle, a trained expert may incorporate manual therapy (e.g., massage, myofascial release) and other tools for pain control and support of the ankle (e.g., taping and modalities for pain control, such as ultrasound or electrical stimulation).
These extra measures can be very helpful for improving your tolerance for exercise.
Should I wear an ankle brace while recovering?
Sometimes a soft ankle brace can be helpful in the acute phase of injury to manage swelling and pain.
As your recovery moves along, you want to slowly wean away from using the brace and make your own muscles and soft tissues support themselves, as tolerated of course.
Wondering What's Next?
Discover 11 Easy, At-Home “Stretch Exercises” for Stronger, Pain-Free Joints (click below)