Free download: Top 10 Natural & Easy Remedies for Joint Pain from Home. Learn these helpful remedies.
Estimated Reading Time: 8 minutes read
Hey there, Let’s talk about something that we all might have in common – hip pain. As we age, our bodies can ache a bit more than they used to, and our hips can feel the brunt of it. But fear not because there are exercises that can help alleviate the pain and make it easier to move around. And, trust me, we’ll have a little fun along the way.
Now, I know that some of us might be thinking, “I’m too old to exercise” or “I’m in too much pain to move.” But here’s the thing, exercise is one of the best things you can do for your body, especially as you get older. It can help reduce pain, make you more flexible, and even boost your mood.

And when it comes to hip pain, exercise can be a lifesaver. By doing exercises that target your hips, you can help strengthen the muscles and reduce pain. Plus, strong hips can also make it easier to balance, which is always a good thing when you’re in your golden years.
So why should we care about hip exercises? Well, the hips are a pretty important joint in our body. They help support our weight and provide stability when we move. But as we age, the muscles around the hips can weaken, which can lead to pain and decreased mobility.
By doing exercises that focus on the hips, we can help strengthen those muscles and reduce pain. Plus, strong hips can also make it easier to do everyday tasks, like getting up from a chair or walking up stairs. And let’s be honest, we all want to be able to keep up with the grandkids, right?
In this article, we’re going to show you some simple exercises you can do at home to help with your hip pain. Don’t worry, and you don’t need any fancy equipment. Just grab a mat, towel, water, and a can-do attitude. So let’s get started and show those hips who’s boss! And we’ll keep it light and fun because exercise doesn’t have to be a drag.
Table of Contents
Exercises for Strengthening and Increasing Mobility in the Hips
A. Stretching
1. Hamstring Stretch
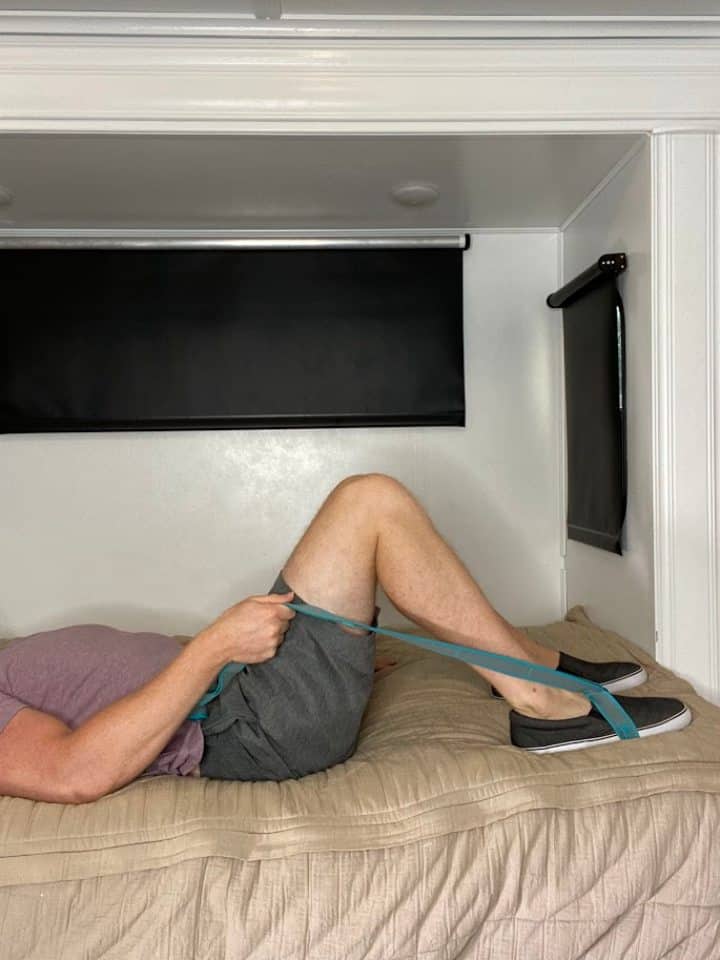
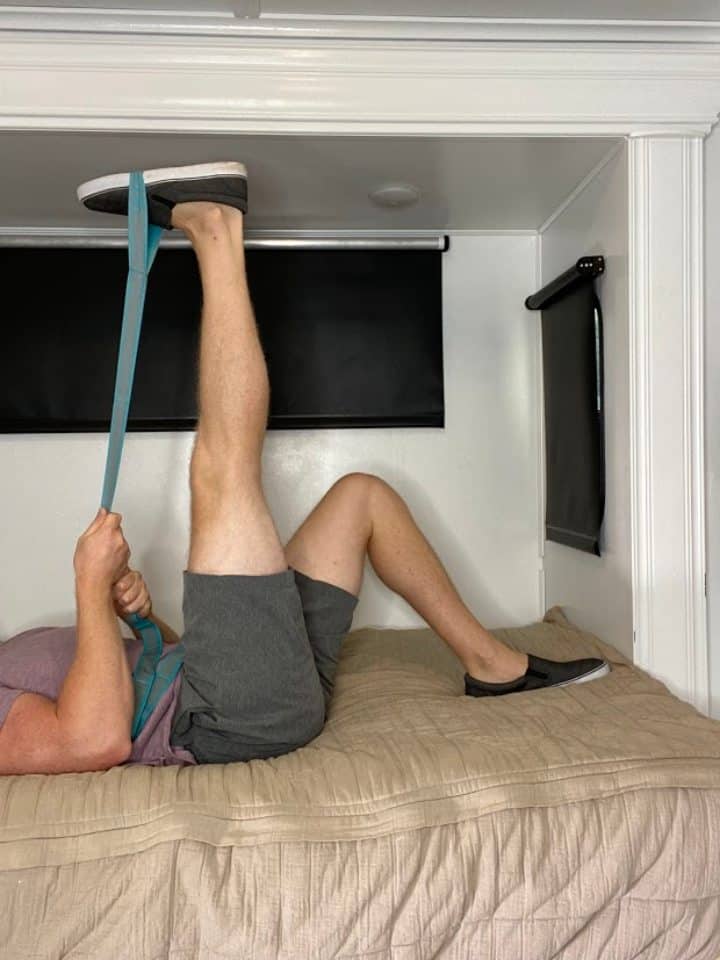
- Lay on your back on your floor, bed, or couch.
- Position the leg to be stretched straight in front of you.
- Using a non-elastic strap, wrap it around the foot on the leg to be stretched.
- The opposite leg can be bent with the foot on the surface to best support the back.
- Pull the leg up until you feel a tolerable pull behind the back of the leg (keep the knee straight).
- Hold for at least 30 seconds and repeat 3 times.
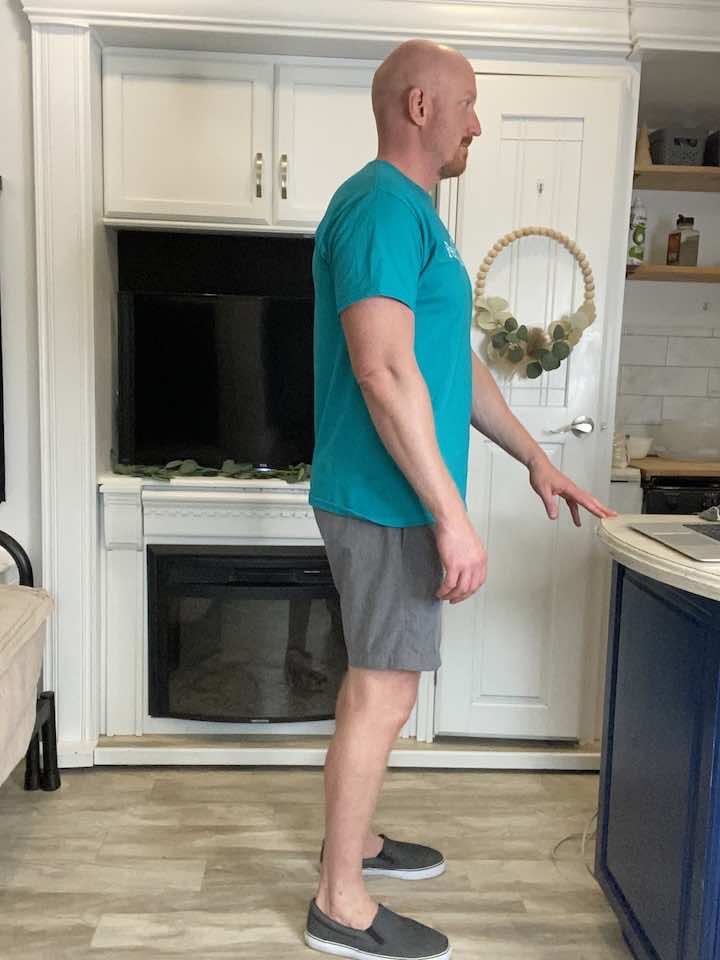
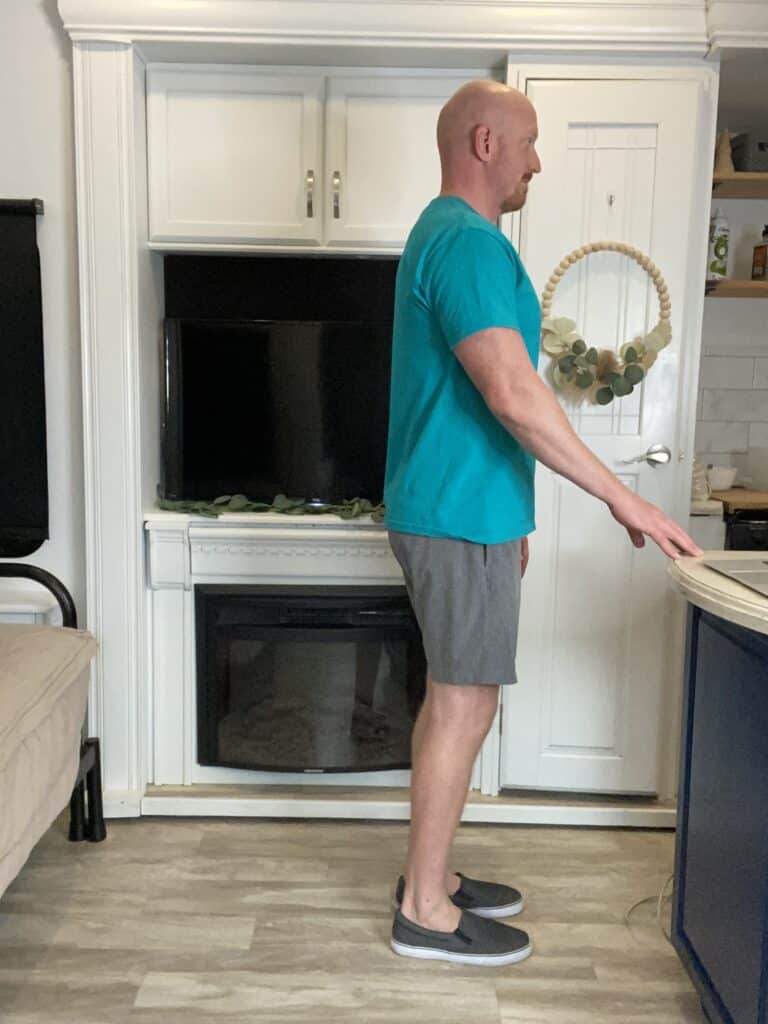
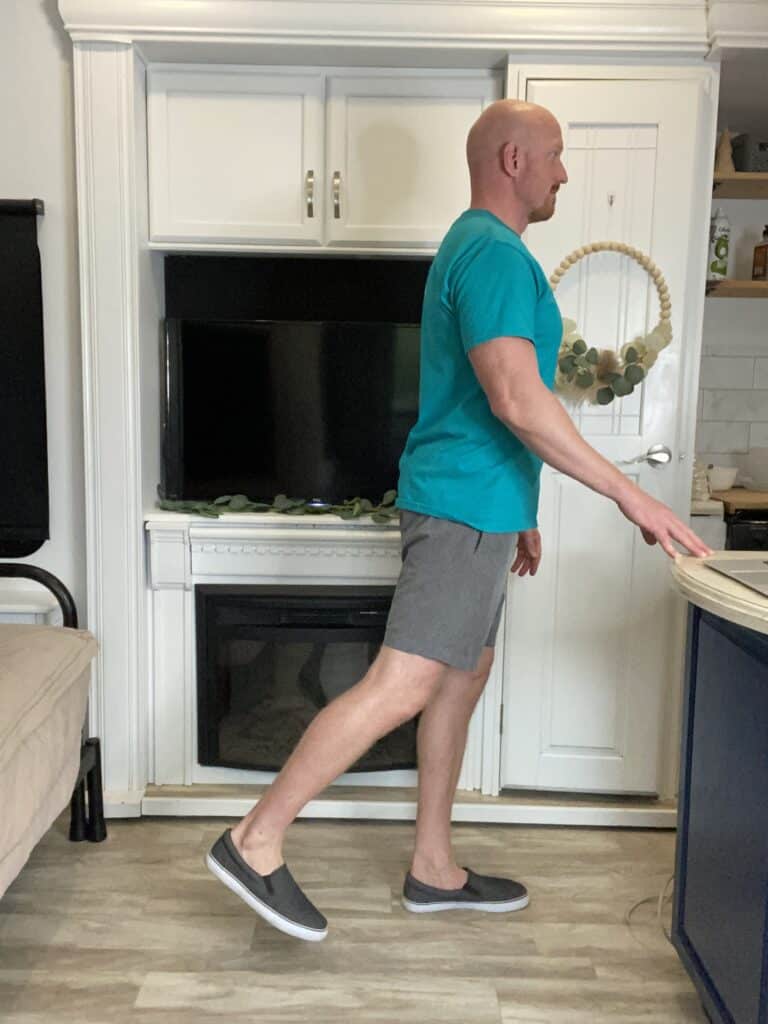
2. Hip Flexor Stretch
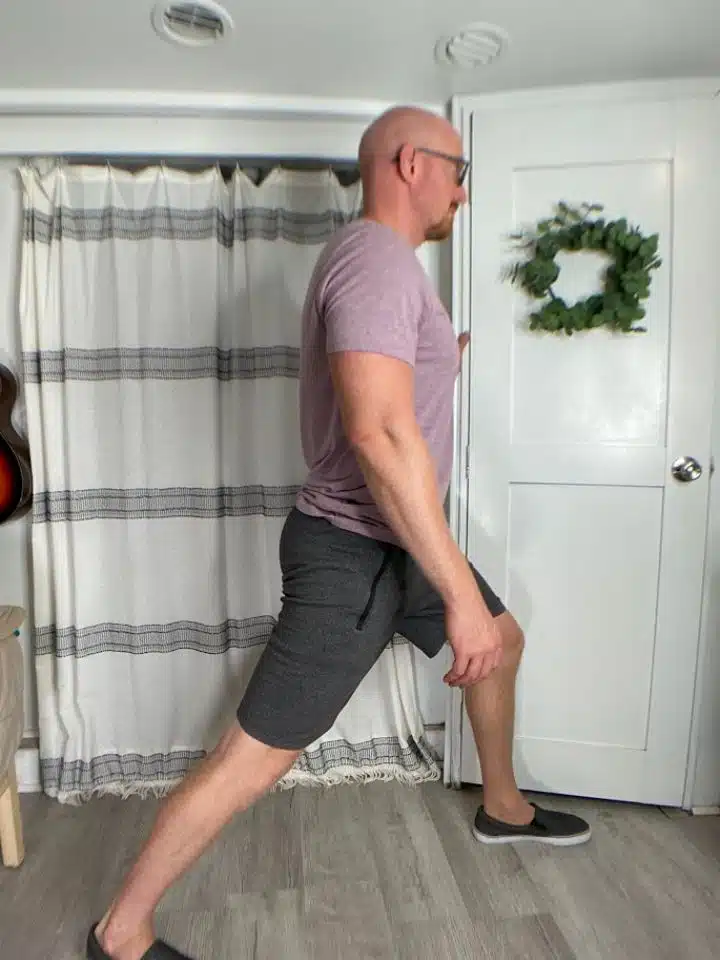
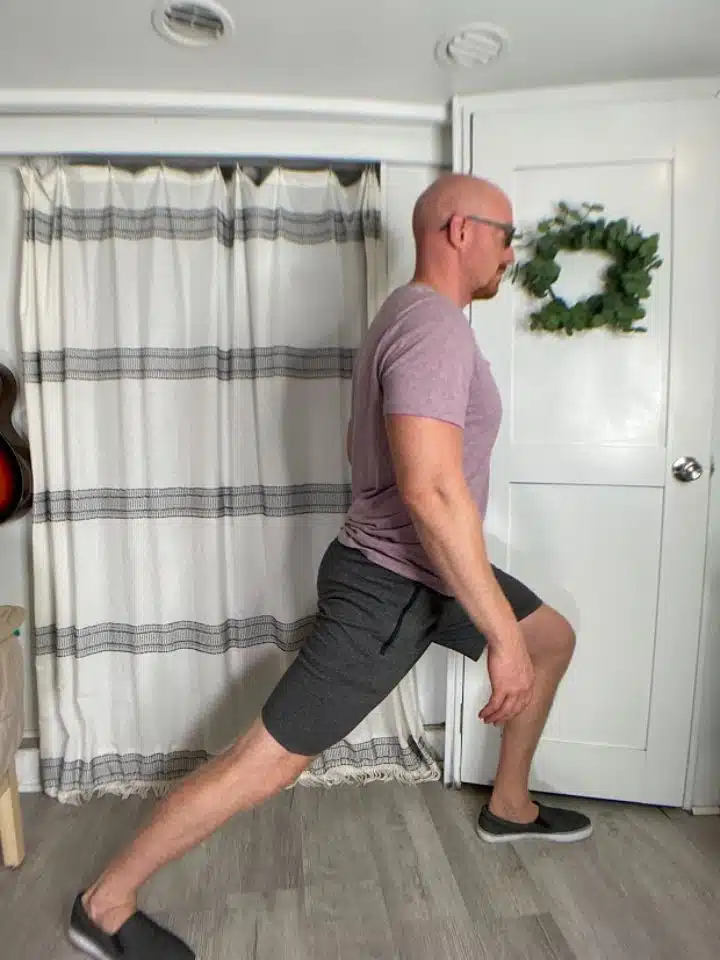
- Begin standing in front of a sturdy surface, such as the countertop, in case you need additional balance support.
- Position the unaffected leg forward and the painful leg back (the further apart the legs are, the stronger the stretch for the hip flexors).
- The front leg should have a bent knee, while the other knee in the back should be straight.
- Lean the body towards the front leg until a stretch is felt in the front of the hip in the back leg (make sure to keep both heels on the ground).
- Hold the stretch for at least 30 seconds and repeat it 3 times.
- If the opposite hip feels tight, you can repeat on the other side.
3. Piriformis Stretch
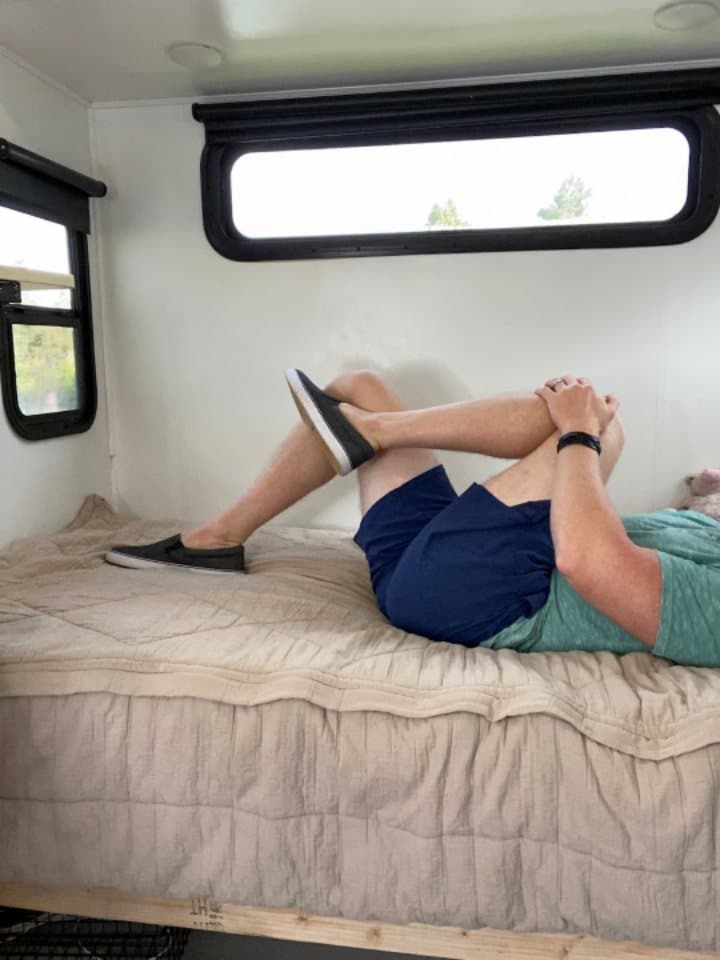
- While lying flat on the back, bend the knees so the feet are flat on the surface (e.g., bed, couch, or floor). Gently pull the leg to be stretched into the chest. Now angle the leg so that the knee is moving towards the opposite hip (don’t let the back lift off the surface).
- While lying flat on the back, bend the knees, so the fleet is flat on the surface, just like the above piriformis stretch. Cross the ankle of the leg to be stretched over the opposite thigh so that the leg looks as if it’s in a Figure 4 position.
- Hold the stretch for at least 30 seconds and repeat it 3 times.
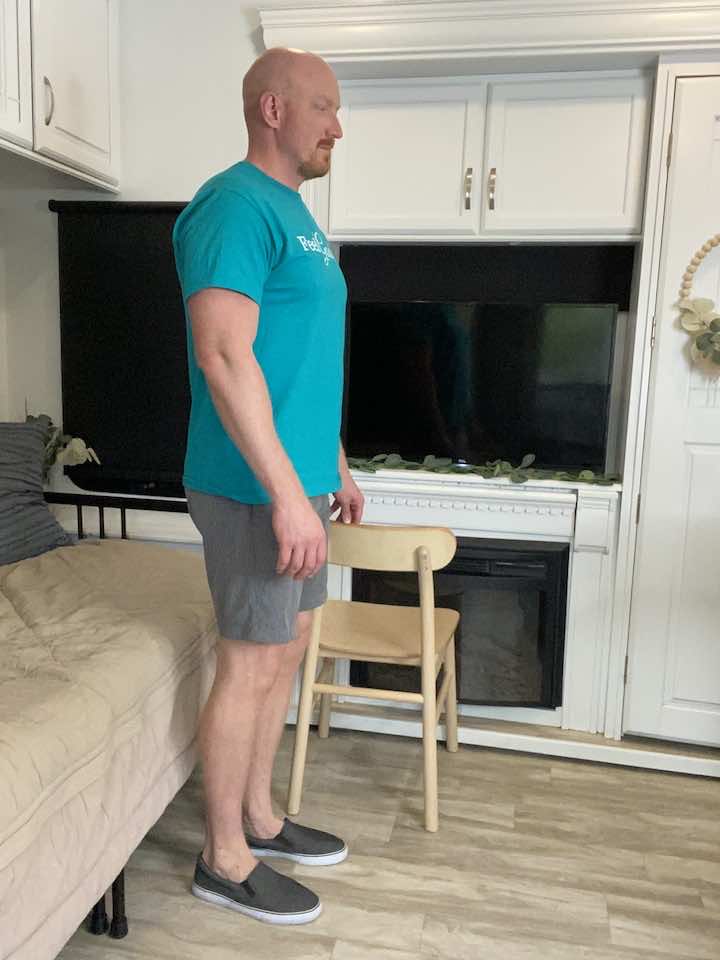
4. Quad Stretch
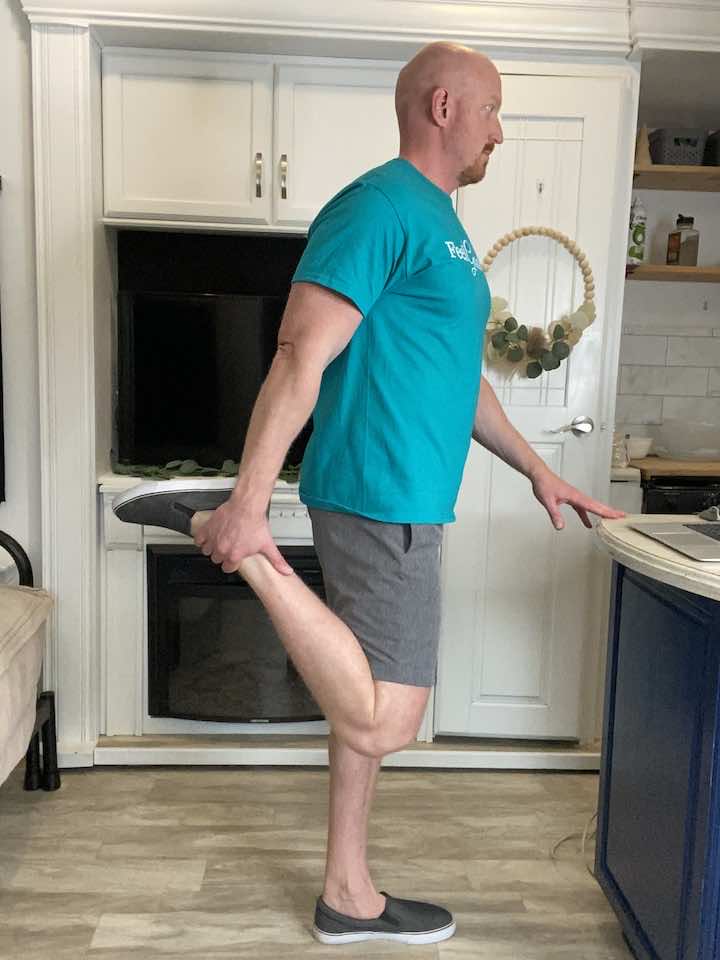
- Stand tall with your hands placed on a steady surface. You can use a counter, sink, or chair (no chairs with wheels) to hold on to for balance.
- Bend your knee and hold onto the top of your foot.
- Hold for 30 seconds, focusing on keeping your knees lined up.
- Repeat 3 times.
To make this stretch easier:
You can always decrease the time you hold the stretch. The goal is to hold for 30 seconds eventually, but you don’t have to do that on day one.
5. Butterfly Stretch
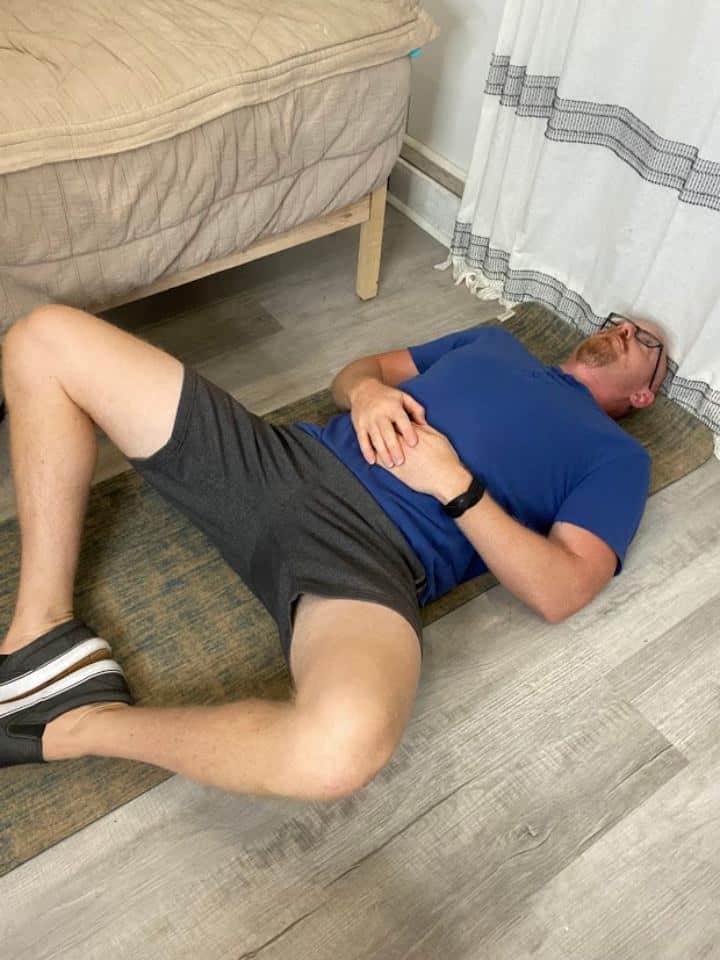
- Starting position: Laying flat on your back (on your bed, couch, or floor), with your knees bent and feet flat on the surface.
- To activate your transverse abdominis, try to pull the belly button down towards the surface, gently flattening the back simultaneously. This will help to brace the core.
- While keeping this braced core (don’t forget to breathe!), lift one knee towards your chest, like a march, then lower back down to the surface.
- Repeat 10 repetitions for 3 sets. Perform on the opposite leg.
- You can perform all repetitions on one side, switch to the other, or alternate between the legs.
B. Strengthening
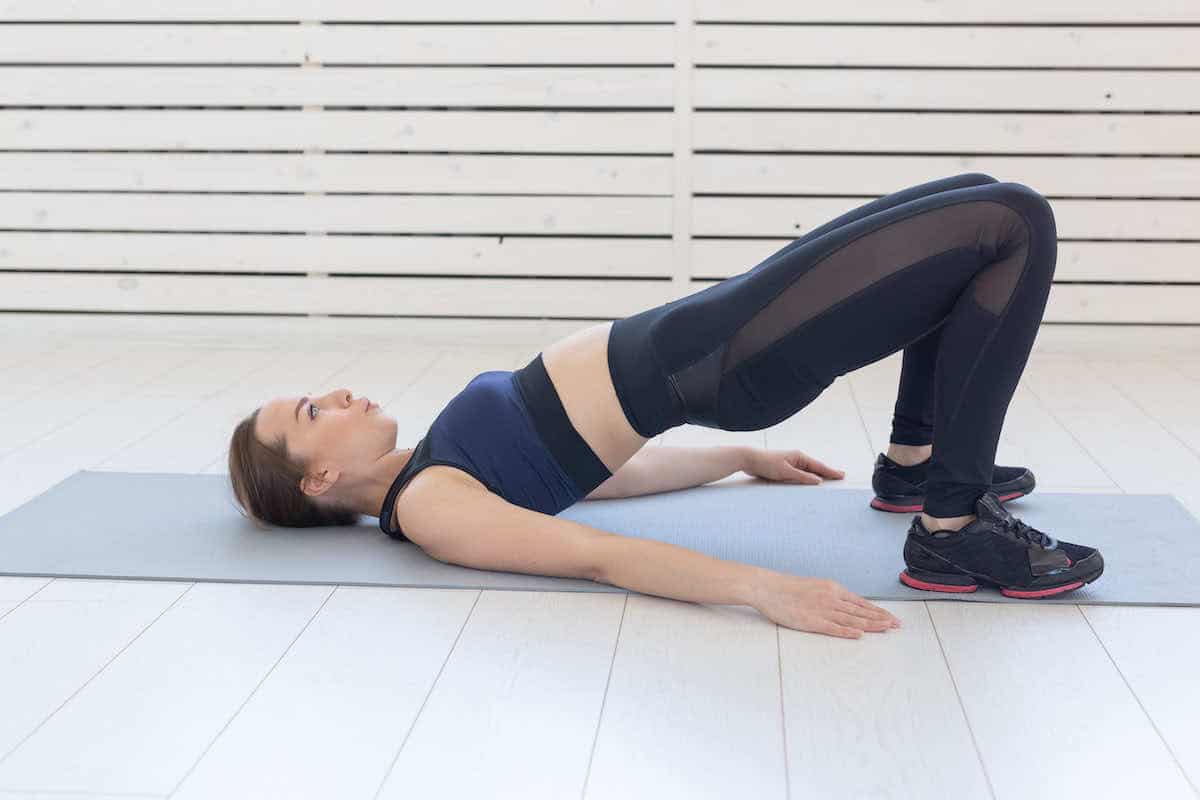
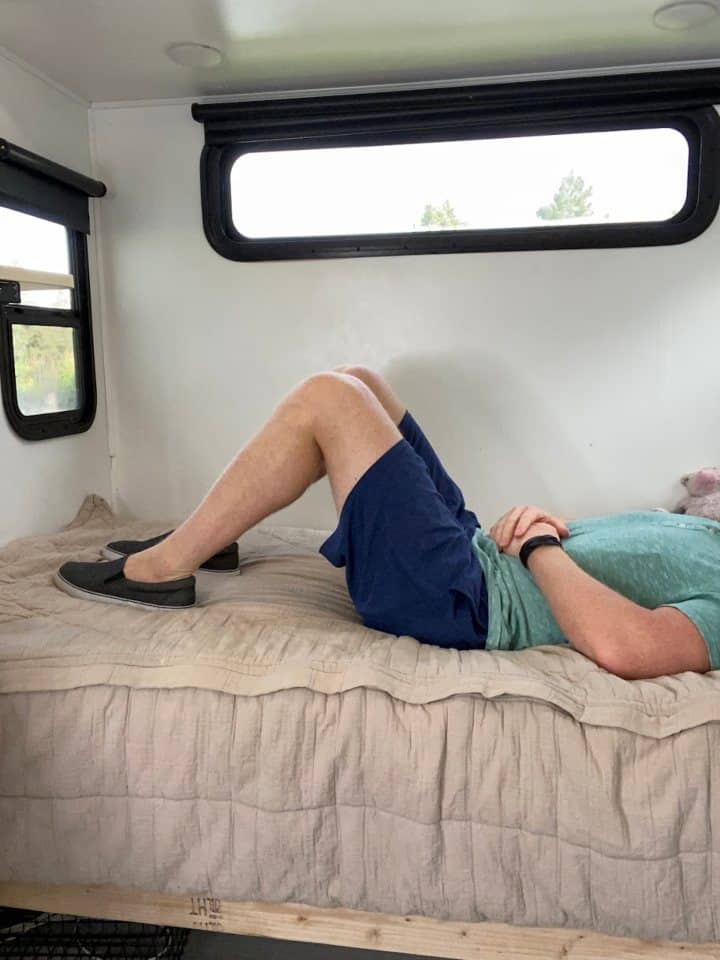
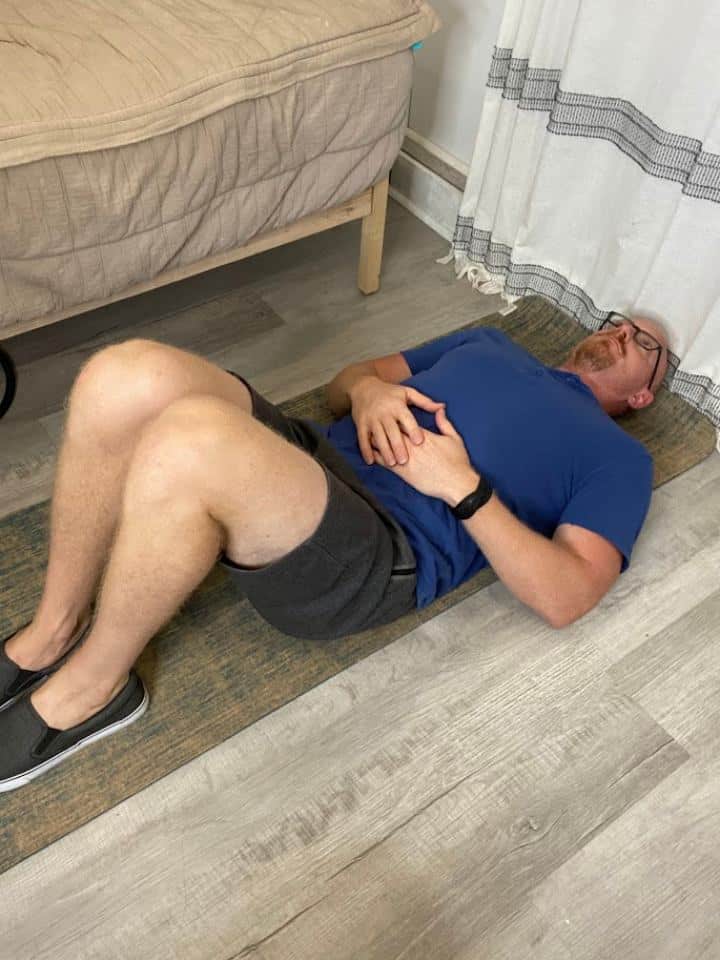
1. Bridges
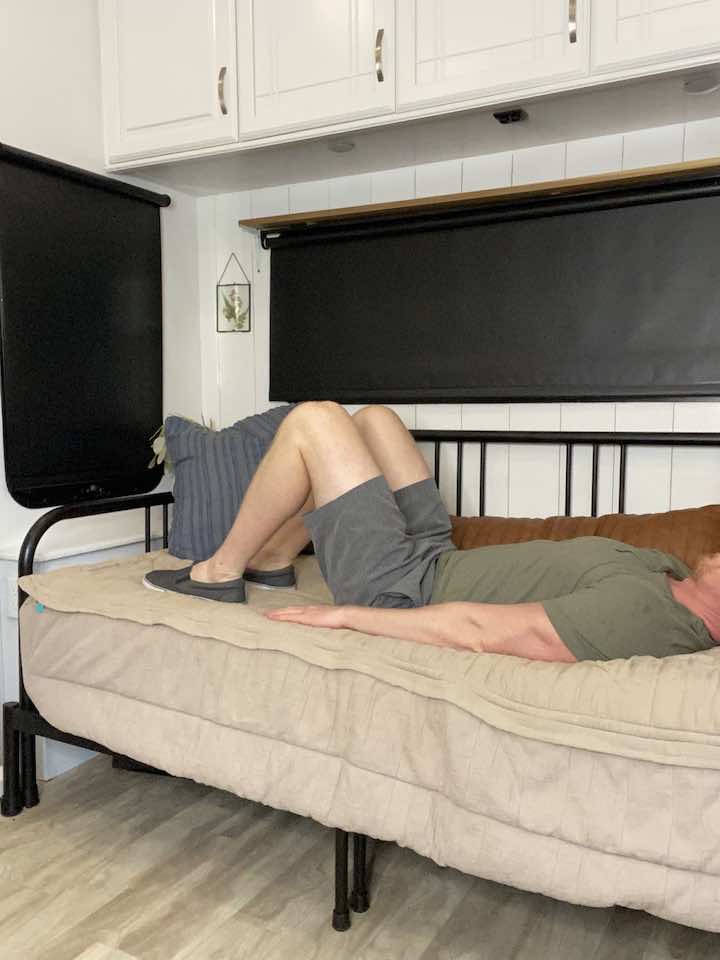
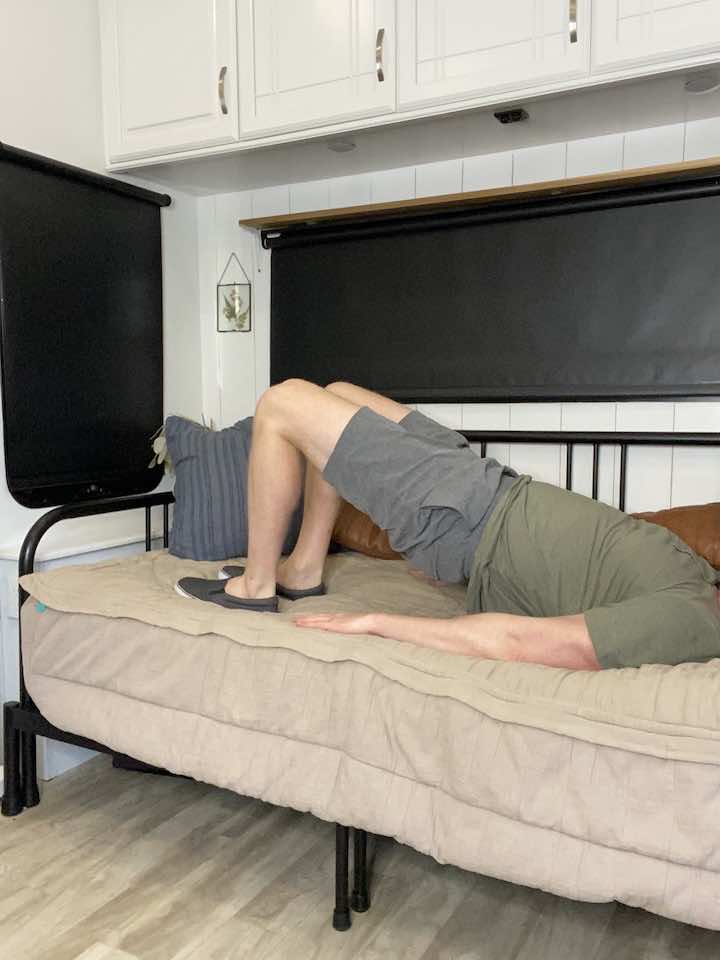
- Lie on your bed or floor (a bed is better if you have difficulty getting on the floor). Again, ensure your knees are bent at about 90 degrees and your feet are flat on the floor.
- Lift your hips off the ground, using your hands to help push your hips up if needed.
- Slowly lower your hips to the bed or floor and repeat 10 repetitions for 3 sets.
2. Clamshells
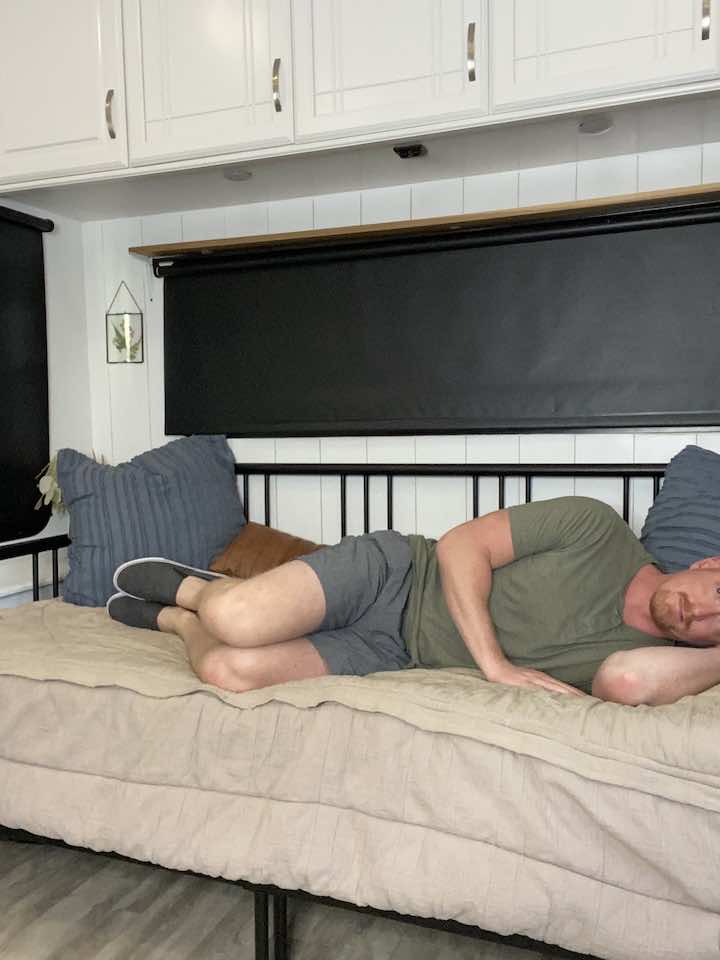
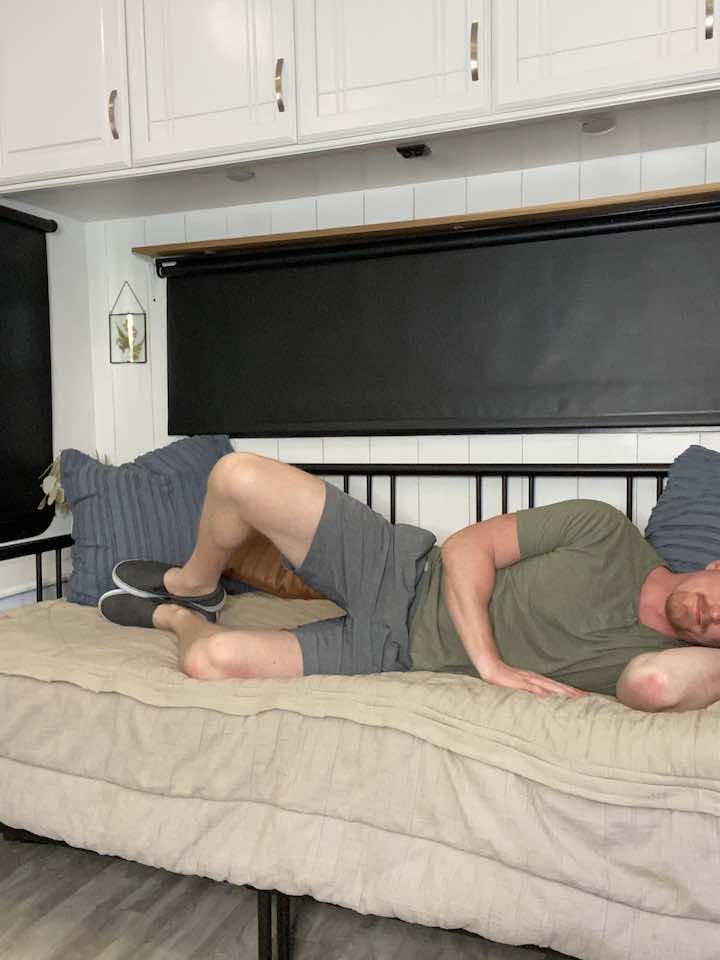
- Lie on your side with your legs bent at a 90-degree angle and your feet together.
- Keep your feet and spine in line.
- Keep your core tight and hip stable, lifting your top knee as high as possible.
- Lower your top knee to the starting position, maintaining a contraction in your glutes and lower abs.
- Repeat the movement for 10 repetitions for 3 sets, then switch to the other side.
3. Standing Hamstring Curls
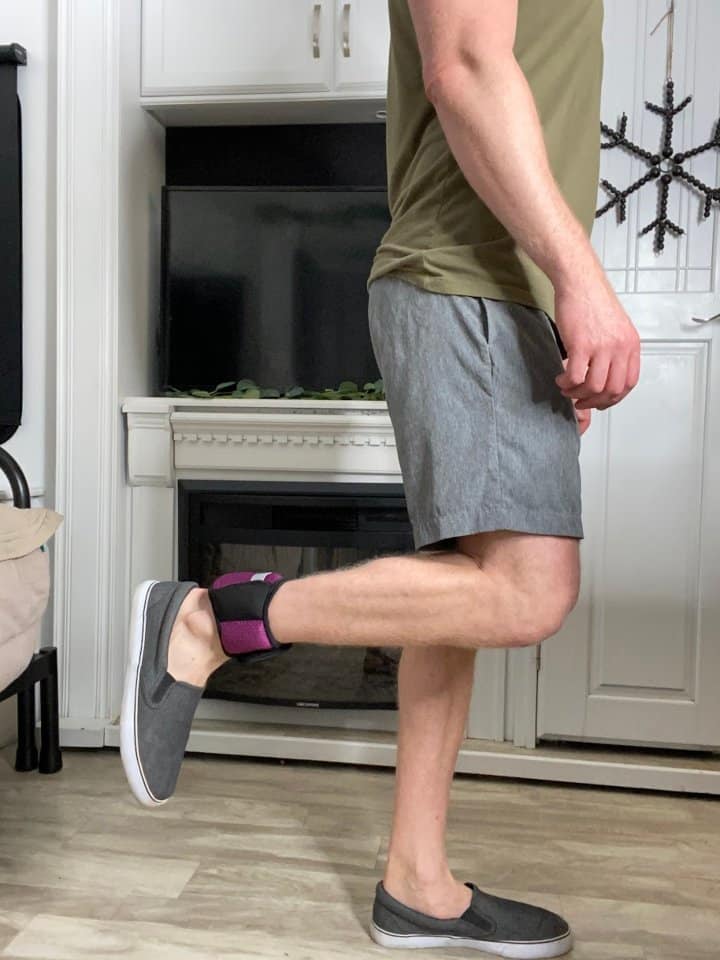
- You can use 2-3 lb ankle weights or tie a resistance band around the ankles.
- Stand in front of a sturdy surface, such as a countertop.
- Bend one knee, allowing the foot to kick up towards the bottom.
- Make sure the thighs remain close together.
- Return to your starting position. Repeat 10 repetitions for 3 sets.
- Practice on both legs.
4. Standing Hip Lifts
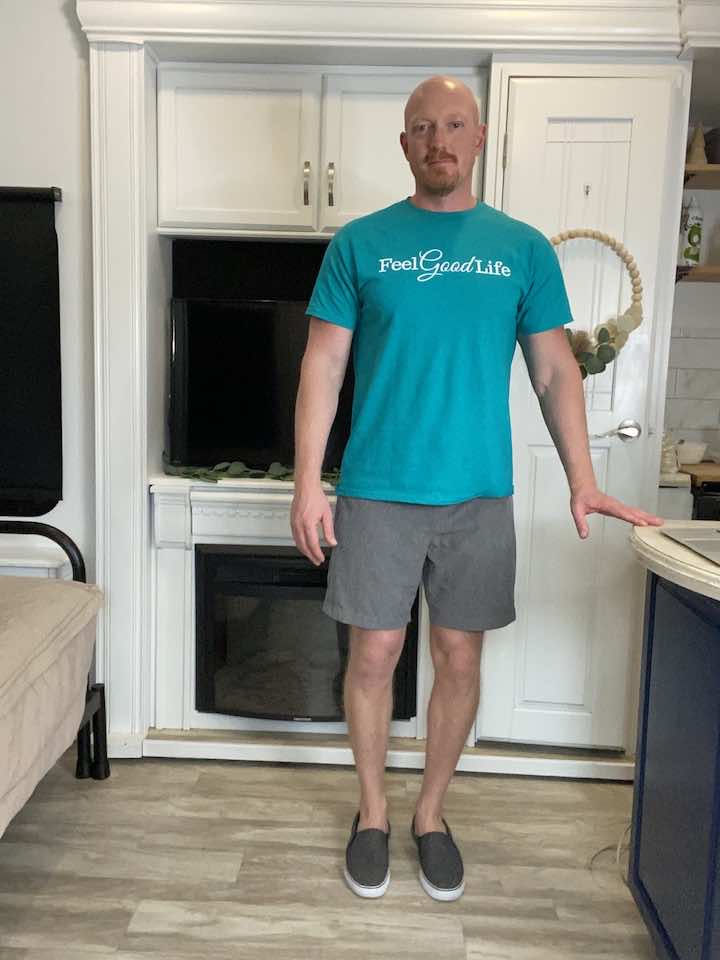
- Stand tall with one hand placed on a bed or chair. Balance on your left leg, keeping a soft bend in your knee to keep from locking out.
- Leading with your heel, lift your right leg out to the side. Be sure to avoid leaning to the left.
- Repeat 10 times per leg for 3 sets.
5. Standing Hip Extension
- Stand tall with your hands placed on a steady surface. You can use a counter, sink, or chair (no chairs with wheels) to hold on to for balance.
- Shift your weight onto your left leg, keeping a soft bend in your left knee to keep it from locking out.
- Then, keeping your toes pointed forward and your right leg straight, lift your right leg back a few inches, then lower back down.
- Repeat 10 times per leg for 3 sets.
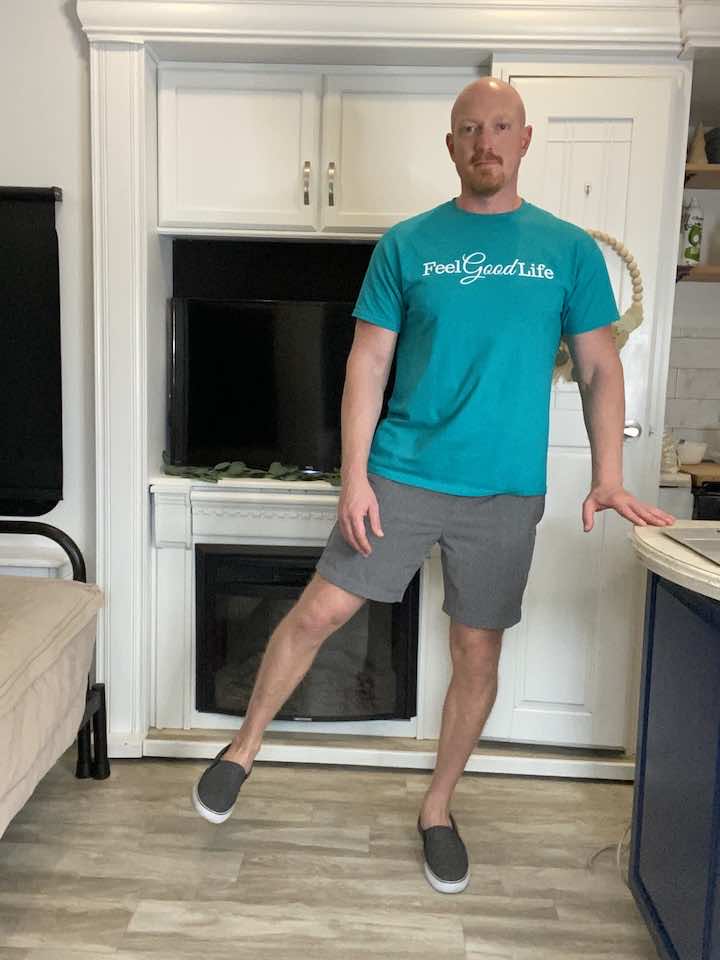
6. Standing Marches
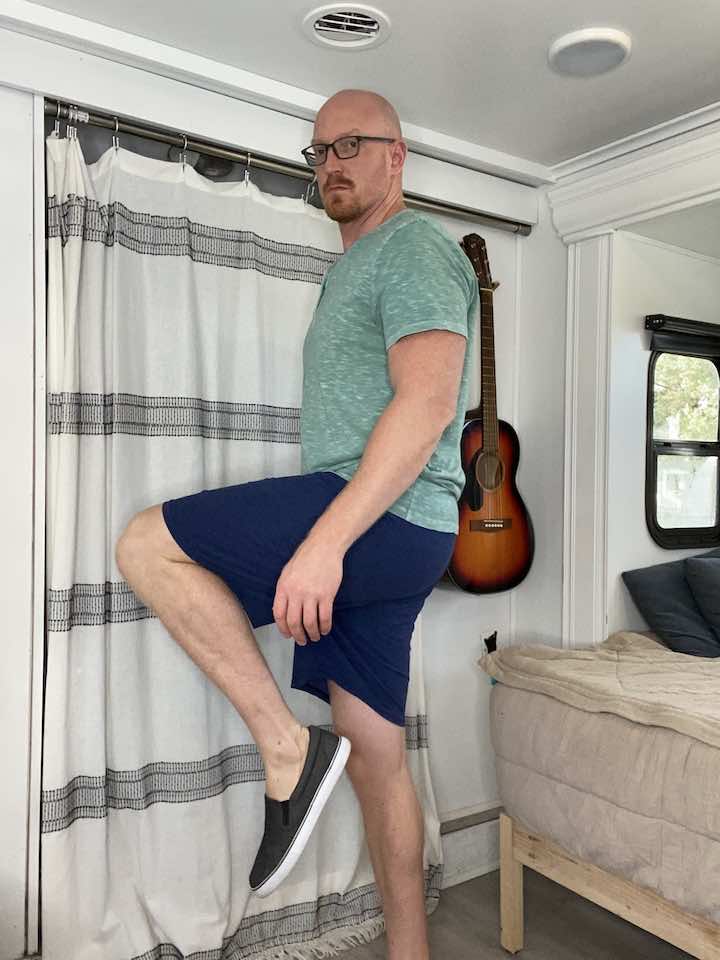
- Feel free to march standing or sitting. Lift one knee at a time, alternating sides for 10 repetitions for 3 sets.
- When you do start walking, focus on landing softly with each stride.
- Don’t feel like you need to begin a walking workout with brisk walking. Start at a slower pace initially. Once you’ve determined how your body responds to this initial slower pace and it doesn’t cause more pain, you can gradually begin to walk faster but still keep a comfortable pace.
7. Standing Hip Flexion
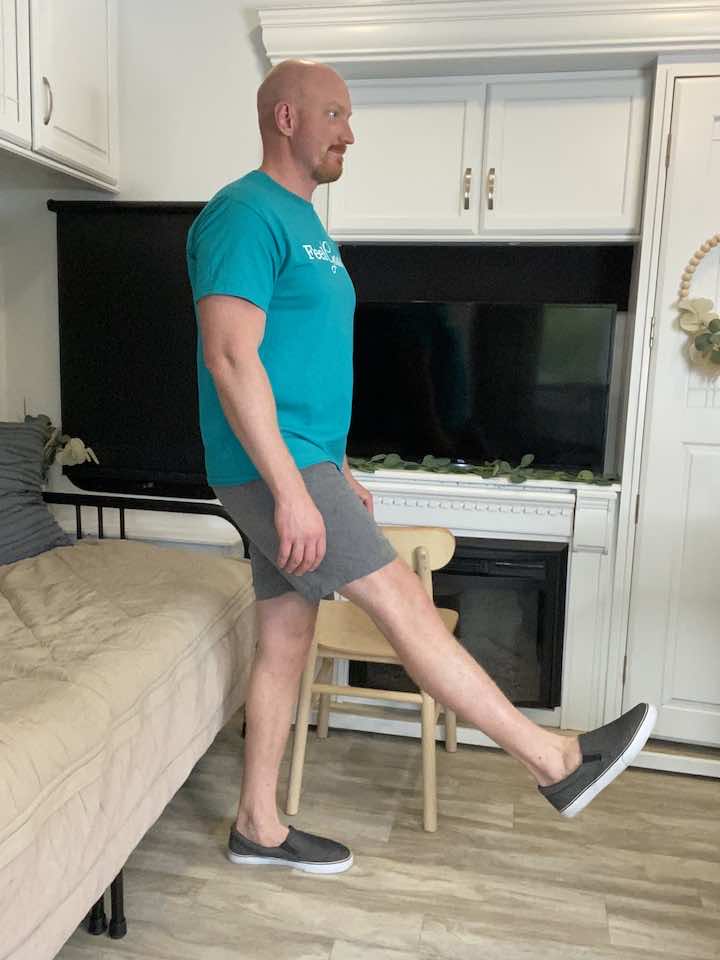
- Stand tall with your hands placed on a steady surface. You can use a counter, sink, or chair (no chairs with wheels) to hold on to for balance.
- Shift your weight into your left leg, keeping a slight bent on your left knee to keep it from locking out.
- Keeping your right leg straight, lift your leg with your toes pointed up to the ceiling, then slowly lower back down.
- Repeat 10 times per leg for 3 sets.
Tip:
Work on engaging your core as you lift your leg. You want your trunk to stay still while the leg lifts rather than hunching forward.
Conclusion
And that’s it, folks! 12 simple exercises and stretches to help ease your hip pain and improve your mobility. I hope you found them helpful and enjoyable. It’s never too late to start taking care of your body, and these exercises can make a big difference in reducing pain and increasing flexibility. So keep moving, and have fun while doing it!
Wondering What's Next?
Discover 11 Easy, At-Home “Stretch Exercises” for Stronger, Pain-Free Joints (click below)