

Free download: Top 10 Natural & Easy Remedies for Joint Pain from Home. Learn these helpful remedies.
Estimated Reading Time: 8 minutes read
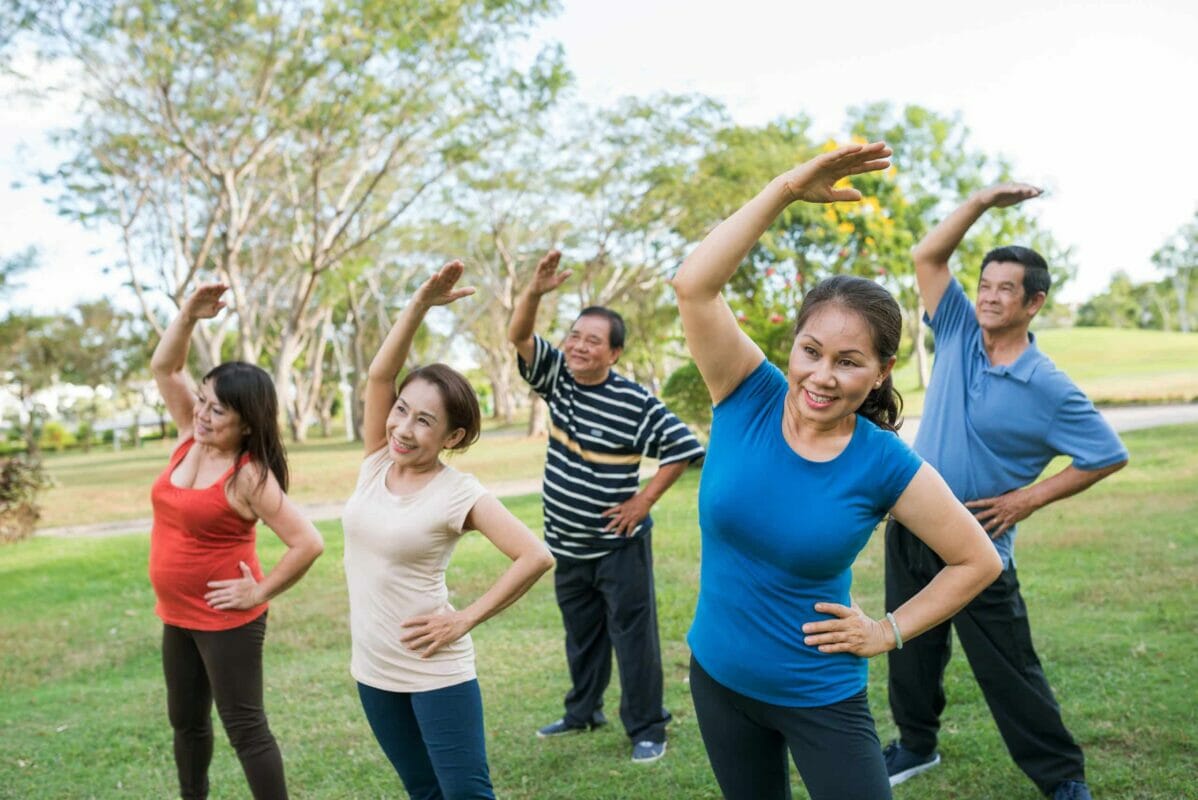
A line that never ends. A reminder to never stop moving. The infinity symbol is the perfect parallel for our joint health. Jump into this full body mobility routine to keep your joints feeling great.
The Infinity symbol a good reminder that our joints are meant to move… and move in all ranges of motion!

See, when we don’t use our joints through a full range of motion, the ability to do so dwindles with it. This leads to a wear-and-tear in the joints, as well as atrophy and pain.
BUT, the best way to avoid joint damage is by taking your joints through the maximum range of motion possible on a daily basis.
And, I’m here to do just that.
Table of Contents
Why Is this Full Body Mobility Routine Even Better Than Passive Stretching?
I’m showing you the exact mobility routine I use every morning to help keep my joints healthy.

It’s especially effective in the morning because our joints weren’t moving all night. So waking up each joint section helps to prepare our bodies for the day.
“Why not just stretch in the morning?” some may ask.
Well, most static stretches only elongate the muscles and tendons surrounding our joints.
But by focusing on mobility above flexibility/static stretching, we are able to improve the health deep inside our joints… not just the outer muscles/tendons.
The “Infinity” Full Body Mobility Routine for Lifelong Joint Health
The above video can be used to follow along each and every morning for about 8-10 minutes.
If one area is particularly stiff one day, take extra care and repeat the exercise correlated to that joint an additional time.
But first, let’s understand the why behind each movement!

1. Neck Infinity
Throughout the day, our stress takes a toll on our bodies. Our shoulders tense up, headaches creep in, and our necks stiffen as a result.
The more we stay in this tensed, stiff position, the more mobility we lose in our neck. Use this exercise daily to re-institute proper neck positioning.
How to:
- Stand with your feet, shoulder-width apart.
- Turn your head towards the left as far as you can go comfortably.
- Bend your neck now, so that your left ear is near your left shoulder.
- Continue to “trace” your shoulder towards the front, using your left ear while bending your neck back to a neutral position.
- Fluidly shift to the right side and repeat. Continue for 15-30 seconds.
2. Shoulder Rotations
The next area to quickly lose mobility as time goes on is our shoulders.
The pain of frozen shoulders, inability to reach overhead and more can all be mitigated through actively challenging our range of motion in these positions.
This exercise is one option to help mobilize your shoulders each day.
How to:

- While standing upright, rotate your left shoulder backward while simultaneously raising your right shoulder up as high as you can.
- Make sure to move slowly, as you make repeated circular motions with both shoulders… the right following the left.
- Perform 10 circles before reversing the direction, this time leading with the right shoulder now.
- Repeat another 10 times.
3. Serving Soup
While the previous movement warmed-up your shoulders, this one is designed to test your range of motion to mitigate the risk of stiff, immobile shoulders.
Now, it may be uncomfortable at first, but it should never be painful.
Only go as far as your mobility will allow, and slowly progress to larger ranges of motion.
How to:
- Position your right hand next to your shoulder like a waiter carrying a bowl of soup.
- Rotate your arm internally without spilling the soup. You’ll need to raise your elbow in order to continue internally rotating your shoulder. Eventually, your arm will be fully extended toward the rear — soup behind you.
- Now scoop your hand next to your body and bring it to the starting position.
- Repeat 10 times backward & forward before switching sides.
4. Horizontal Spinal Infinity
Now, your shoulder and neck joints don’t exist in isolation. They’re both connected to a series of joints in your spine, which works to decompress the stress of the above joints… and battle the effects of gravity.
But, sometimes, it needs a little help. This movement does just that!
Make sure to keep your shoulders low during the exercise.
How to:
- Lift your right arm, palm up, until your hand is in front of you.
- Drop your arm down in a horizontal angle toward the rear, leading with your thumb.
- Open up towards your right as far as you can, reaching behind you with the right arm… reaching forward with your left.
- Now rotate your arm internally as you bring it back to center, mimicking the motion with your left arm, thumbs leading the entire time.
- Repeat 10 times with the right arm leading, then switch sides.
5. Spinal Waves
Your spine moves in all sorts of directions. Therefore, we must move it on a similar path.
While the previous exercise rotated our spine horizontally, this movement shifts our spine forward and back.
Take care to move a single vertebra at a time.
How to:
- Stand with your spine neutral. Tuck your pelvis in as far as you can.
- As soon as you can’t tuck your pelvis anymore, start rolling forward and down, starting with your lower back, then middle back, then neck.
- In this hunchback position, rotate your pelvis forward to begin extending your back to the starting position.
- Keep in motion as you wave down and back up again 10 times.
6. Pelvis Rolls
Many times, for those not carrying stress in their shoulders, stress is carried in the hips.
And since we often only use our pelvis to help us sit and stand, it’s easy to forget it can do many other things.
Use this next exercise to increase your hips range of motion by making circles with your pelvis.
How to:
- Stand with your feet shoulder-width. Bend your knees slightly. Tuck your pelvis underneath you as far as you can while pressing it outward and toward the left.
- Keep your pelvis tucked and press it forward as if you were doing a pelvic thrust. Begin to shift your weight to the right.
- Now arch your back while sticking your pelvis out, leaning forward.
- Continue to make this circular motion with your pelvis 10 times in each direction.
7. Reeling Silk
Another hip movement to counteract the effects of limited use is through smaller, more controlled circles.
This helps to create a better connection between the mind and the joint motion.
How to:
- Stand slightly wider than the shoulder-width of your feet (the wider your feet, the bigger the stretch), and put your hands on your hips.
- Lead your knees and rotate to your right. All through the movement, pretend to draw circles with long pencils hanging from your knees on the floor.
- Rotate back to the left, ensuring the hip area is fully stretched. Rotating to the right and then the left counts as one full rep.
- Perform 10 reps, then change the initial direction.
8. Leg Rotations
The final hip mobilizer for the day is one that fully challenges your range of motion in an almost complete 360-degree circle.
This movement not only opens up the hips but also helps to reduce any lower back pain we may be experiencing caused by hip immobility.
How to:
- Stand next to a counter or back of a chair for support. Lift your right knee up, bent at a 90-degree angle. Rotate your leg out to the side as far as you can.
- Now, extend your leg toward the rear at a diagonal angle. Internally rotate your thigh — driving knee towards the ground — so your foot is now pointed outward.
- Lift your knee back upward and return to the starting position. Complete 10 reps before changing directions, starting with the leg back and driving it forward.
- Then, switch sides and repeat.
9. Knee Circles
Our knees are designed to move in a single plane of motion. Forward and back. Think of it as the elbow of the leg.
However, where most knee injuries take place is when the knee is forced into positions outside this plane of motion.
This exercise helps the knee to feel more comfortable in positions slightly beyond the forward and backward motion.
How to:
- Position your knees, so that they touch. Bend your knees, so that they are bent slightly. Press them out an inch or two laterally to the left. If you’ve got achy knees, go just slightly out.
- Press them to bend deeper toward the front.
- Press them right out.
- At last, straighten up your legs.
- Continue to make your knees into a circle clockwise 10 times… then counterclockwise for another 10 reps.
10. Foot Rotations
Two of the most neglected joints in our body are the feet and ankles! And while this exercise primarily activates the metatarsals and tarsals in the balls of your feet, the forward and backward motion helps mobilize the ankle as well.
How to:

- Position your right foot behind you by roughly 12 inches. Your weight will stay mostly on your front foot at the beginning.
- Lift your back heel up while maintaining some weight on your toes. Keep your heel up while shifting your weight backward to get a deeper stretch.
- Perform 10 times forward and backward before switching feet.
And there you have it! Perform this full body mobility routine daily (or at least 3 times per week), so just your joint happy, healthy, and pain free.
Wondering What's Next?
Discover 11 Easy, At-Home “Stretch Exercises” for Stronger, Pain-Free Joints (click below)


3 Responses
I would like the free tip you've advertised
deborahbritto80@gmail.com
Thank you
Please send the free tips you mentioned in the above video. These stretches felt so do. Thank you
Hi Angela! To get the free tips, fill out your information here and I will send them over: https://aw114589.aweb.page/p/826f44fb-be07-4930-b1c1-00092cb3df7a. Thanks!!