Free download: Top 10 Natural & Easy Remedies for Joint Pain from Home. Learn these helpful remedies.
Estimated Reading Time: 6 minutes read
Hey there, my friend! Do you have pain in the neck? Literally? Does your arm feel heavy or tingly? You might be experiencing Thoracic Outlet Syndrome (TOS). Don’t worry, though; I’ve got some tricks up my sleeve that can help ease your pain and make you feel a whole lot better.
So, what exactly is TOS? Well, it’s when the blood vessels and nerves around your collarbone get squished together, causing a whole bunch of uncomfortable sensations. And let’s face it, and we don’t want any extra discomfort as we age, right?

The symptoms can vary from person to person, but some of the most common ones are a pain in your neck, shoulder, or arm and feeling tingly or numbness in your fingers. It can also cause muscle weakness and swelling in your arm, which is no fun at all.
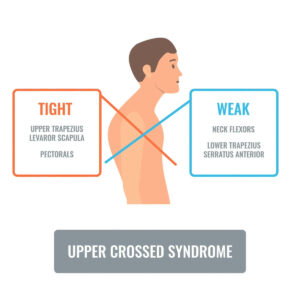
Now, I know what you’re thinking. “Why me?” Well, there are many things that can cause TOS, such as poor posture, repetitive motion, an injury, or even pregnancy. But don’t worry; it’s not just you. And even though we’re getting older, we can still take steps to make it better.
The good news is that there are a few exercises that can help ease your TOS symptoms. These exercises are designed to stretch and open up the thoracic outlet and get your blood flowing again. It’s like a magic trick for your joints!
Table of Contents
9 Best Exercises for Thoracic Outlet Syndrome
1. Scapular Retraction


- Try to sit as straight as possible in a sitting or standing position. Aim to position the head in as much of a forward and neutral position as possible.
- Gently pull the shoulders back and squeeze the shoulder blades together.
- Hold for 5 seconds, then relax.
- Repeat 10 repetitions for 3 sets.
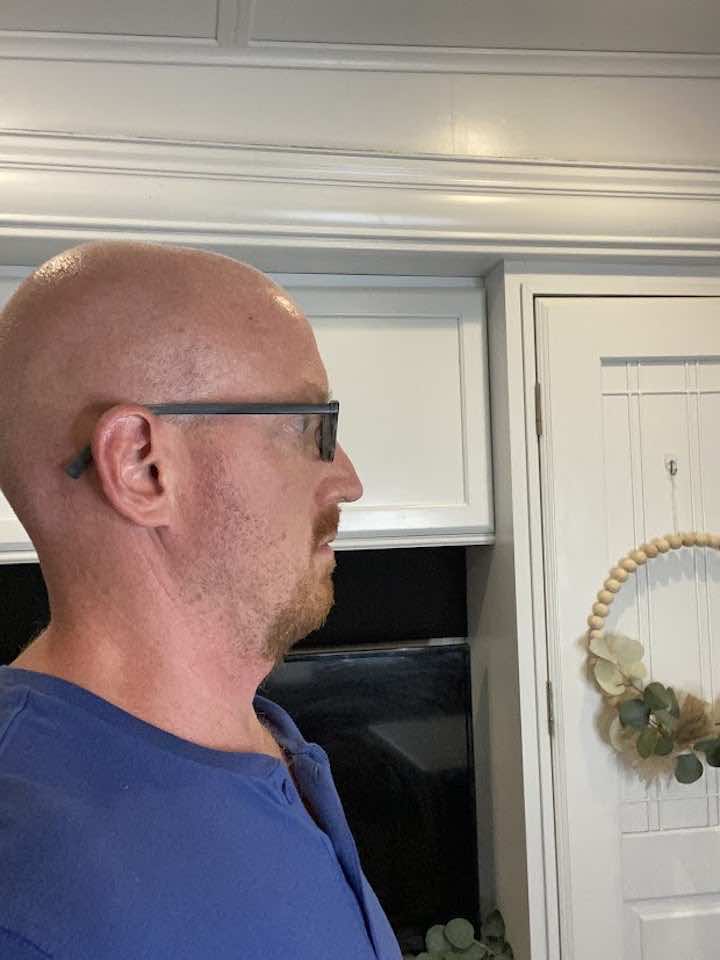
2. Chin Tucks
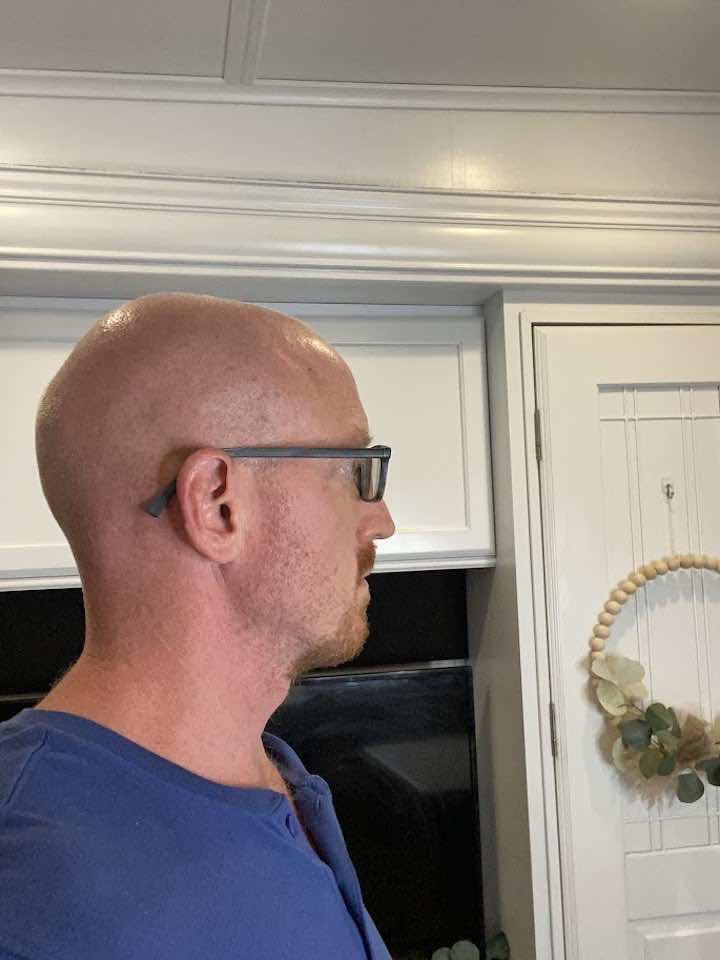
- You can perform a chin tuck laying on your back or in a sitting or standing position.
- Gently tuck the chin directly back as if trying to make a double chin. Avoid nodding your head.
- Hold this position for 2 seconds, then slowly relax your muscles.
- Repeat 10 repetitions for 3 sets.
3. Door Frame Stretch

- Standing before your doorway, raise your arms to shoulder height like a goalpost. The elbows will be bent with the palms facing forward.
- Keeping this position, rest the arms against your doorway.
- Slowly lean forward into a gentle stretch and hold for at least 30 seconds. Repeat 3 times.
4. Upright Rows with Resistance Band
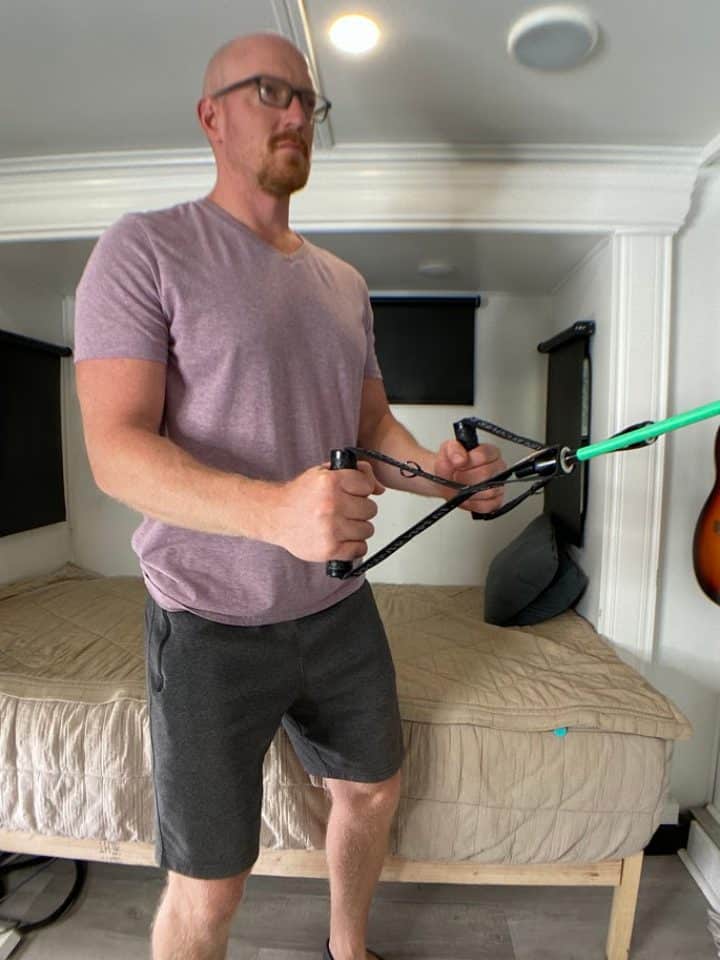
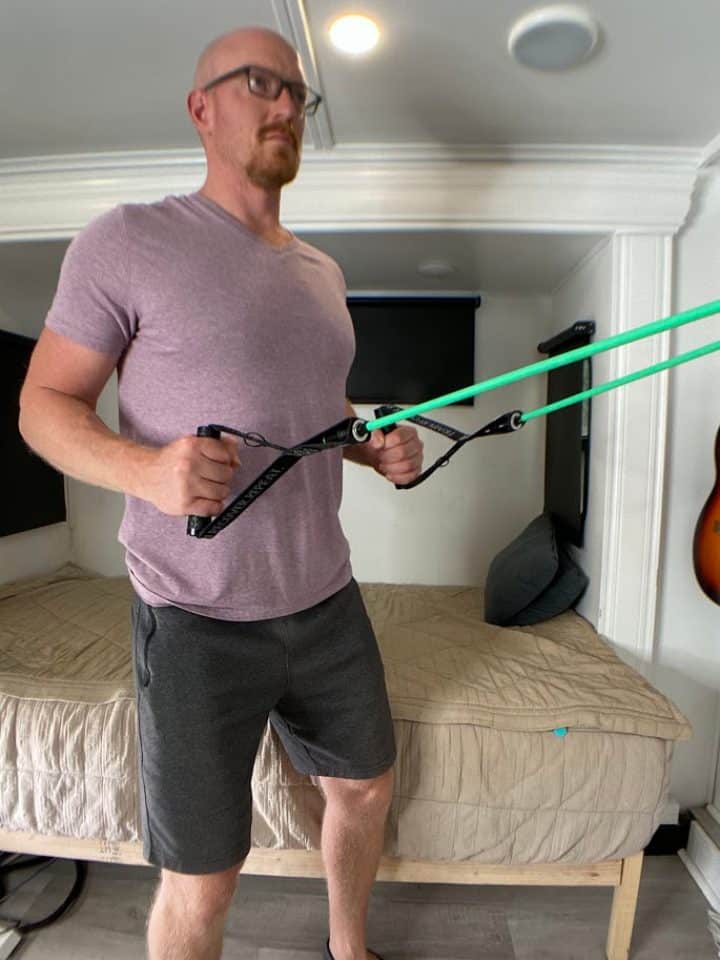
- Hold on to the ends of a resistance band (light, medium or heavy), which you can attach to a door knob.
- Begin with the arms elevated in front of you to shoulder height and the palms facing each other.
- Step back far enough that the resistance bend has a little tension.
- Pull back on the band by bending the elbows and swinging the arms back next to you. Make sure to squeeze the shoulder blades together.
- Hold for 2 seconds, then return to your starting position.
- Repeat 10 repetitions for 3 sets.
5. Pulldowns with Resistance Band
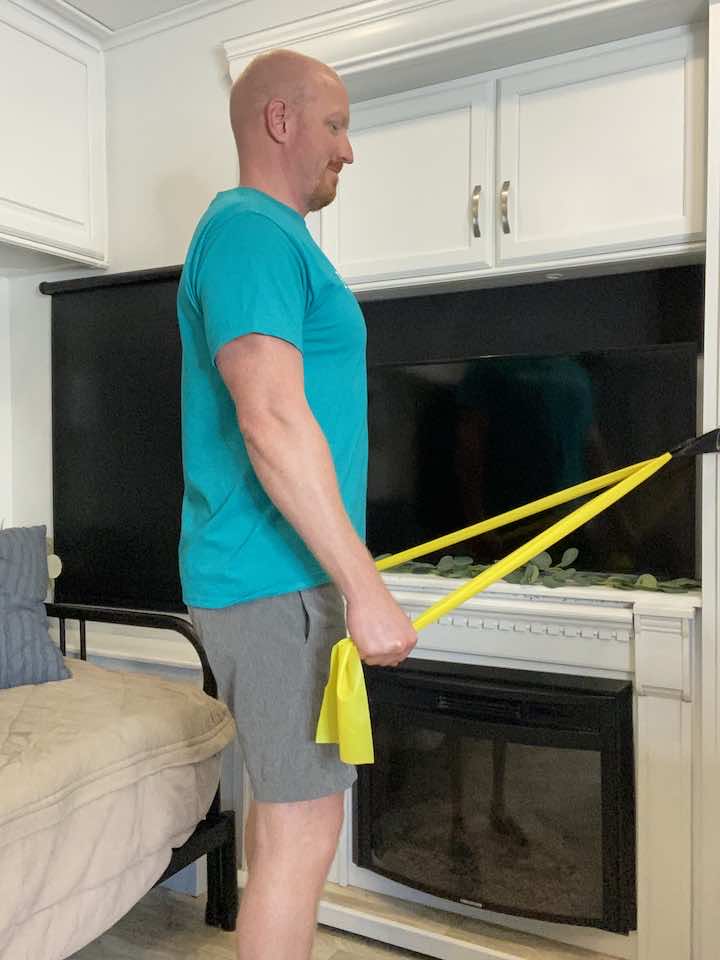

- Securely attach the resistance band to a high anchor point, such as a pull-up bar or a sturdy doorframe.
- Hold the band with both hands, palms facing forward and hands shoulder-width apart.
- Stand facing the anchor point with your arms extended upwards and your hands positioned above your head.
- Keeping your elbows straight, pull the band down towards your chest while squeezing your shoulder blades together.
- Pause at the bottom of the movement and then slowly return to the starting position.
- Repeat for 10 repetitions and aim for 3 sets.
6. Seated Back Bends
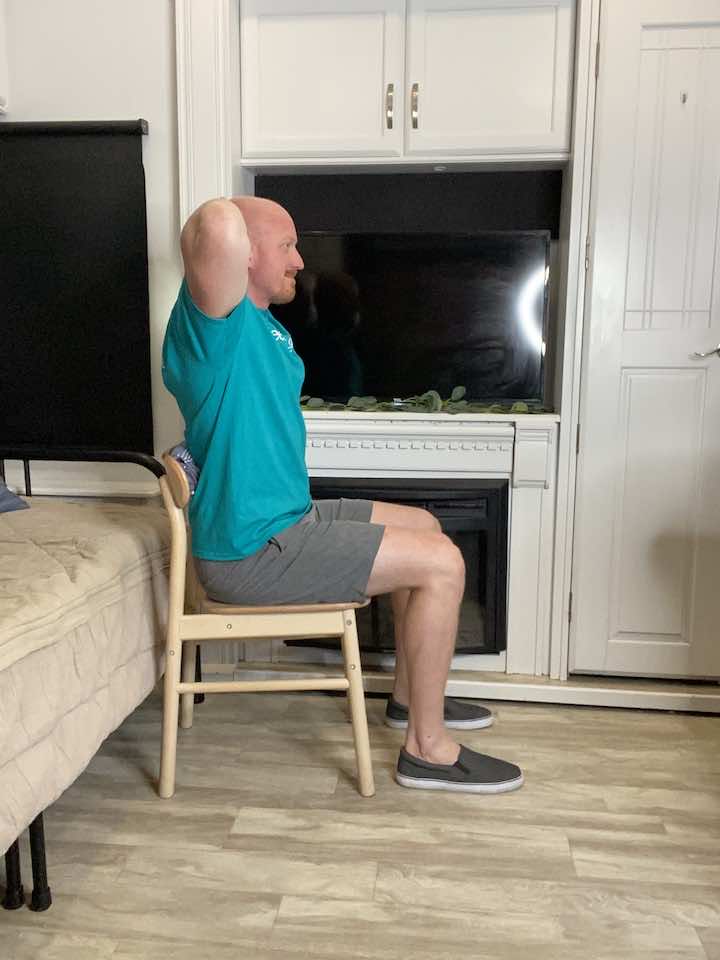
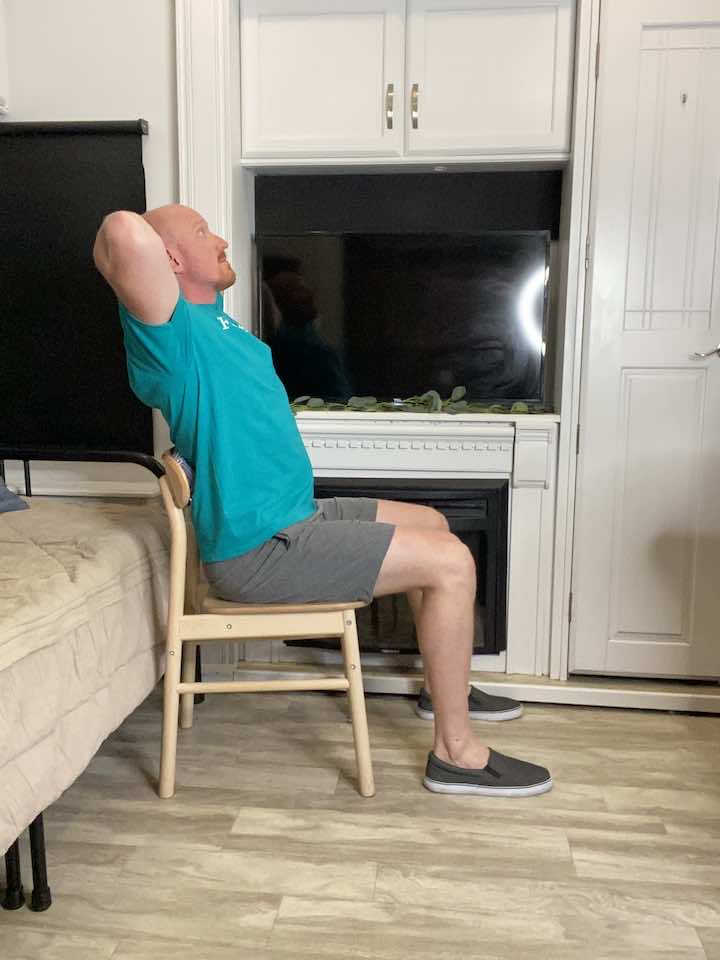
- Sit in a chair with your knees at a 90-degree angle and shoulder-width apart. Place a ball or large rolled-up towel between the middle portion of your back and the chair. The ideal placement is at the bra strap level. Guys, you’ll have to use your imagination to get the placement correct.
- Slowly lean your upper back over the ball, one vertebra at a time. Make sure not to arch using your lower back. You want to roll the middle back over the ball.
- Expect small movements here. Every single vertebra doesn’t have an extensive range of motion. And since you are isolated in your thoracic, focus on precision over huge movements. Continue to perform this stretch for 2 seconds.
- Repeat 10 times.
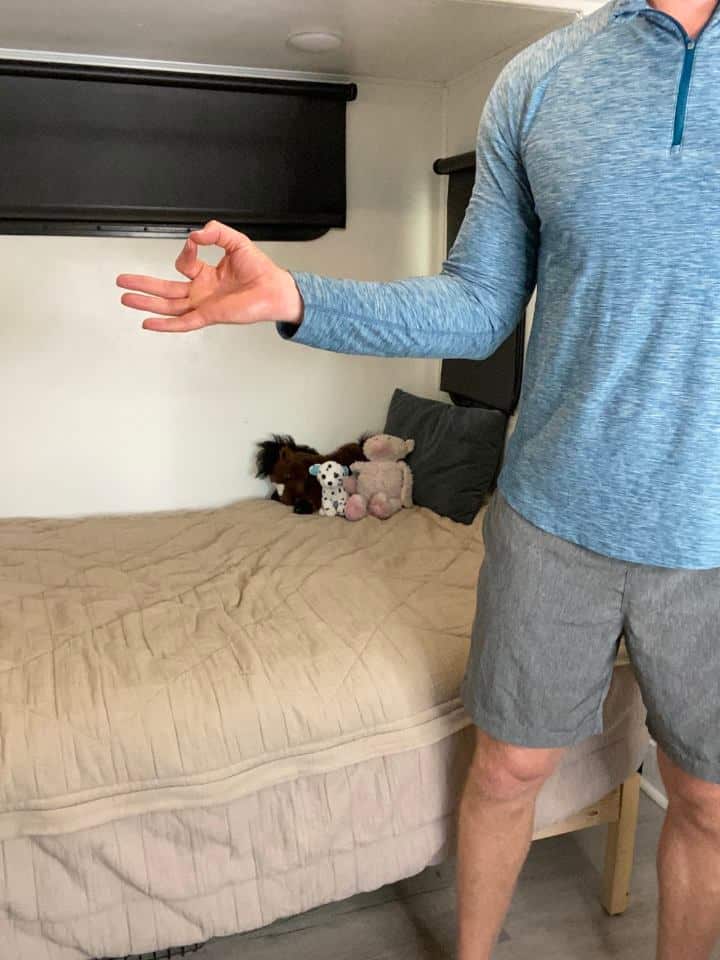
7. Median Nerve Glide
- Stand up straight with your arm by your side and your palm facing up.
- Slowly bend your wrist down to stretch the front of your wrist and palm.
- Bend your head away from your outstretched arm while maintaining good posture and shoulder alignment.
- Hold the position for 2 seconds.
- Return to the starting position with your wrist and head.
- Repeat 10 times.
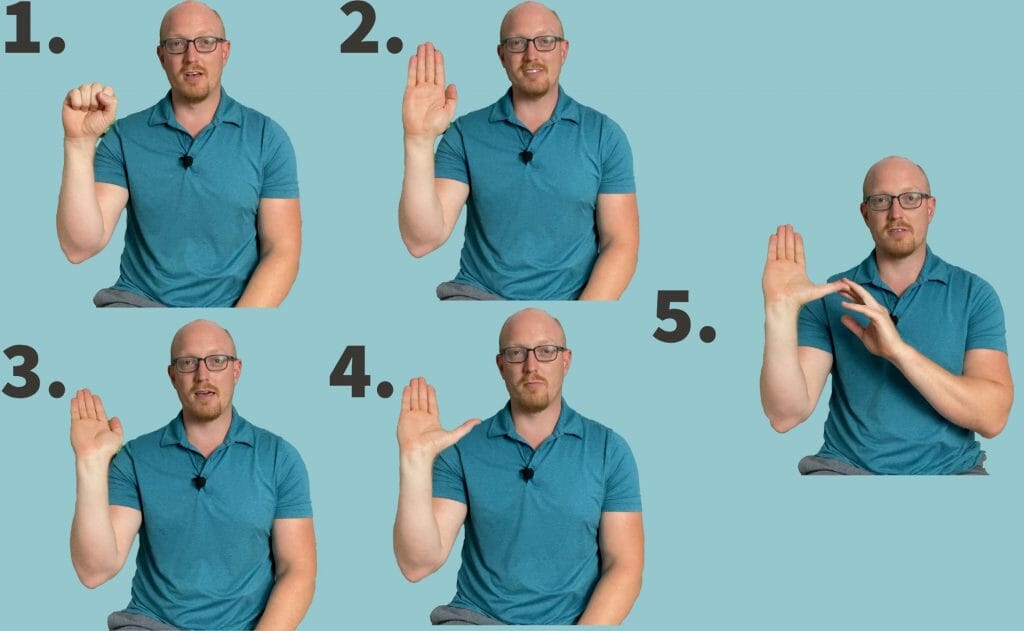
8. Ulnar Nerve Glide
Step 1: Your starting position will be holding your arm out to the side and gently bending the elbow. Your palm should be facing out to the side, away from you. Make a circle with your thumb and index finger touching as if you’re saying you’re “A-okay.”

Step 2: Begin to move the hand towards your head while extending the wrist back towards you. Make sure to keep your “A-okay” sign. The fingers should now point towards you with the palm facing the ceiling.
Step 3: From here, bend the neck, so your head moves away from the working arm.


Step 4: To add an extra stretch to the nerve, slightly lift your bent elbow up towards the ceiling. Repeat 10 times
9. First Rib Mobilization with Towel

- Start by placing a towel over the should of your painful side. Place the towel so that it is right up against your neck (the first rib is short, so you have to get close!).
- Hold the towel near your shoulder, loop the towel behind your back, and secure it by holding it with your other hand by your side.
- Pull the towel with both hands so there is tension, and lean your neck away from the painful shoulder.
- Repeat for 10 repetitions and aim for 3 sets.
Conclusion
In conclusion, Thoracic Outlet Syndrome can be a real pain in the neck (literally), but it’s not the end of the world. So, don’t let TOS get you down. You got this! With a few simple exercises and a little patience, you can relieve your TOS symptoms and return to feeling like your old self again.

Wondering What's Next?
Discover 11 Easy, At-Home “Stretch Exercises” for Stronger, Pain-Free Joints (click below)