
Free download: Top 10 Natural & Easy Remedies for Joint Pain from Home. Learn these helpful remedies.
Estimated Reading Time: 6 minutes read
Complete guide of exercises for Achilles Tendonitis. This unique 3-step process provides everything your tendons need to stay healthy and resilient.
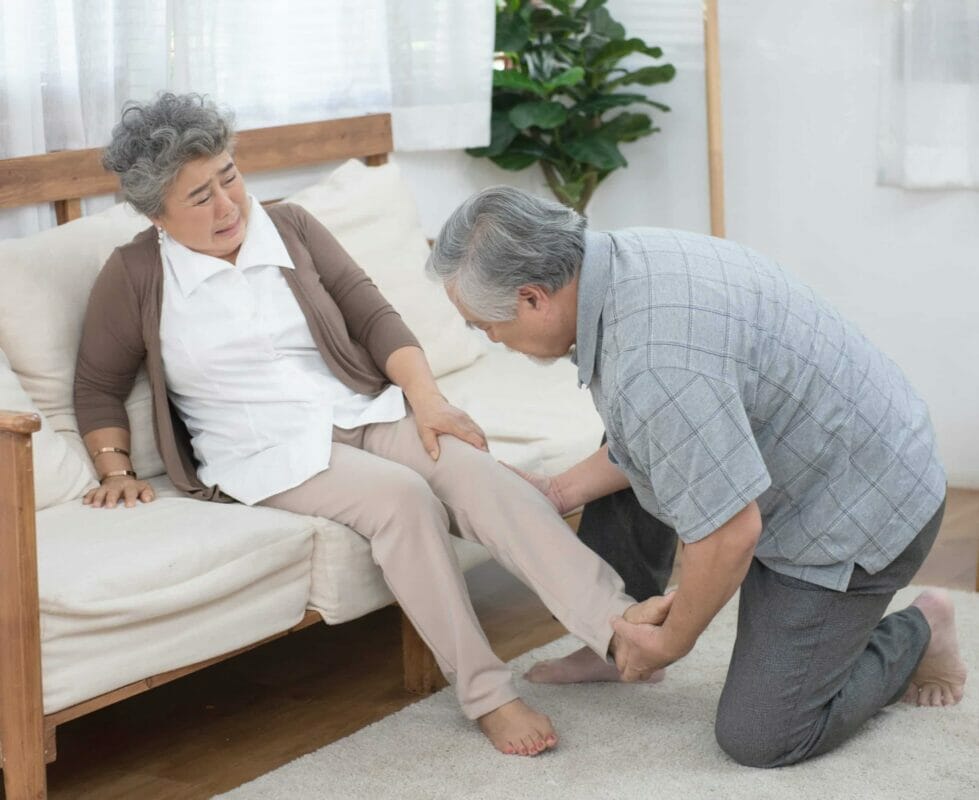
The tightness, ankle pain, and swelling felt first thing in the morning…

The weakness, discomfort, and ankle stiffness when walking…
Or the difficulty of taking even a single step.
These symptoms are all too common among Achilles tendonitis sufferers.
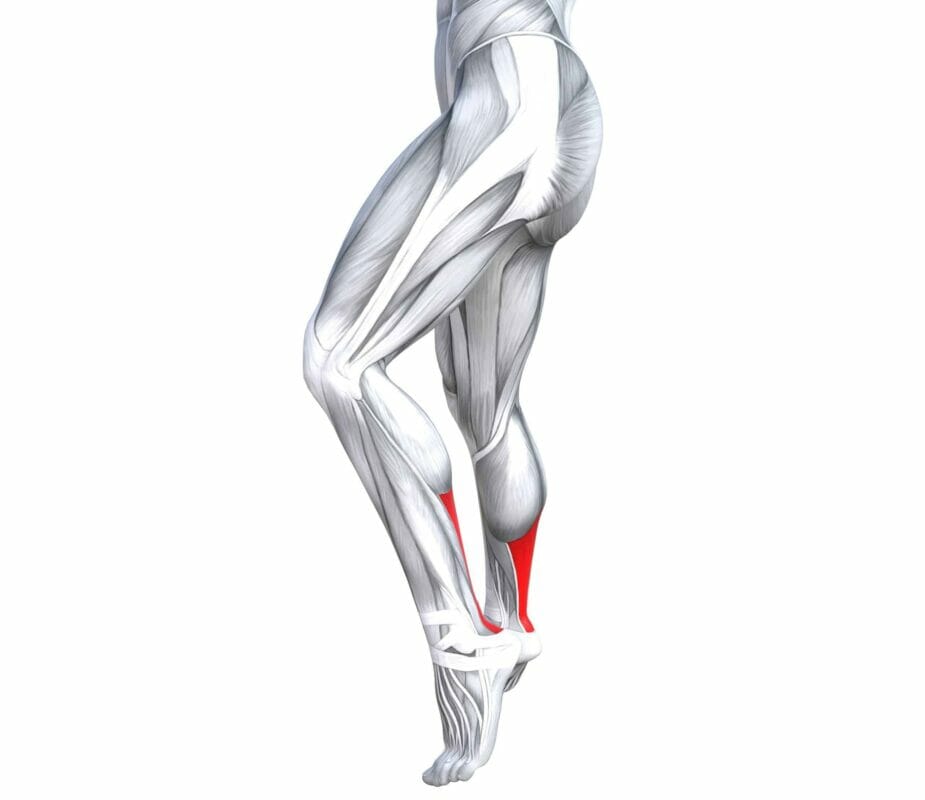
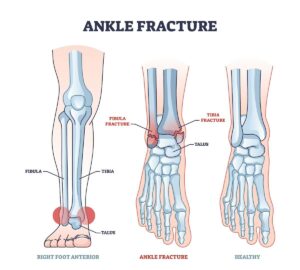
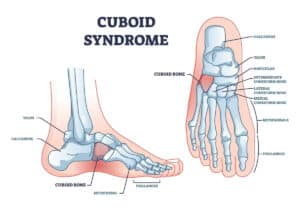
Achilles tendonitis is the inflammation of the tendon in the back of your ankle. This tendon, located just under your calf, connects the muscle to your ankle joint.
Achilles tendonitis can be caused by general weakness in the lower body causing the tendon to take on too much of a load when walking. It can also occur following an injury like falling or stepping off a step suddenly.
And while rest initially helps the ankle pain, Achilles tendonitis may turn into other Achilles injuries if left untreated. These include Achilles:
- Tendinosis, or micro-tears in the tendon.
- Tendon rupture, a partial or complete tear.
- Tendinopathy, or the damage of collagen in the tendon.
Okay, that was the bad news. Now the good news is that you can prevent that from happening. Stay with me!
Table of Contents
How Long Have You Had Achilles Pain?
Depending on how long you have experienced this Achilles pain, there are a few things you can do.
If it has been less than 2 weeks, there is still a lot of inflammation within the muscles. Thus, RICE (rest, ice, compression, and elevation) is the best option to help reduce inflammation.
Once the inflammation has gone down, or if it has been more than two weeks, it’s time to start moving again.
The longer you have experienced Achilles pain, the more likely it is that scar tissue is causing your stiffness and struggles.

While scar tissue formation is a natural part of the healing process, if left unaddressed, it can cause increased pain, discomfort, and stiffness.
3-Step Treatment: Exercises for Achilles Tendonitis
One way to encourage proper blood flow and release the stiffened scar tissue is through a simple 3-step treatment. This combination of massage, stretching, and movement will kick start healing in the tendon.

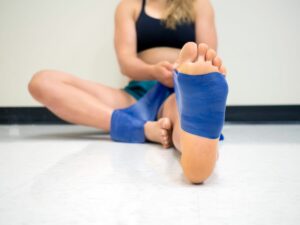
1. Massage
Start with some gentle massages to the area of the injury. If the injury has lasted longer than 2 weeks, you are as aggressive as your pain threshold allows.
Massage is a general term for pressing, rubbing, and manipulating your skin, muscles, tendons, and ligaments. Studies show that it is an effective treatment for reducing soft tissue strains, pain, and muscle tension.
Begin with your foot in a “flexed” position. Rub up and down the length of the tendon (see above picture – the area you should focus on is highlighted in red) Then, progress to a forward and backward motion. You can create any combination of movements to help manipulate the scar tissue.
If you find that you can’t reach the injured area comfortably, have someone help you.

2. Stretch
After massaging the affected area, it’s important to introduce some gentle stretching to your calf muscles. Your calf is, in fact, two muscles – the gastrocnemius and soleus. Both muscles work together to pull the toes up and heavily assist with walking.
However, both stretch in a slightly different way so it’s crucial that you spend a little time stretching both of them out.
These stretches work on something called tendon compliance. This means the longer you can hold a certain stretch, the more comfortable your tendons become in that position.
When put in that same position during activity, the tendon will feel safe and secure, and will be less painful.
A. Straight Leg Calf Stretch
While holding onto the railing of a staircase, step both feet up. Slightly stagger your feet so that the injured heel is hanging off the step.
Your front leg should bend slightly, while the back (injured) leg’s knee will be straight. Hold this stretch for 30 seconds before relaxing.
Repeat 3 times.
You should feel a stretch in the back of the leg and into the Achilles tendon. The key is to feel a “pulling” sensation, but not an increase of your pain. If this stretch replicates your pain, you are stretching too far.
B. Bent Leg Calf Stretch
Get into the same stretched position as above, only this time, bend your back leg slightly at the knee. Hold this position for 30 seconds before relaxing.
Repeat 3 times.
You will again feel this stretch in the back of your leg, but this time is will feel deeper within the muscles as the muscle being stretched lies underneath the top layer.

3. Movement
Finally, after stretching, it’s important to introduce some active motion to help promote blood flow. Blood helps transport nutrients into the injured area to speed up healing.
Strengthening exercises for Achilles tendonitis also helps to stabilize the ankle and helps reduce the tension that may be caused by scar tissue. As well, they will reduce the risk of re-injury.
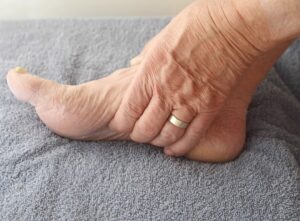
A. Ankle Pumps
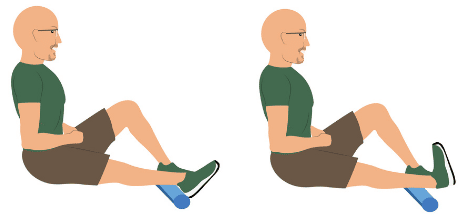
While sitting on your bed with the injured leg straight, roll a small towel just under your calf muscle. Start the movement by pointing your toe forward then pulling it back toward your nose.
Cycle between these two positions for a total of 10 reps.

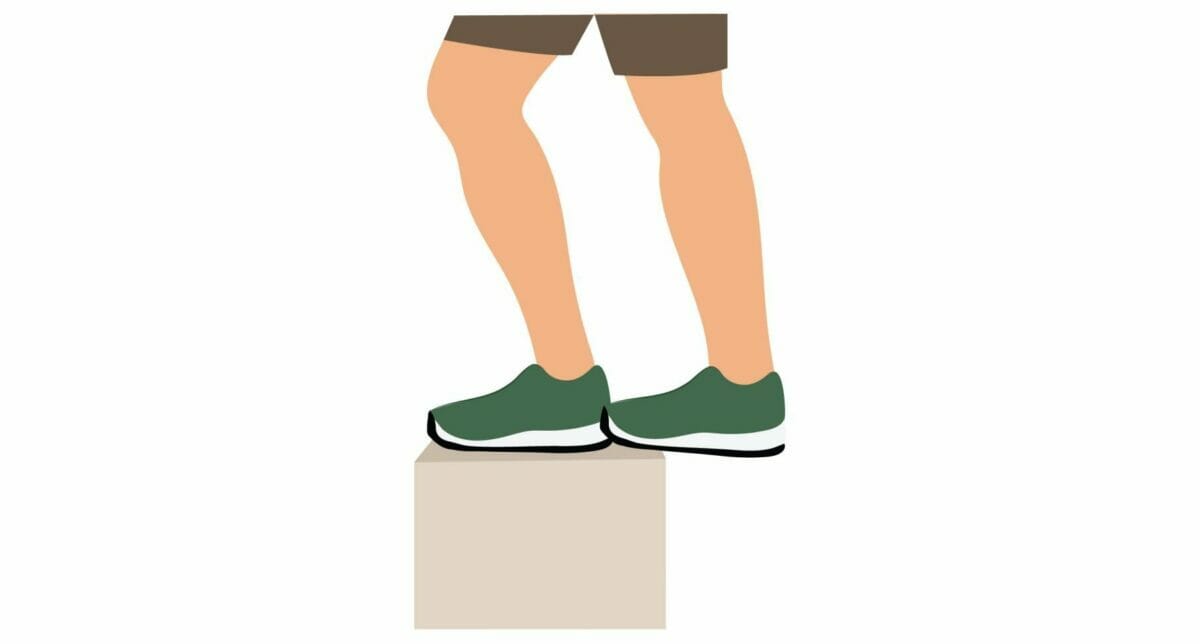
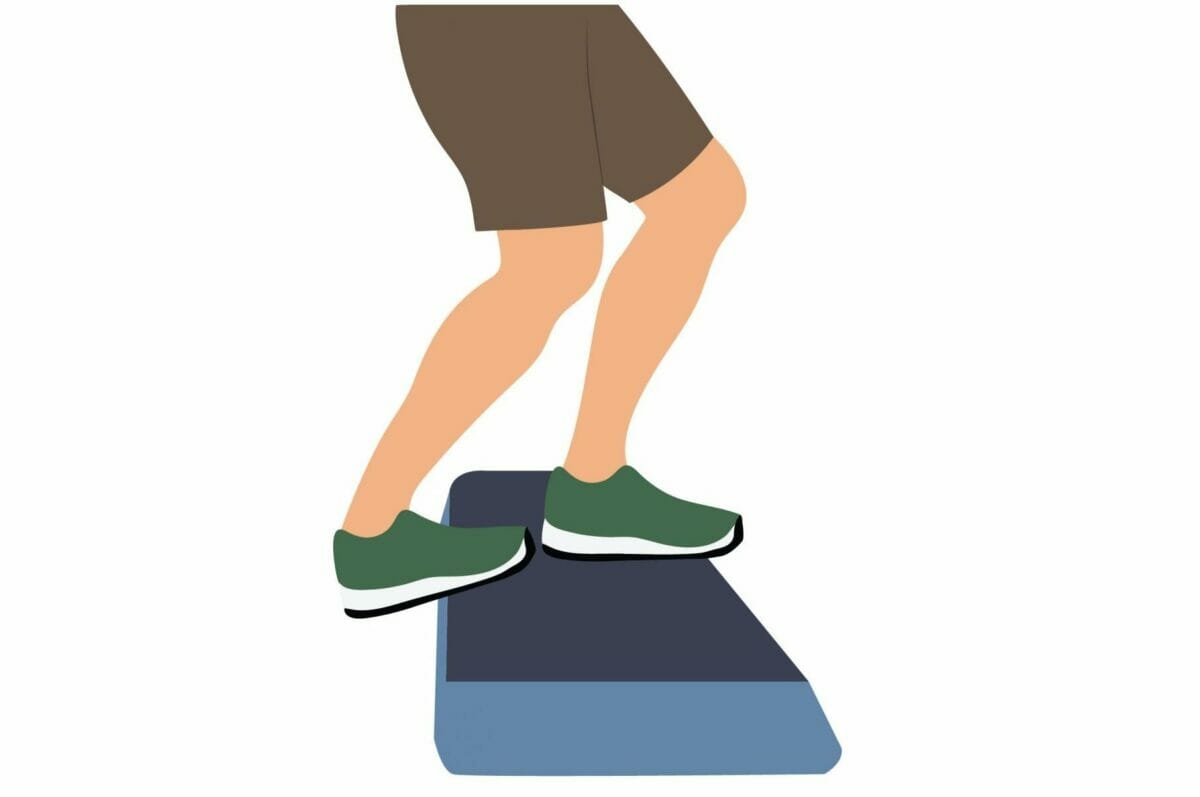
B. Double Heel Raises
While holding onto the railing, step both feet up on the same stair. Gently lift both heels up together time then slowly lower back down with control.
Continue this movement for a total of 10 reps.
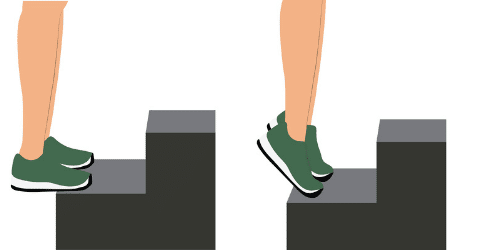
C. Single Heel Dips
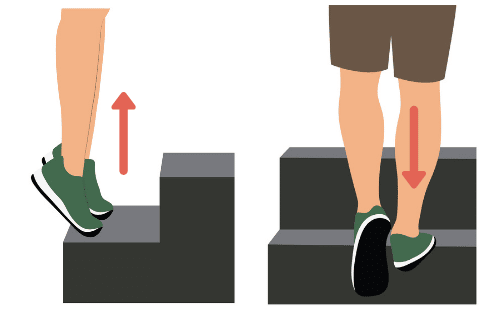
Similar to the previous exercise, raise both heels up off the step. This time, though, lift your uninjured leg off the step and slowly lower the injured heel down. Place both feet on the step and repeat for a total of 10 reps.
This is considered an “eccentric” movement — a type of slow lowering movement proven to specifically promote tendon healing.
By practicing a heel dip this way, the tendon can begin to strengthen in a controlled and safe manner so the next time you have to quickly step off a curb, it will be able to handle the load.
Follow this 3-step healing process daily until your pain reduces. As your tendon health continues to increase, you can then reduce the frequency of this routine to every other day.
It’s important to keep these healing habits as consistent as possible to reduce the risk of future injury. You will also want to continue with a general strengthening program. I recommend my 8 week senior fitness plan!

To your health!
Coach Todd
Wondering What's Next?
Discover 11 Easy, At-Home “Stretch Exercises” for Stronger, Pain-Free Joints (click below)


2 Responses
I was able to find good advice from your articles.
Thank you, Terri!