
Free download: Top 10 Natural & Easy Remedies for Joint Pain from Home. Learn these helpful remedies.
Estimated Reading Time: 7 minutes read
Hey there, my friend! Have you been feeling a bit sore and stiff in the wrist lately? Don’t worry; it happens to the best of us, especially as we get a little bit older. But the good news is that there are some simple exercises that can help relieve that discomfort and get you back to feeling like your sprightly self again.
You see, a wrist sprain can happen to anyone, but it’s especially common as we age. Whether it’s from playing too much Wii Bowling or just the wear and tear of daily activities, it’s essential to take care of your wrist and help it heal properly. And what’s the best way to do that? You guessed it – Exercise!

Now, I know what you might be thinking – “Exercise? At my age? Ha!” But trust me, it’s never too late to start taking care of your body. Plus, who doesn’t want to feel a bit more limber and spry, right?
So, let me walk you through some gentle exercises that can help relieve that wrist discomfort and get you back to doing the things you love. And don’t worry; I promise they’re simple and manageable.
Table of Contents
9 Exercises to Relieve Wrist Sprain Pain
Note: After a wrist sprain, it’s important to give your wrist some rest and apply ice to reduce swelling and pain. Once you start feeling better, you can start doing some exercises to help your wrist heal even faster.
Think of it like a race – you must warm up and stretch before running, right? In the same way, you need to rest and ice your wrist before you start doing exercises to help it heal.
And if you’re worried about doing exercises, don’t be! These exercises are specifically designed for people of all ages and fitness levels, so you won’t need to worry about breaking a hip or anything like that. Plus, the benefits of doing these exercises are well worth it – you’ll strengthen your wrist, improve your range of motion, and reduce pain and swelling.
1. Gentle Wrist ROM

- Slowly bend and straighten your wrist.
- Move your wrist side to side.
- Do each movement 10 times.
- Repeat the exercises 3 times a day.
- Start with a gentle range of motion and gradually increase it as you feel comfortable.
- Don’t push too hard or fast, and stop if you feel any pain or discomfort.
2. Gentle Isometrics:
- Make a first with your injured hand.
- Then place your uninjured hand against your fist.
- Gently push the injured fist into the uninjured hand. Muscles should activate, but the injured wrist should not move.
- Adjust where you press your fist to activate the different muscles that support your wrist.
- You’ll press your wrist four ways: up, down, and then on each side.
- Hold the press for 5 seconds, 10 repetitions, and 2 sets in each of the four directions.
a. Isometric Flexion
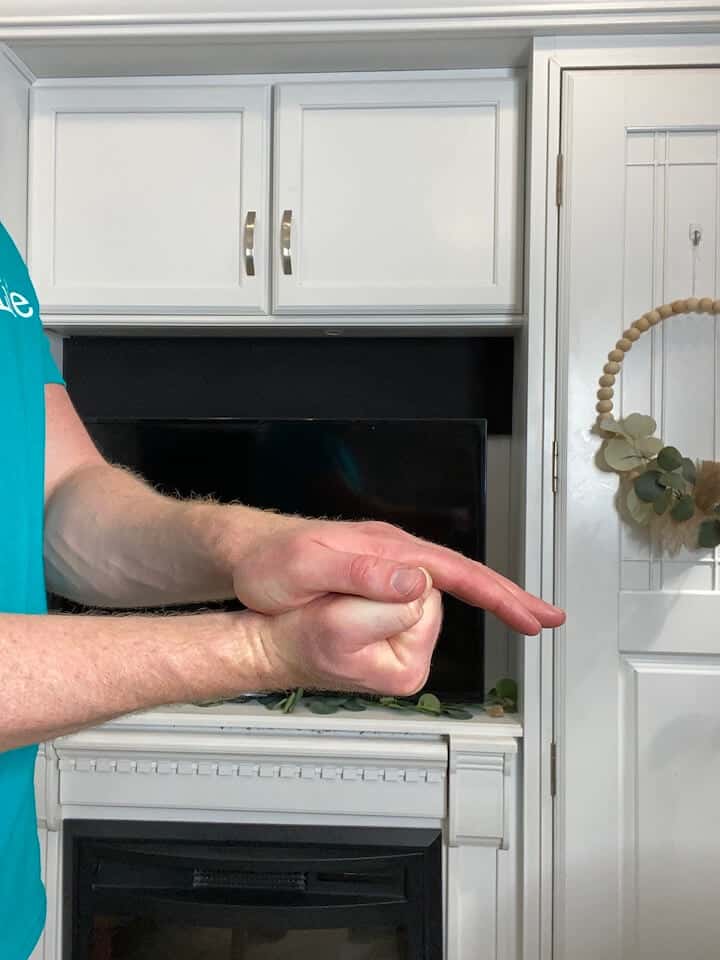
Push your wrist upwards against resistance without changing the angle of your wrist.
b. Isometric Extension
Push your wrist upwards against resistance without changing the angle of your wrist.
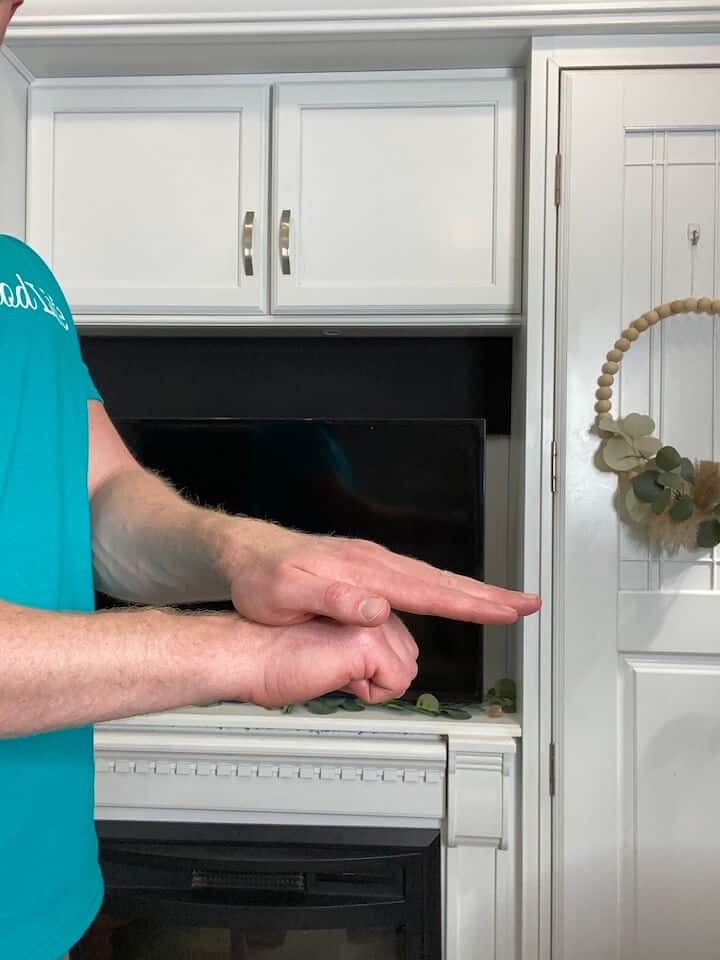
c. Isometric Abduction
Push your wrist upwards against resistance without changing the angle of your wrist.
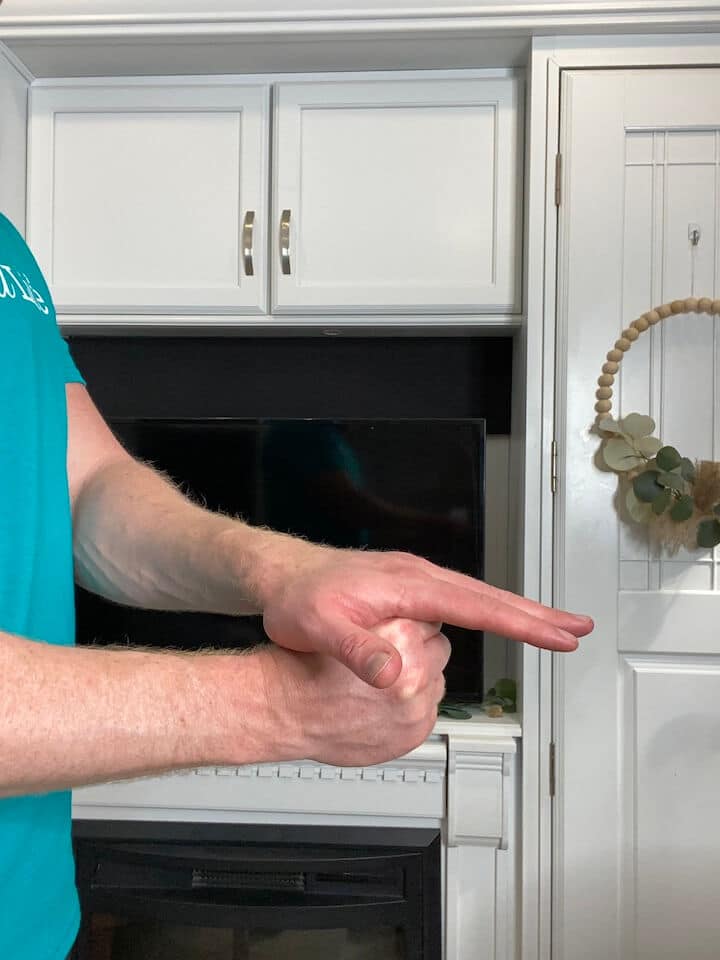
d. Isometric Adduction
Push your wrist downwards against resistance without changing the angle of your wrist.
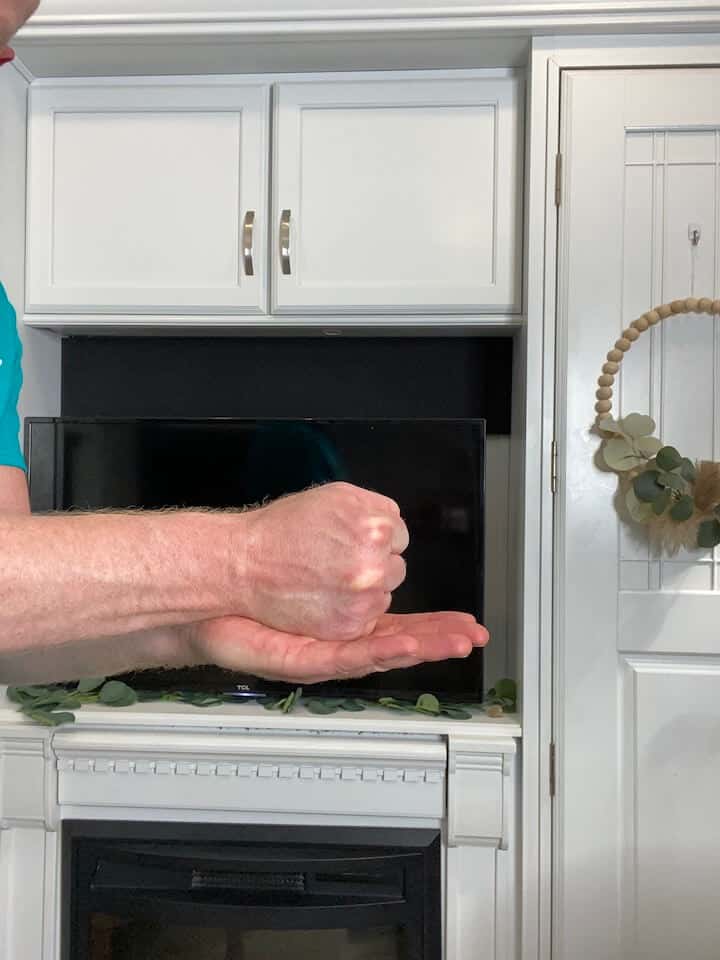
And once the pain and swelling have improved, you can start incorporating light weights or resistance bands into your exercises.
3. Wrist lifts

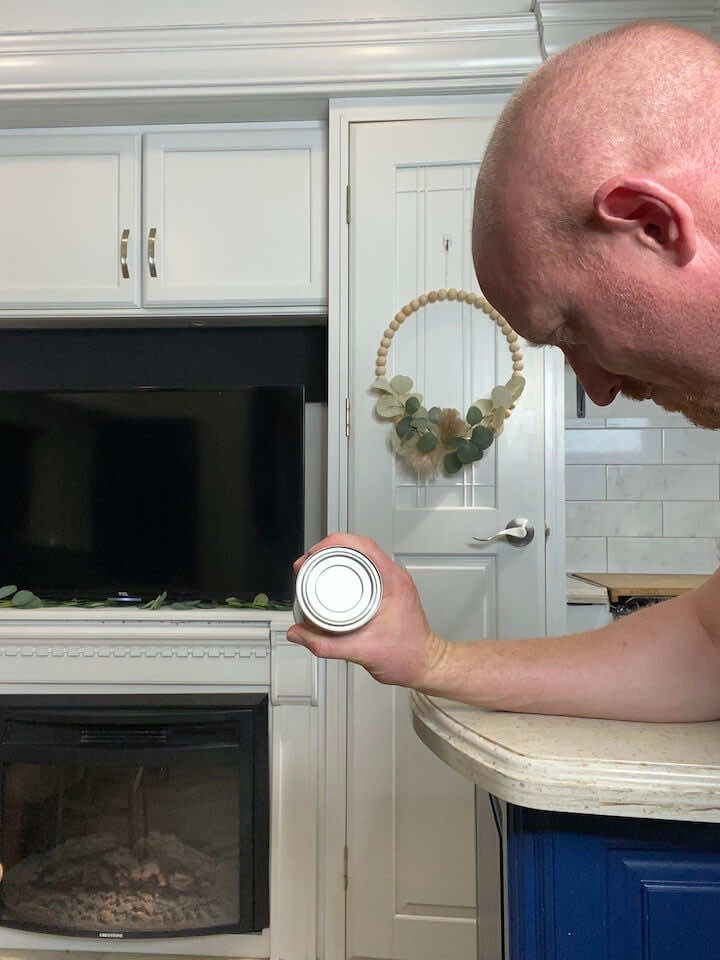
- Sit in a chair with a soup can or lightweight in your hand.
- Rest your forearm on a table or on your lap, with your palm facing downward and your wrist in a neutral position.
- Keep your elbow bent at a 90-degree angle.
- Lift the weight by flexing your wrist and raising your hand up toward your body.
- Hold the contraction for a few seconds, then slowly lower the weight back down to the starting position.
- Make sure to isolate the movement to your wrist and avoid using your forearm to lift the weight.
- Repeat the movement for 10 repetitions and 3 sets, and gradually increase the weight or resistance as you progress.
4. Wrist Curls
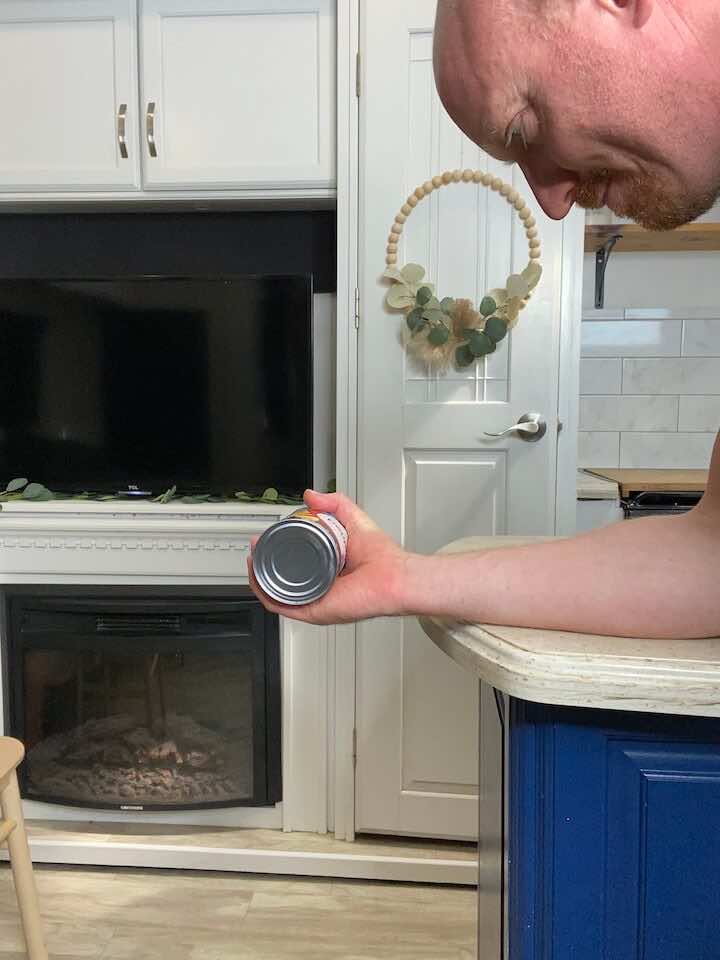
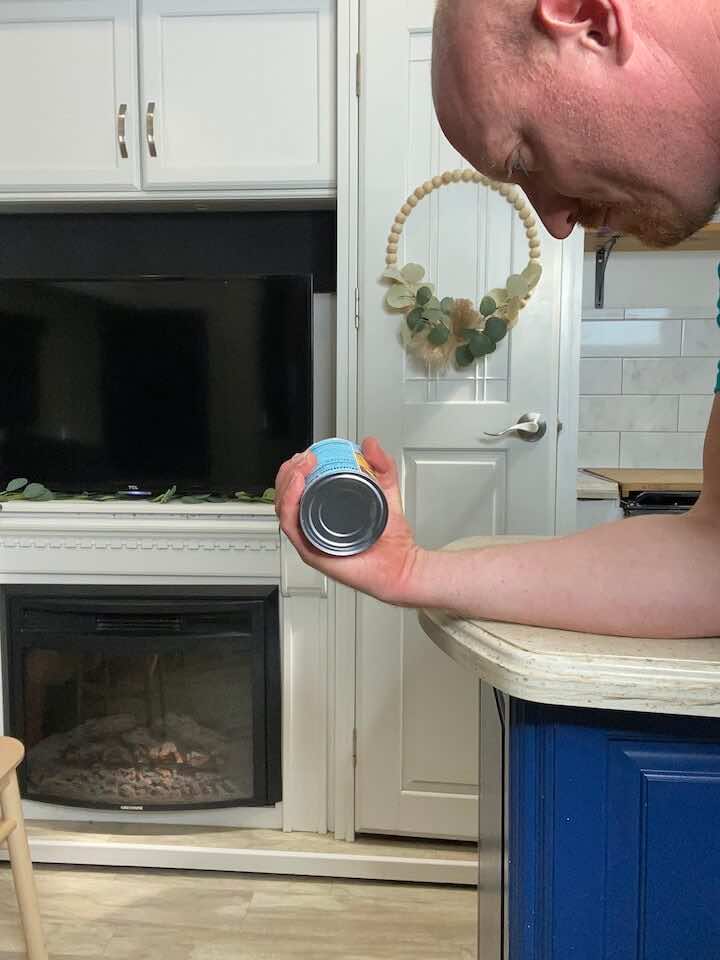
- Sit in a chair with a soup can or lightweight in your hand.
- Rest your elbow on a table, with your palm facing upward and your wrist in a neutral position.
- Keep your forearm still and isolated, and lift your wrist by curling it toward your body.
- Hold the contraction for a few seconds, then slowly return to the starting position.
- Remember to isolate the wrist and avoid using your forearm to lift the weight.
- Repeat the movement for 10 repetitions and 3 sets, and gradually increase the weight or resistance as you progress.
5. Tennis Ball Squeezes
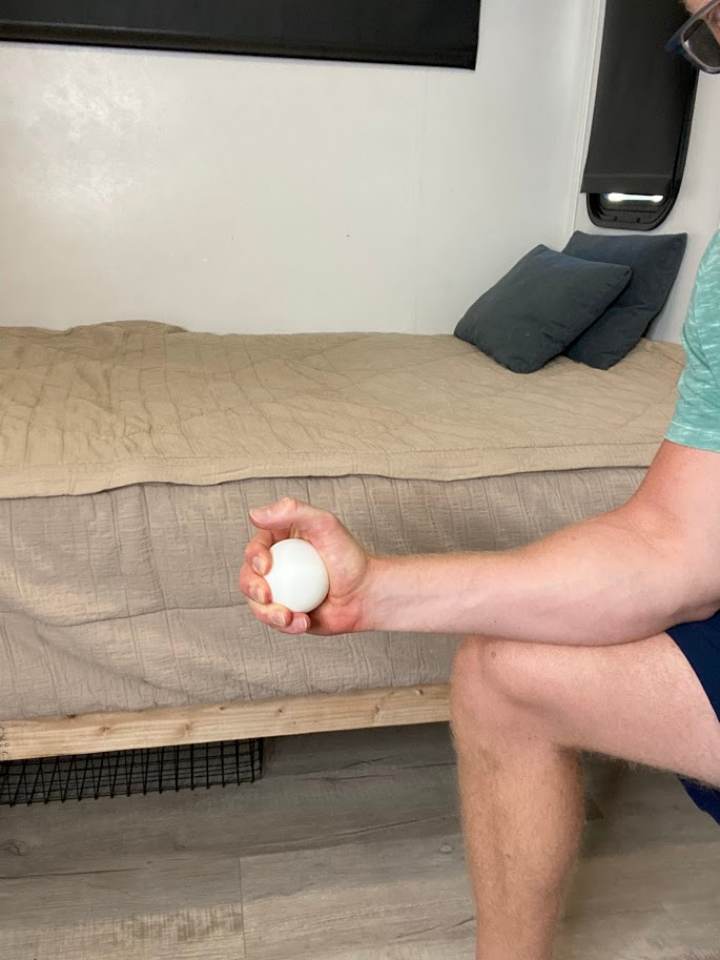
- Sit at a table, leaning on the edge with your forearm. Grab a tennis ball in the palm of your hand.
- Squeeze your hand into the tennis ball and hold for 5 seconds. Release and repeat 10 times and 2 sets.
- If this becomes too easy, create a bigger gap between your fingers — the bigger the gap, the greater the challenge.
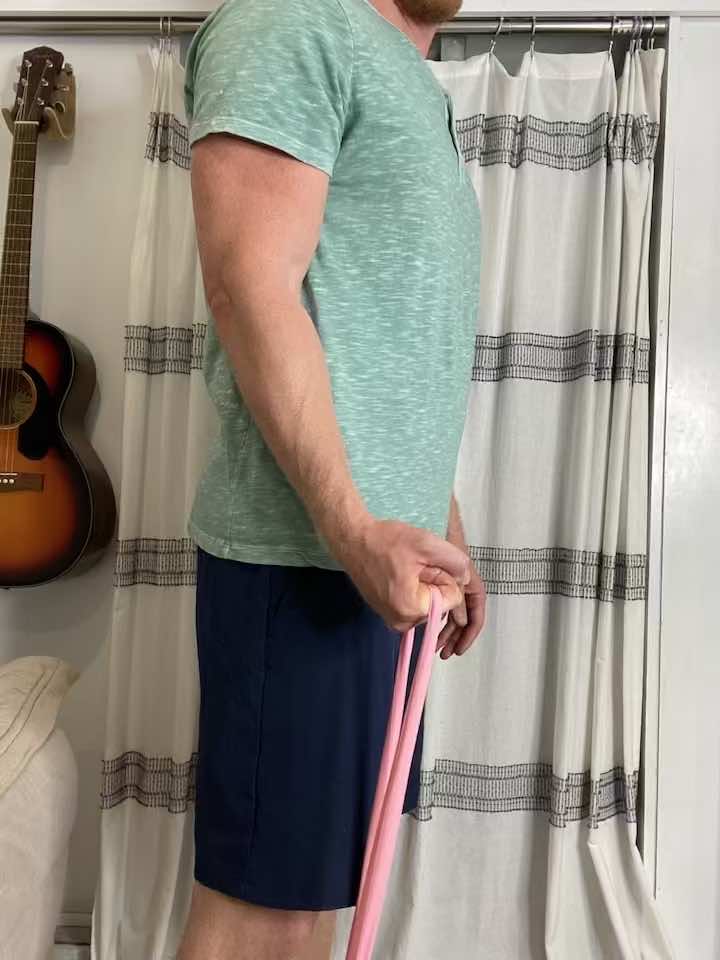
6. Resisted Ulnar Deviation
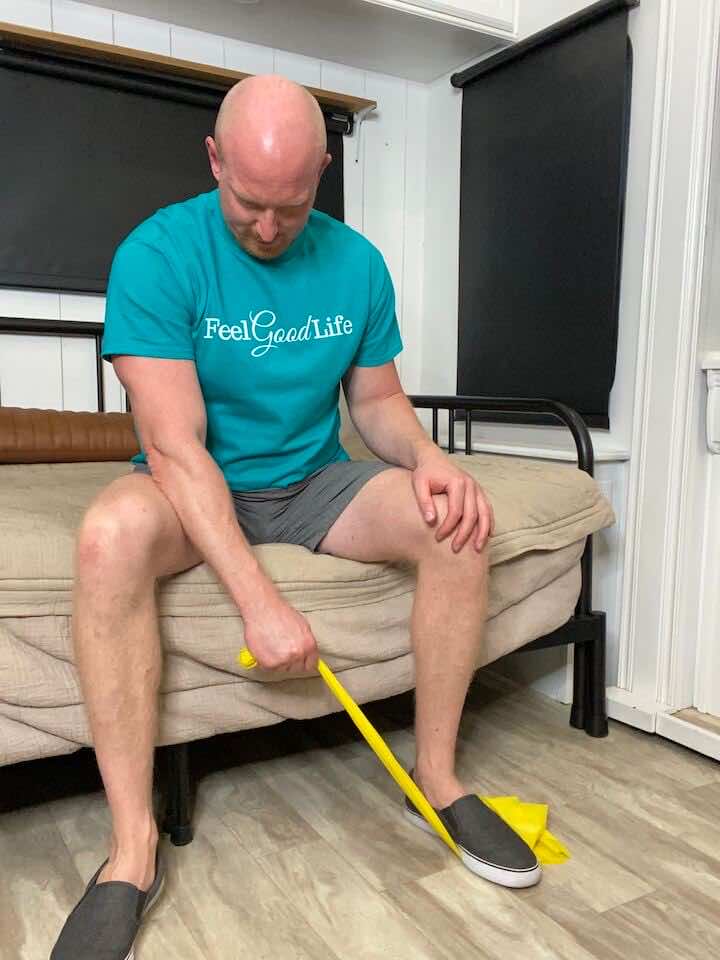
- Place a resistance band under your foot (opposite side of your inured wrist) and hold on to the band with the injured hand.
- Hold the band with your hand so that your palm is facing the floor and there is tension on the band.
- keep your hand in a fist and move your wrist so that your pinky side it moving to the side. It’s not a big movement so don’t try to force extra ROM if it’s painful!
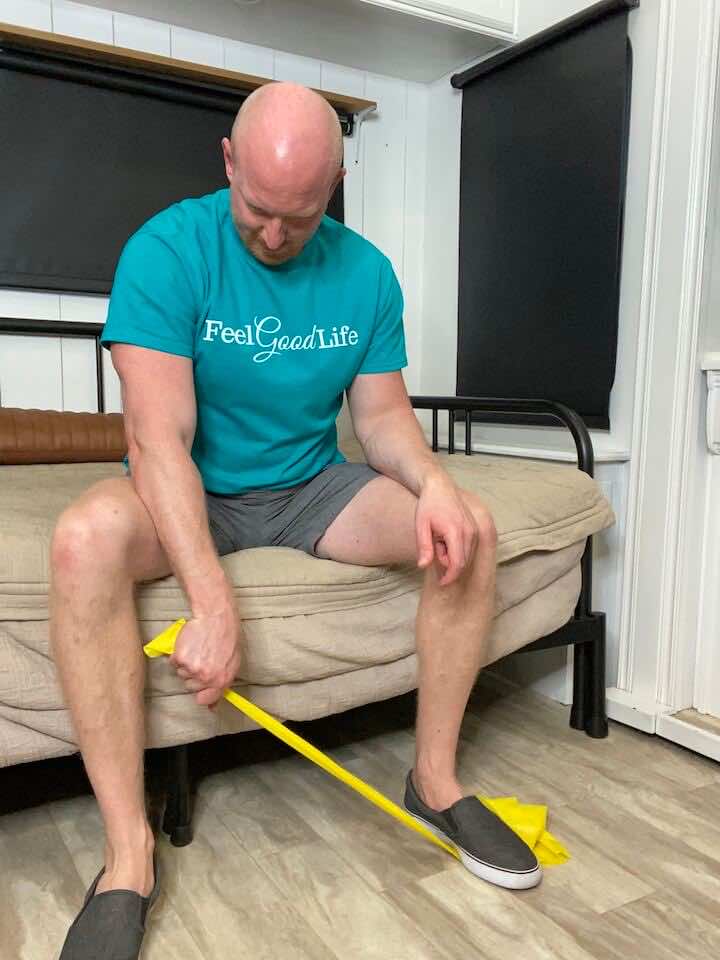
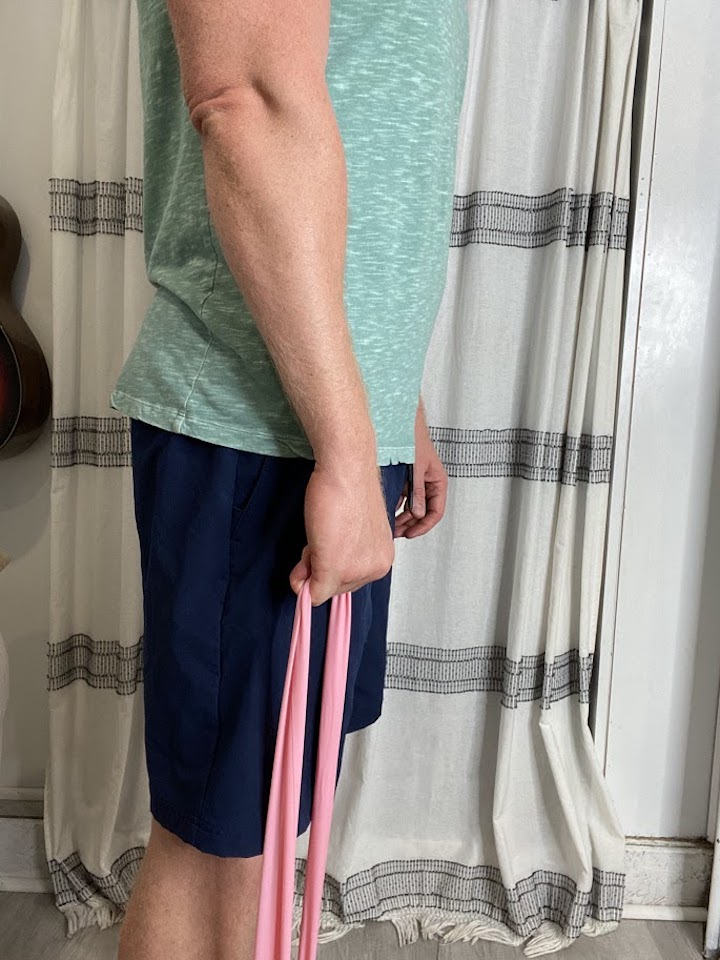
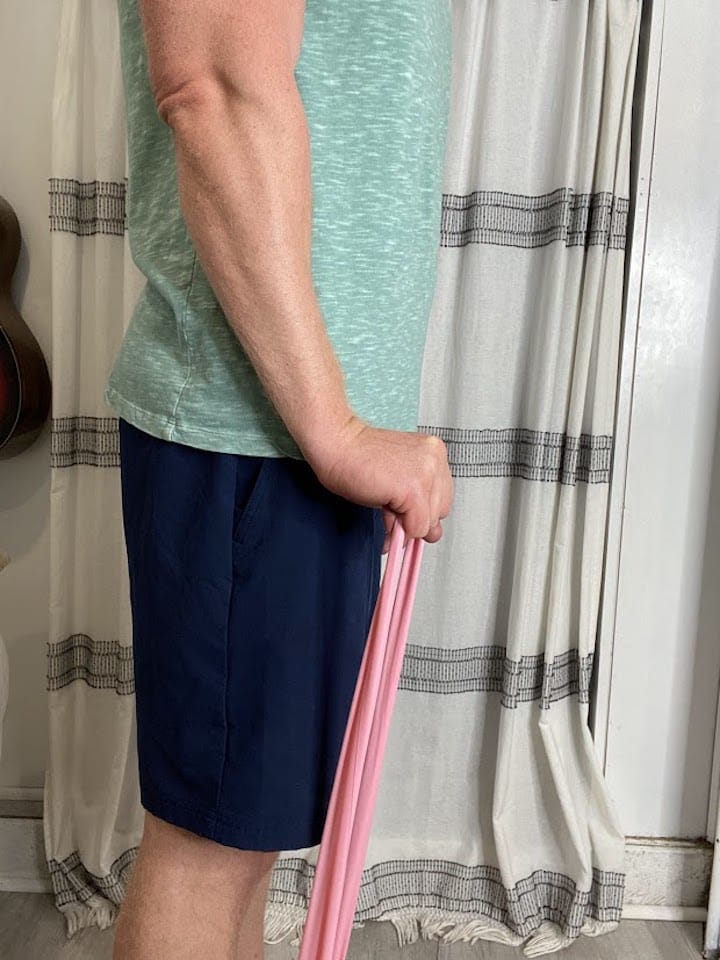
7. Resisted Radial Deviation
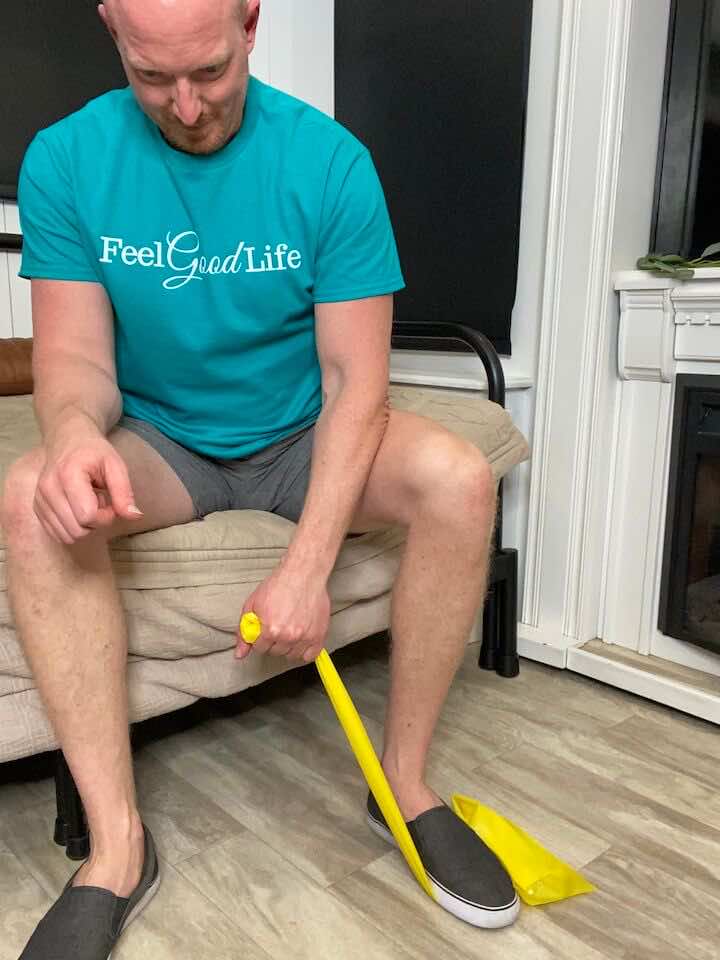

- Place a resistance band under your foot (same side of your injured wrist) and hold on to the band with the injured hand.
- Hold the band with your hand so that your thumb is facing the ceiling and there is tension on the band.
- keep your hand in a fist and move your wrist so that your fist moves up and down. It’s not a big movement from the wrist so don’t try to force extra ROM if it’s painful!
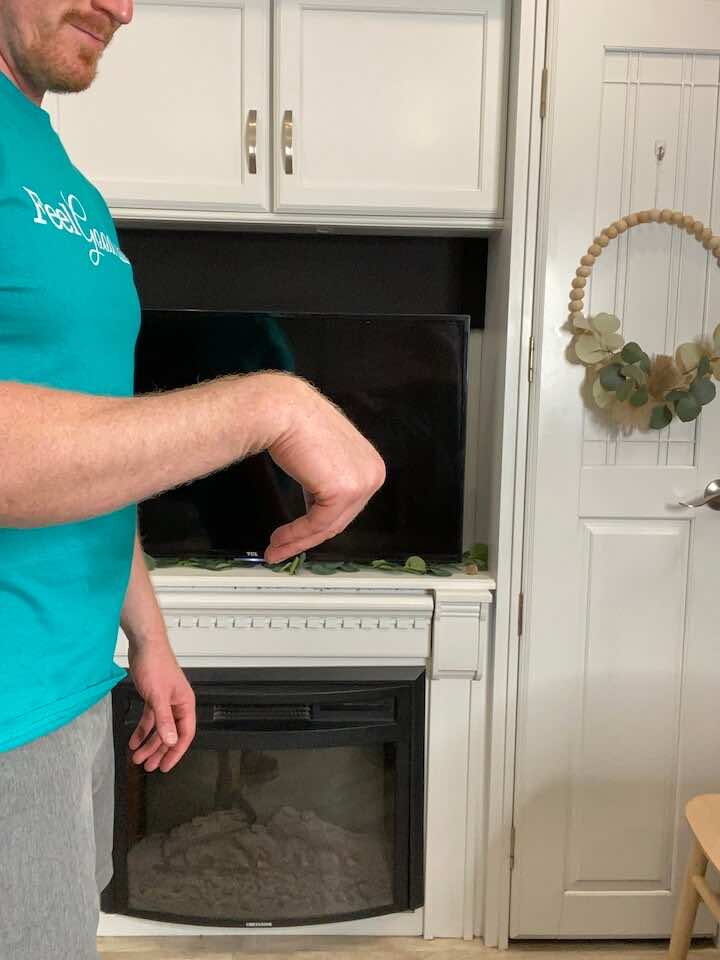
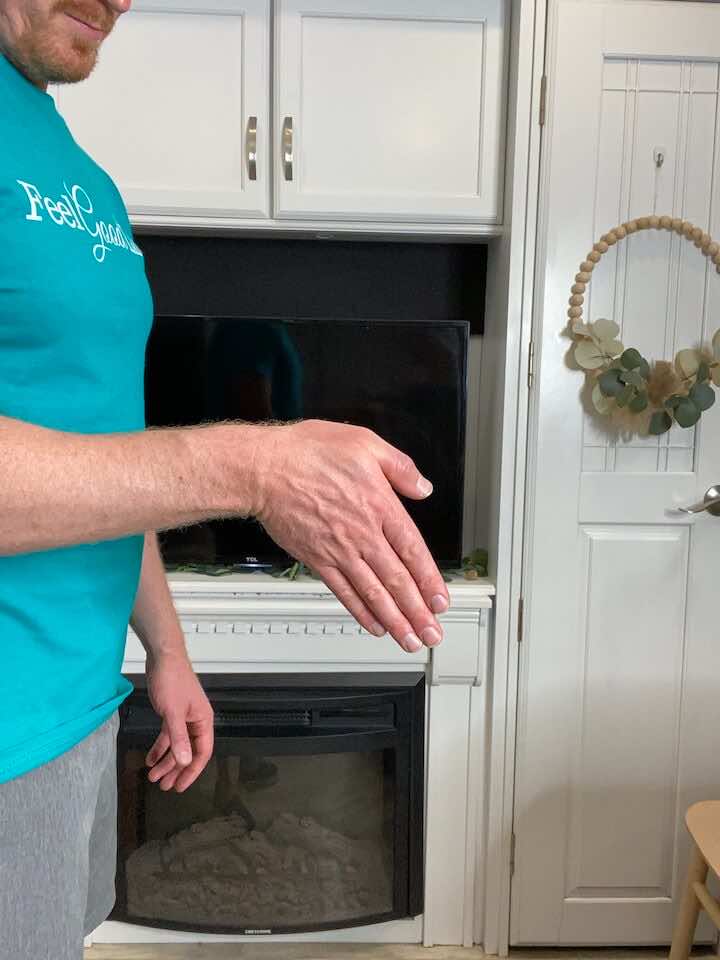
8. Wrist Flexion
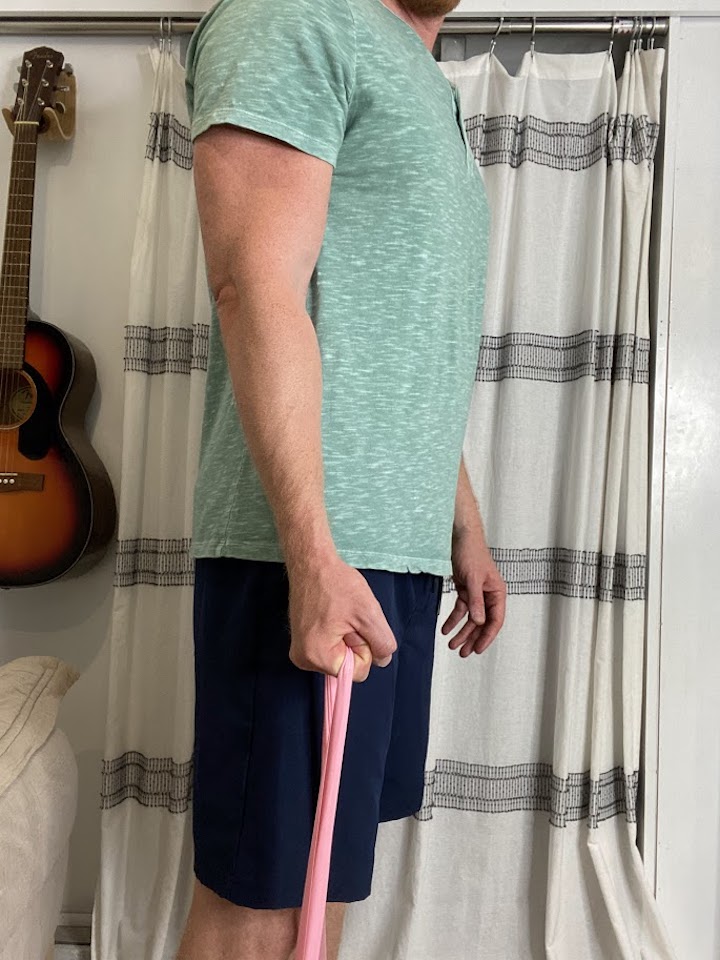
- Position yourself just like with wrist extension, only this time the palm should be facing up towards the ceiling, with the wrist straight.
- You can again use either a resistance band (light, medium or heavy) anchored under your foot, or a light free weight (2-3#).
- Slowly flex the wrist (moving the palm towards you), then return to neutral.
- Repeat 10-15 repetitions for 2-3 sets.
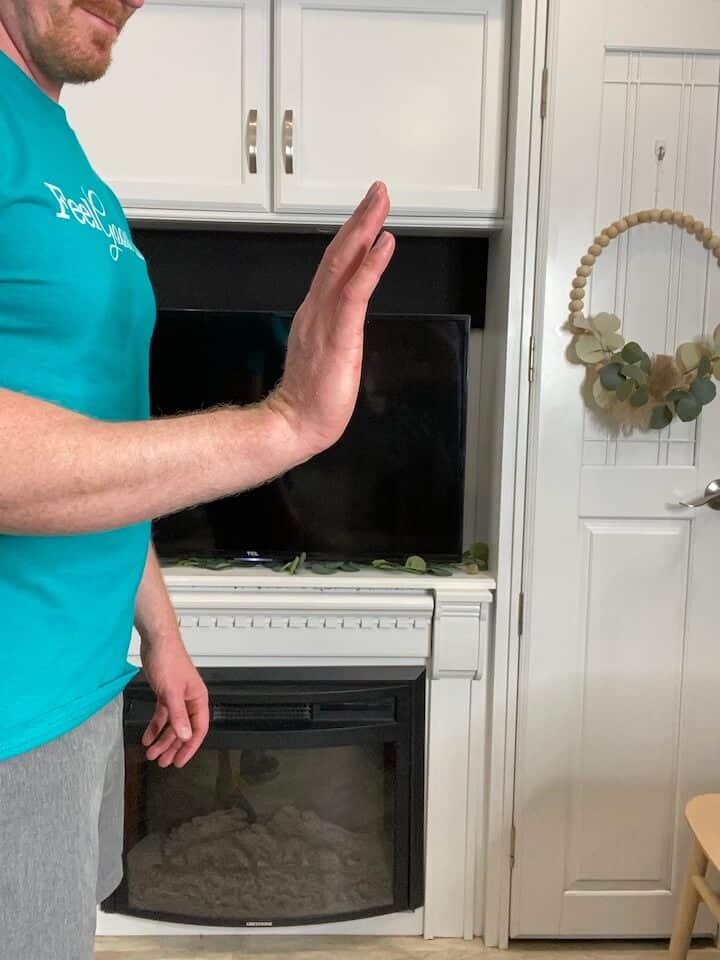
9. Wrist Extension
- Position yourself seated with the working arm supported on a table, such as your coffee table. The wrist and hand should be hanging off the edge of the table.
- The palm should be facing down towards the floor, with the wrist straight.
- You can use either a resistance band (light, medium or heavy) anchored under your foot, or a light free weight (2-3#).
- Slowly extend the wrist (moving the top of the hand back towards you), then return to neutral.
- Repeat 10-15 repetitions for 2-3 sets.
Conclusion
In conclusion, don’t let a minor wrist sprain put a damper on your daily activities. By incorporating these easy exercises into your routine, you’ll be on your way to a speedier recovery and feeling like your sprightly self in no time.
Remember to take it slow and start with gentle movements, gradually increasing the intensity as your wrist improves. Who knows, you might even surprise your grandkids with your newfound wrist strength during your next game of Wii Bowling!
Wondering What's Next?
Discover 11 Easy, At-Home “Stretch Exercises” for Stronger, Pain-Free Joints (click below)